Super Easy Baby Cardigan Free Crochet Pattern
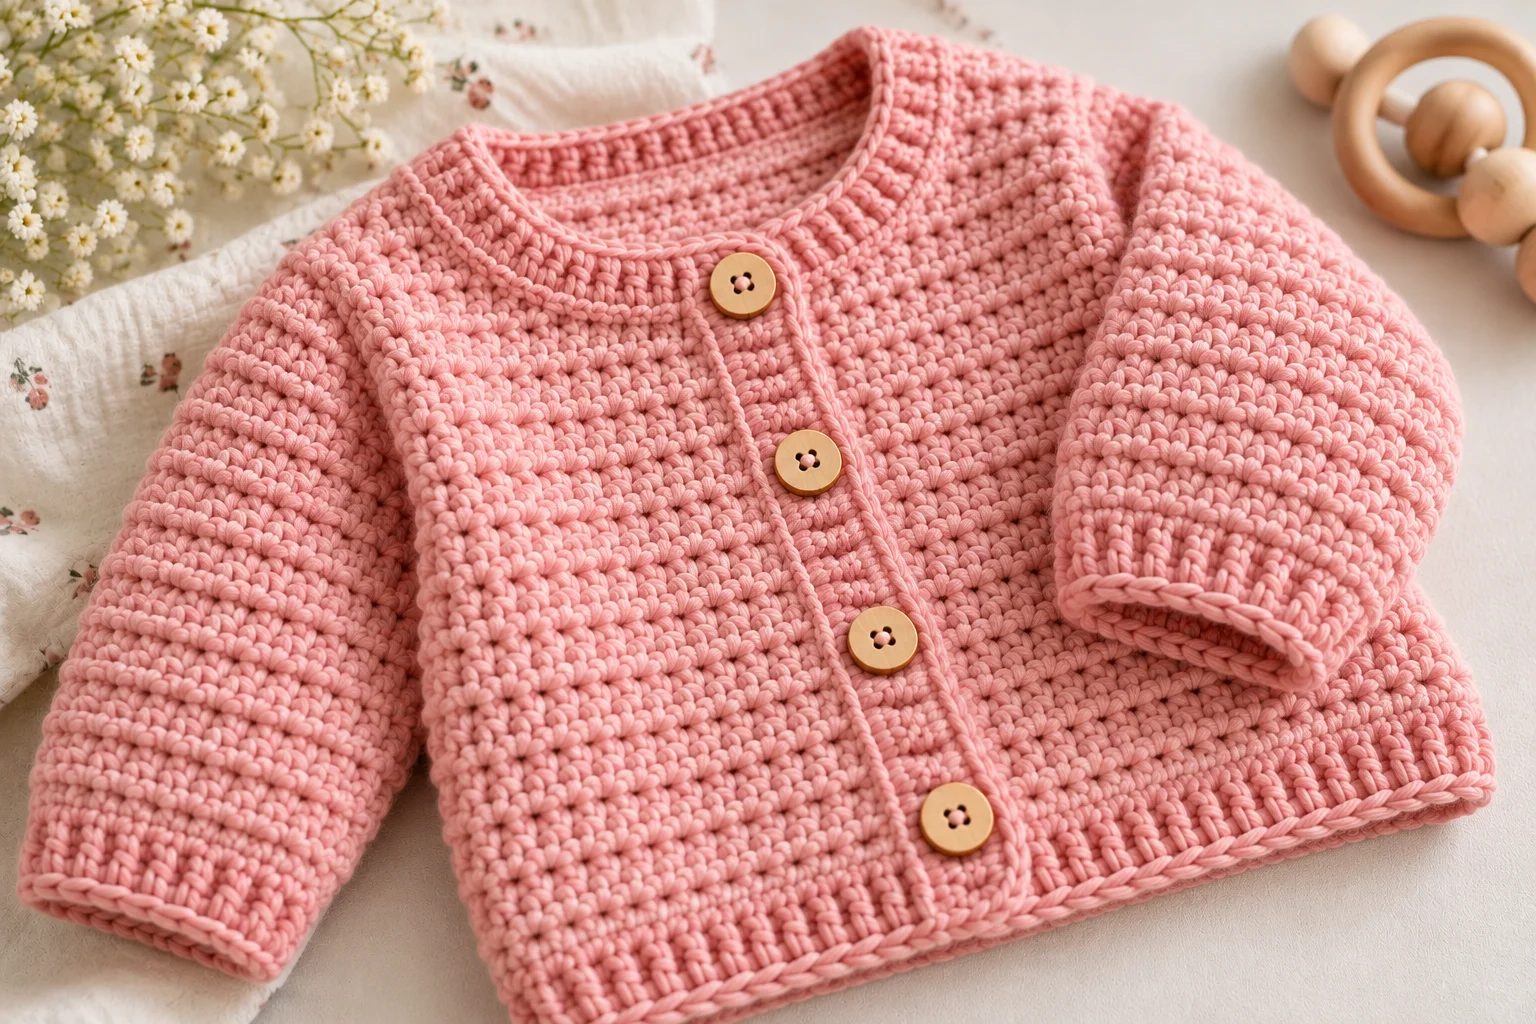
Looking for a super easy baby cardigan crochet pattern? A simple crocheted cardigan is a wonderful project for beginners who want to create a practical, handmade garment for a little one. With a classic shape, soft yarn, and a comfortable fit, a baby cardigan makes a thoughtful baby shower gift or a lovely addition to a baby’s wardrobe.
The best beginner-friendly designs use basic crochet stitches, straightforward construction, and minimal seaming. Depending on the pattern, you may crochet the cardigan in one piece, work separate panels, or create a simple body with sleeves added afterward.
In this guide, you’ll learn how to choose suitable materials, understand the basic techniques, plan the size, and finish a baby cardigan neatly. The instructions explain the general process of making a cardigan; use a complete stitch-by-stitch pattern for exact row counts, increases, and finished measurements.
Why Make a Simple Crochet Baby Cardigan?
A basic baby cardigan is an excellent project for practicing garment construction without complicated shaping or elaborate stitch patterns.
Here are a few reasons to try one:
- Beginner-friendly techniques: Many simple designs use chains, single crochet, half double crochet, or double crochet.
- Practical design: An open-front cardigan can be layered over a baby’s outfit.
- Easy customization: Change the yarn color, sleeve length, or edging to create a different look.
- Thoughtful handmade gift: A crocheted cardigan is a personal gift for a baby shower, birthday, or newborn celebration.
- Versatile styling: A plain cardigan can be decorated with stripes, small flowers, or contrasting borders.
Materials Needed
Gather the materials specified by your chosen cardigan pattern before beginning.
1. Yarn
Choose a soft, washable yarn suitable for baby clothing. DK-weight yarn is a common option for lightweight cardigans, although some designs use light-worsted yarn.
Pastel shades such as cream, pale blue, blush pink, mint green, and lavender work beautifully. Neutral colors are also versatile and easy to coordinate with other baby clothes.
The amount of yarn depends on the garment size, stitch pattern, sleeve length, and yarn weight. Check the pattern’s requirements rather than estimating the quantity.
2. Crochet Hook
Use the hook size specified in the pattern. Your individual tension may require a different size to achieve the intended gauge.
3. Tapestry Needle
Use a tapestry needle to weave in yarn ends and sew together any separate garment pieces.
4. Scissors
A small pair of scissors helps you trim yarn neatly during finishing.
5. Stitch Markers
Stitch markers are useful for identifying sleeve openings, row beginnings, and important shaping points.
6. Buttons
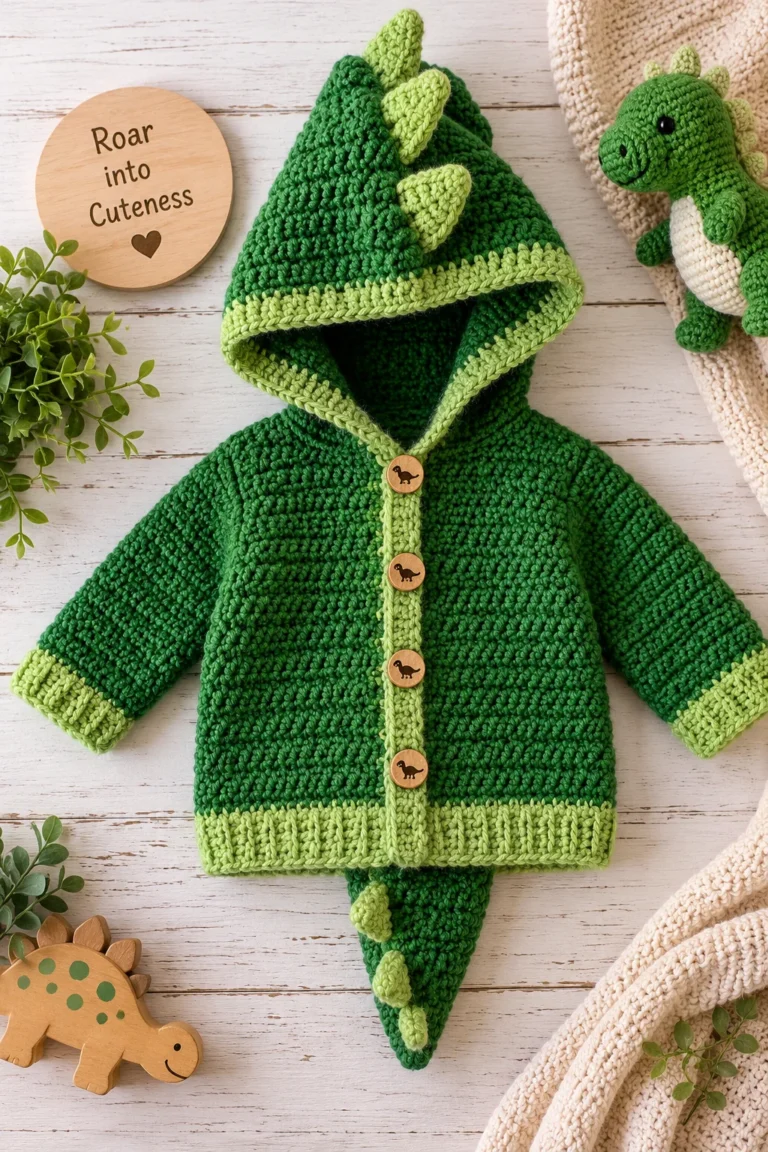
Buttons are optional. If your design includes a button-front closure, choose suitable buttons and attach them securely.
Crochet Abbreviations
The following abbreviations use US crochet terminology.
- ch: Chain
- sc: Single crochet
- hdc: Half double crochet
- dc: Double crochet
- sl st: Slip stitch
- st(s): Stitch(es)
- sk: Skip
- rep: Repeat
- inc: Increase
- dec: Decrease
- RS: Right side
- WS: Wrong side
Check the terminology key in your selected pattern before beginning.
Gauge and Sizing
Gauge determines the size and density of the finished fabric. Before crocheting the cardigan, make a gauge swatch using the recommended yarn and hook.
Measure the swatch and compare it with the pattern’s gauge instructions. If you have more stitches per inch than required, try a larger hook. If you have fewer stitches per inch, try a smaller hook.
Baby clothing sizes can vary significantly, so choose a size using the pattern’s finished measurements rather than age alone.
Important measurements include:
- Chest circumference
- Body length
- Sleeve length
- Shoulder width
- Armhole depth
A comfortable cardigan should allow movement without being excessively loose or restrictive.
How to Crochet a Super Easy Baby Cardigan
The following steps describe the general construction process for a beginner-friendly baby cardigan. Exact stitch counts and row-by-row shaping depend on the particular pattern you choose.
Step 1: Choose a Simple Construction Method
Look for a pattern that uses a straightforward construction method. Some cardigans are made from rectangular panels, while others use a top-down raglan construction or a single-piece design.
If you’re a beginner, choose a pattern with clear shaping instructions and minimal complicated seaming.
Step 2: Make a Gauge Swatch
Crochet a small swatch using the main stitch pattern. Check the gauge before starting the garment so you can adjust your hook if needed.
This step helps prevent the finished cardigan from being too large or too small.
Step 3: Crochet the Main Body
Follow your chosen pattern to make the back and front sections, or work the body in one piece if the design allows.
Keep your stitch tension consistent and count stitches at the end of the specified rows. This helps maintain straight edges and accurate measurements.
Step 4: Shape the Neckline and Armholes
Depending on the construction, you may need to leave stitches unworked, decrease stitches, or separate the body into different sections.
Follow the pattern’s instructions carefully. Neckline and armhole shaping influence how the cardigan fits around the shoulders and sleeves.
Step 5: Crochet the Sleeves
Work the sleeves according to the selected pattern. Some designs use simple straight sleeves, while others gradually increase or decrease stitches to shape the fabric.
Check that both sleeves have matching lengths and widths.
Step 6: Assemble the Cardigan
If the cardigan is made from separate pieces, sew the shoulders and side seams together. Attach the sleeves according to the pattern instructions.
Keep the seams neat and flexible. Avoid pulling the yarn too tightly, as this can make the garment stiff.
Step 7: Add the Edging
Finish the neckline, front opening, cuffs, and lower hem as directed by your pattern.
A simple single crochet border can provide a neat finish. Ribbed or scalloped edging can add a decorative touch if the design includes it.
Step 8: Add Buttons if Needed
If your cardigan has buttonholes, make sure they are the appropriate size for the selected buttons.
Attach each button securely and check that the closure works smoothly.
Step 9: Weave in the Ends
Use a tapestry needle to secure all yarn ends. Inspect the inside and outside of the cardigan to ensure that no loose strands remain.
Step 10: Finish and Check the Fit
Follow the yarn manufacturer’s care instructions for washing and drying. If appropriate for the fiber, gently shape the cardigan to the specified measurements.
Allow it to dry completely and inspect the seams, edges, and closure before use.
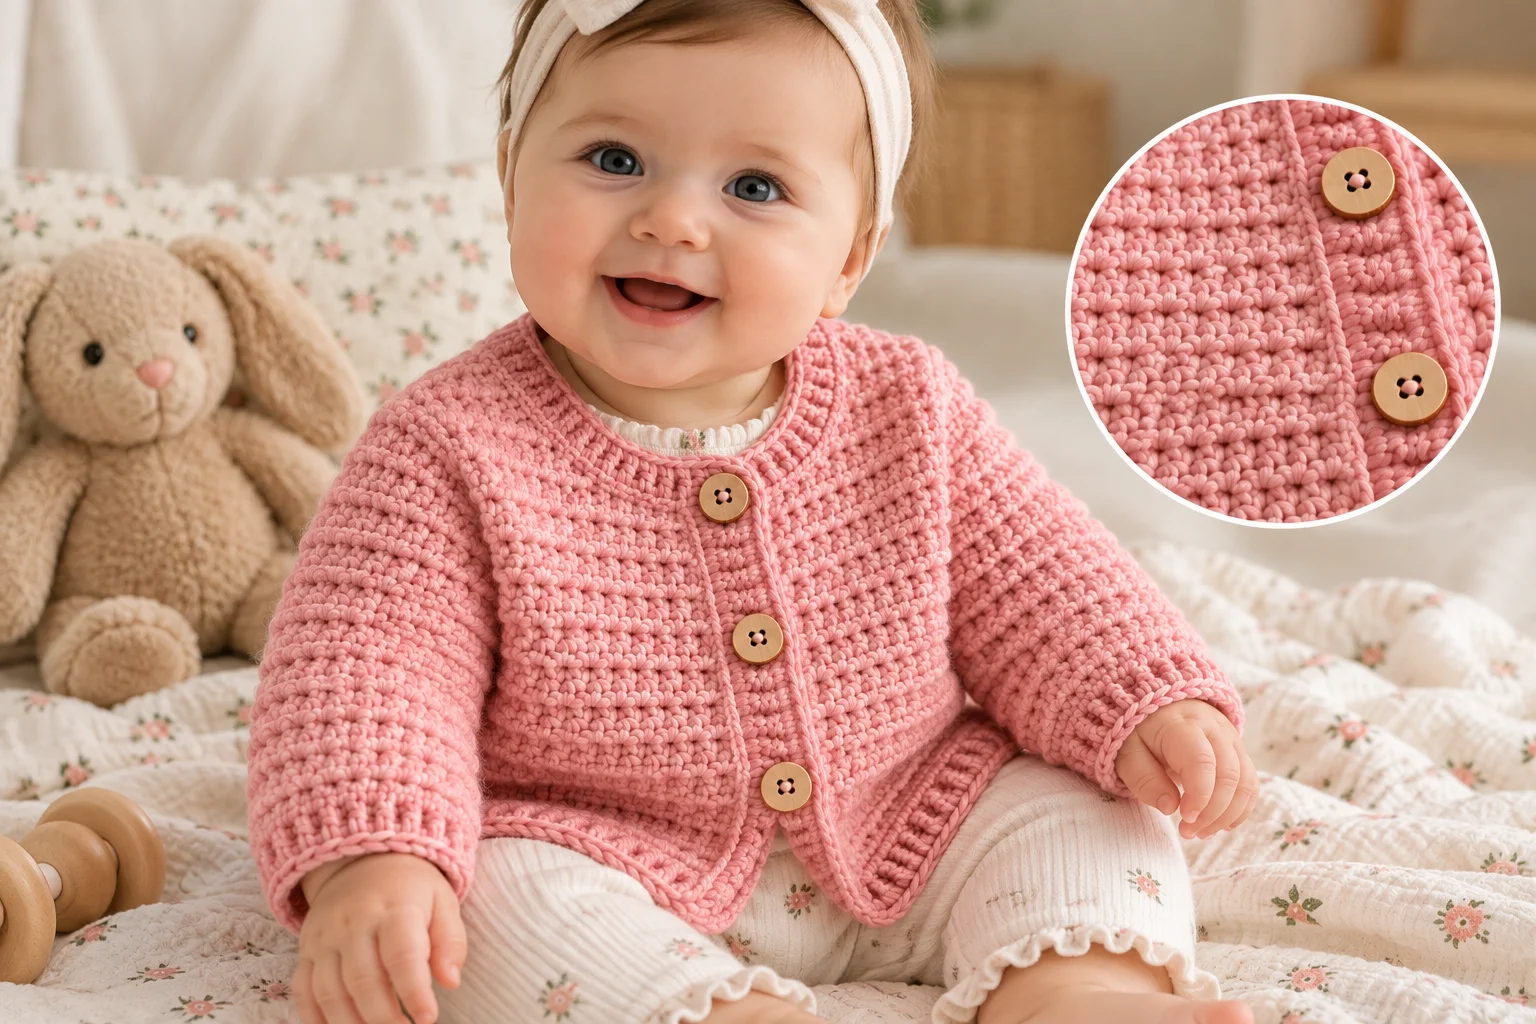
Tips for Crocheting a Baby Cardigan
Choose Washable Yarn
Baby garments often need frequent laundering. Select a yarn with care instructions that suit the intended use.
Count Your Stitches
It is easier to correct a mistake early than to discover that the body or sleeves are the wrong size after assembly.
Keep Both Sleeves Consistent
Use the same stitch tension and follow the same instructions for each sleeve. Compare their measurements before attaching them.
Avoid Tight Edging
Necklines, cuffs, and front bands should remain flexible. Tight edging can affect the fit and comfort of the garment.
Read the Pattern Before Starting
Review the complete instructions so you understand the construction, shaping, and assembly before crocheting the first row.
Choose a Simple Color Scheme
A solid color is often easiest for a first cardigan because it reduces the number of yarn changes. You can add stripes or small decorative details once you’re comfortable with the basic construction.
Customization Ideas
Classic Solid-Color Cardigan
Use one soft shade for a clean, timeless appearance. Cream, beige, pale blue, and dusty pink are versatile options.
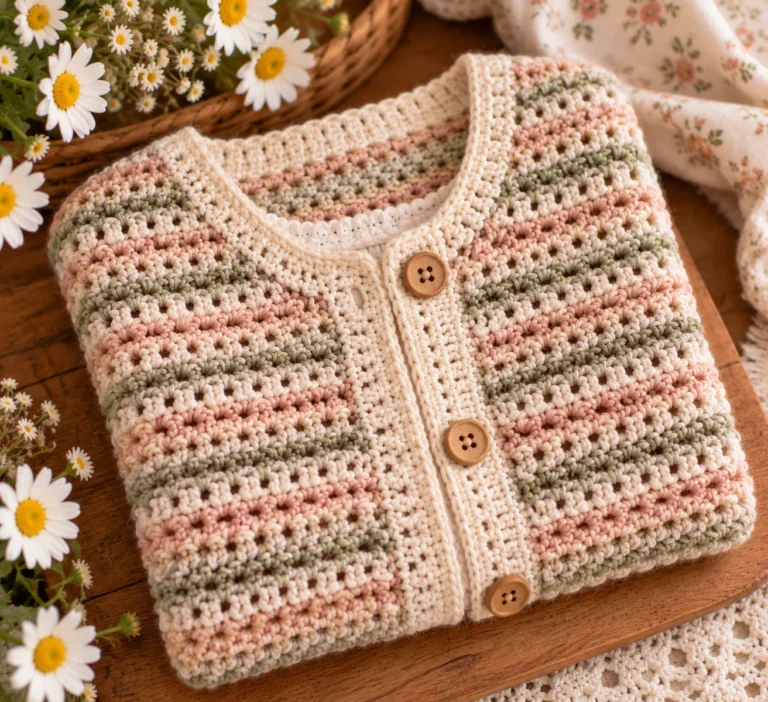
Striped Baby Cardigan
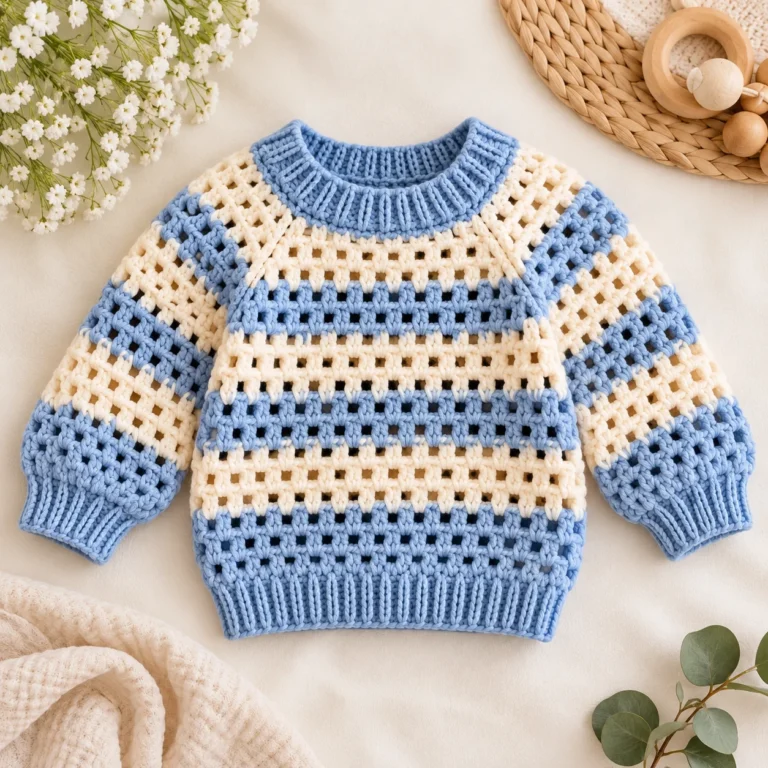
Add stripes in coordinating colors to create visual interest. Follow the pattern’s instructions for changing colors and securing yarn ends.
Floral Cardigan
Decorate the finished cardigan with small crocheted flower appliqués. Attach them securely and avoid loose embellishments that could create hazards.
Cardigan with Scalloped Edging
A scalloped border can add a delicate finish to the neckline or lower hem. Use the edging specified by your pattern or select a compatible decorative border.
Matching Baby Set
Use leftover yarn to create a coordinated hat, blanket, or booties. Choose suitable patterns for each item and match the colors for a consistent look.
Common Mistakes to Avoid
Skipping the gauge swatch: The finished cardigan may not fit as intended if your tension differs from the pattern.
Using the wrong yarn weight: Different yarn weights can change the fabric texture, drape, and finished measurements.
Ignoring stitch counts: Missing or adding stitches can cause uneven edges and incorrect shaping.
Making the sleeves different sizes: Check both sleeves before attaching them to the body.
Pulling seams too tightly: Tight seams can reduce flexibility and affect the fit.
Leaving yarn ends unsecured: Loose ends may unravel during washing or wear.
Choosing a size by age alone: Use the pattern’s finished measurements and, when possible, the baby’s measurements.
Baby Cardigan Safety
Choose yarn suitable for baby clothing and finish all seams securely. Inspect the cardigan for loose strands, weak joins, and decorations that could detach.
If using buttons, attach them firmly and inspect them regularly. Avoid beads, pearls, and other small decorative pieces that could pose a choking hazard. Do not add long cords or ties that could create a strangulation risk.
Check the garment before each use and ensure that it fits comfortably without restricting movement. A handmade garment is not automatically safe simply because it is crocheted.
Frequently Asked Questions
Is a baby cardigan easy for beginners?
Yes, many baby cardigan patterns are suitable for beginners, particularly those that use basic stitches and simple construction. Choose a pattern with clear instructions and minimal complicated shaping.
What is the easiest crochet stitch for a baby cardigan?
Single crochet, half double crochet, and double crochet are common choices. Half double crochet is often useful for creating a fabric that works up relatively quickly while retaining a balanced texture.
What yarn is best for a baby cardigan?
Choose soft, washable yarn that matches the pattern’s recommended weight and gauge. DK-weight yarn is a popular choice for lightweight garments, but the best option depends on the design.
How long does it take to crochet a baby cardigan?
The time varies according to your experience, the size, the stitch pattern, and the construction. A simple design with minimal seaming may take less time than a cardigan with detailed sleeves, decorative edging, or multiple motifs.
Can I make the cardigan without buttons?
Yes. Some designs are intended to be worn open, while others use alternative closures. Follow a pattern that supports the closure style you prefer.
Can I make a larger size?
Choose a pattern that includes the required size or provides clear resizing instructions. Changing the hook size alone may alter the fabric density without producing the correct fit.
How do I wash a crocheted baby cardigan?
Follow the yarn label and pattern care instructions. Some yarns can be machine-washed, while others require gentle handwashing. Reshape the garment as recommended and let it dry completely.
Conclusion
A super easy baby cardigan is a rewarding crochet project for anyone who wants to create a practical, handmade garment. With simple stitches, suitable yarn, careful sizing, and neat finishing, you can make a cardigan that looks beautiful and feels comfortable.
Start with a design that matches your skill level, check the gauge, and follow the pattern’s shaping instructions carefully. Once you understand the basic construction, you can experiment with colors, decorative borders, and floral appliqués to create a cardigan that is uniquely yours.