Riverbed Cardigan Junior: A Free Crochet Pattern Step by Step
Riverbed Cardigan Junior: A Free Crochet Pattern Step by Step
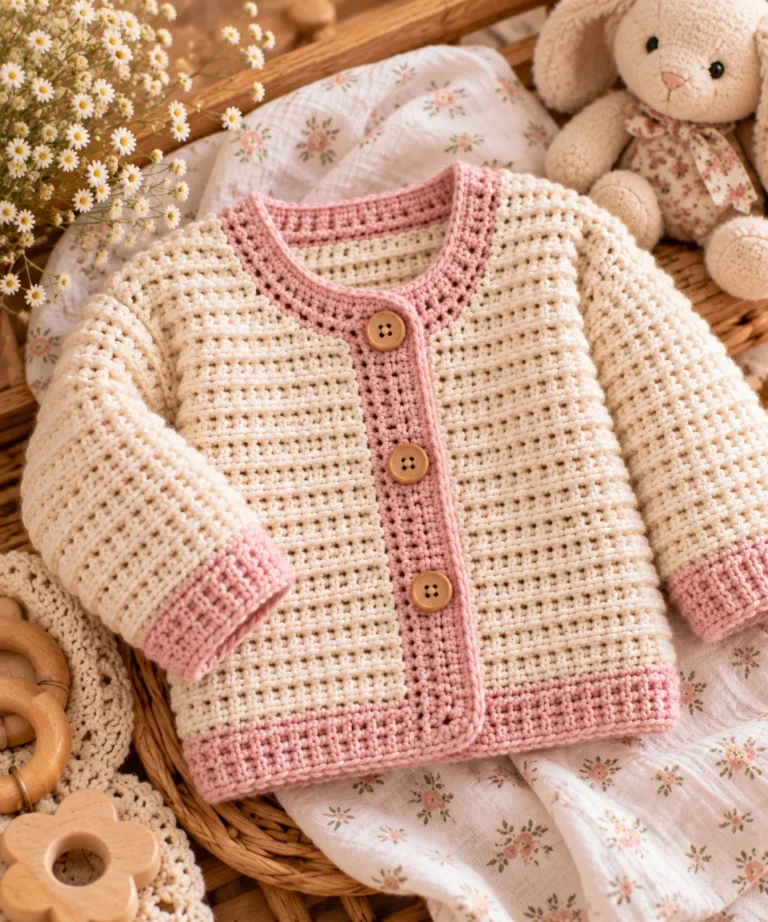
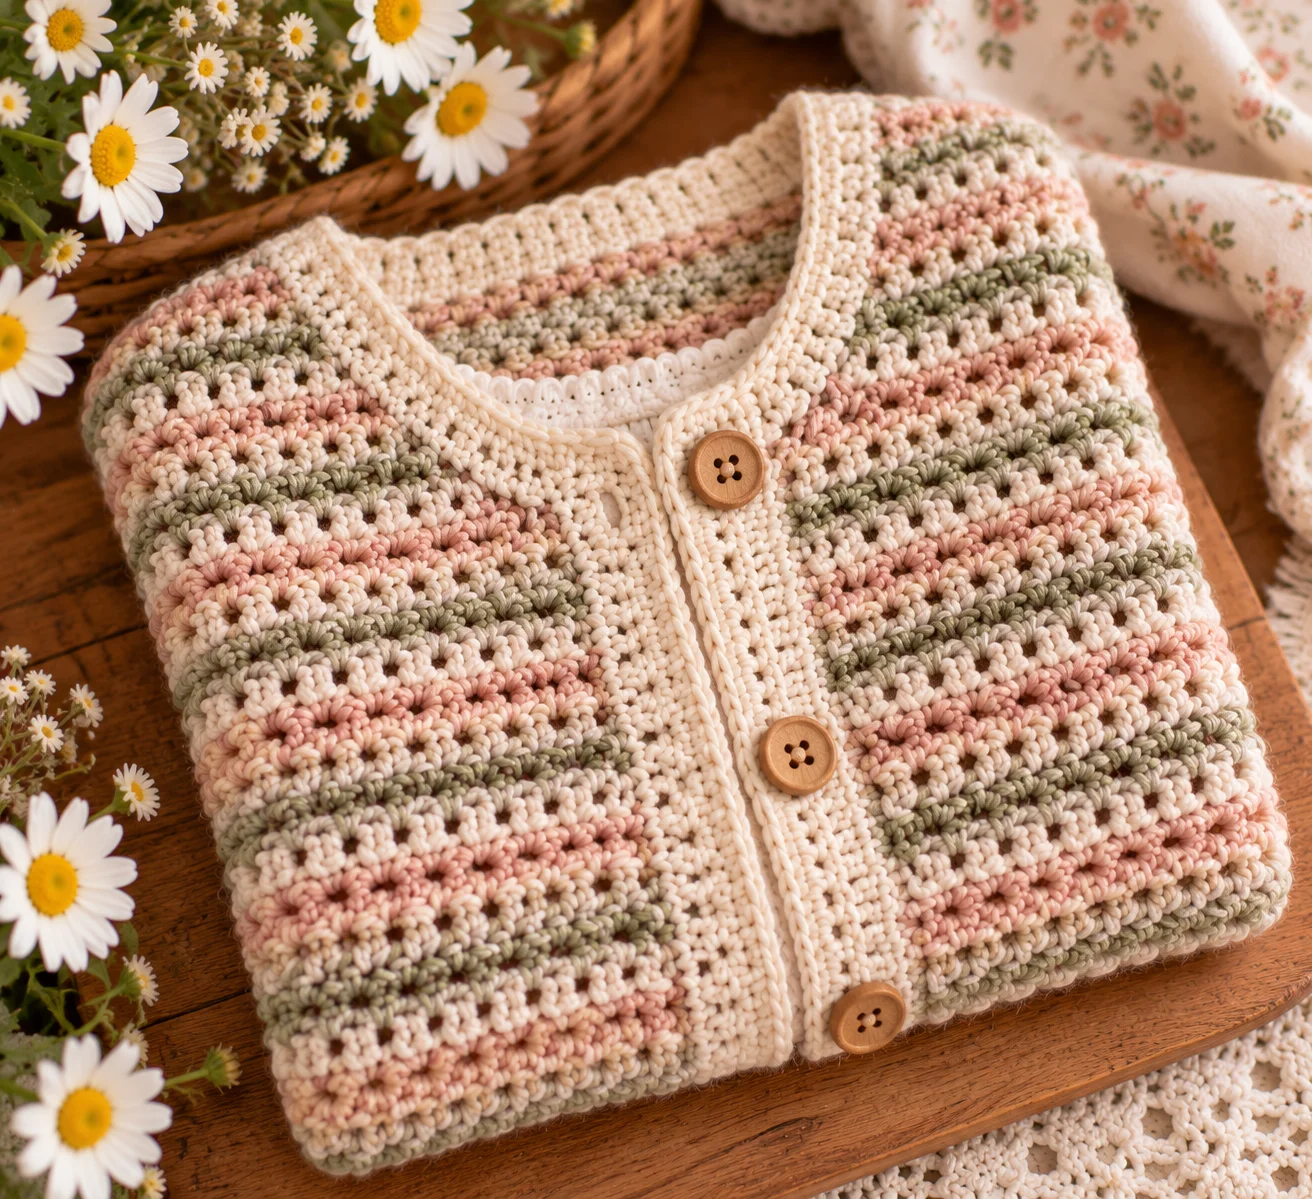
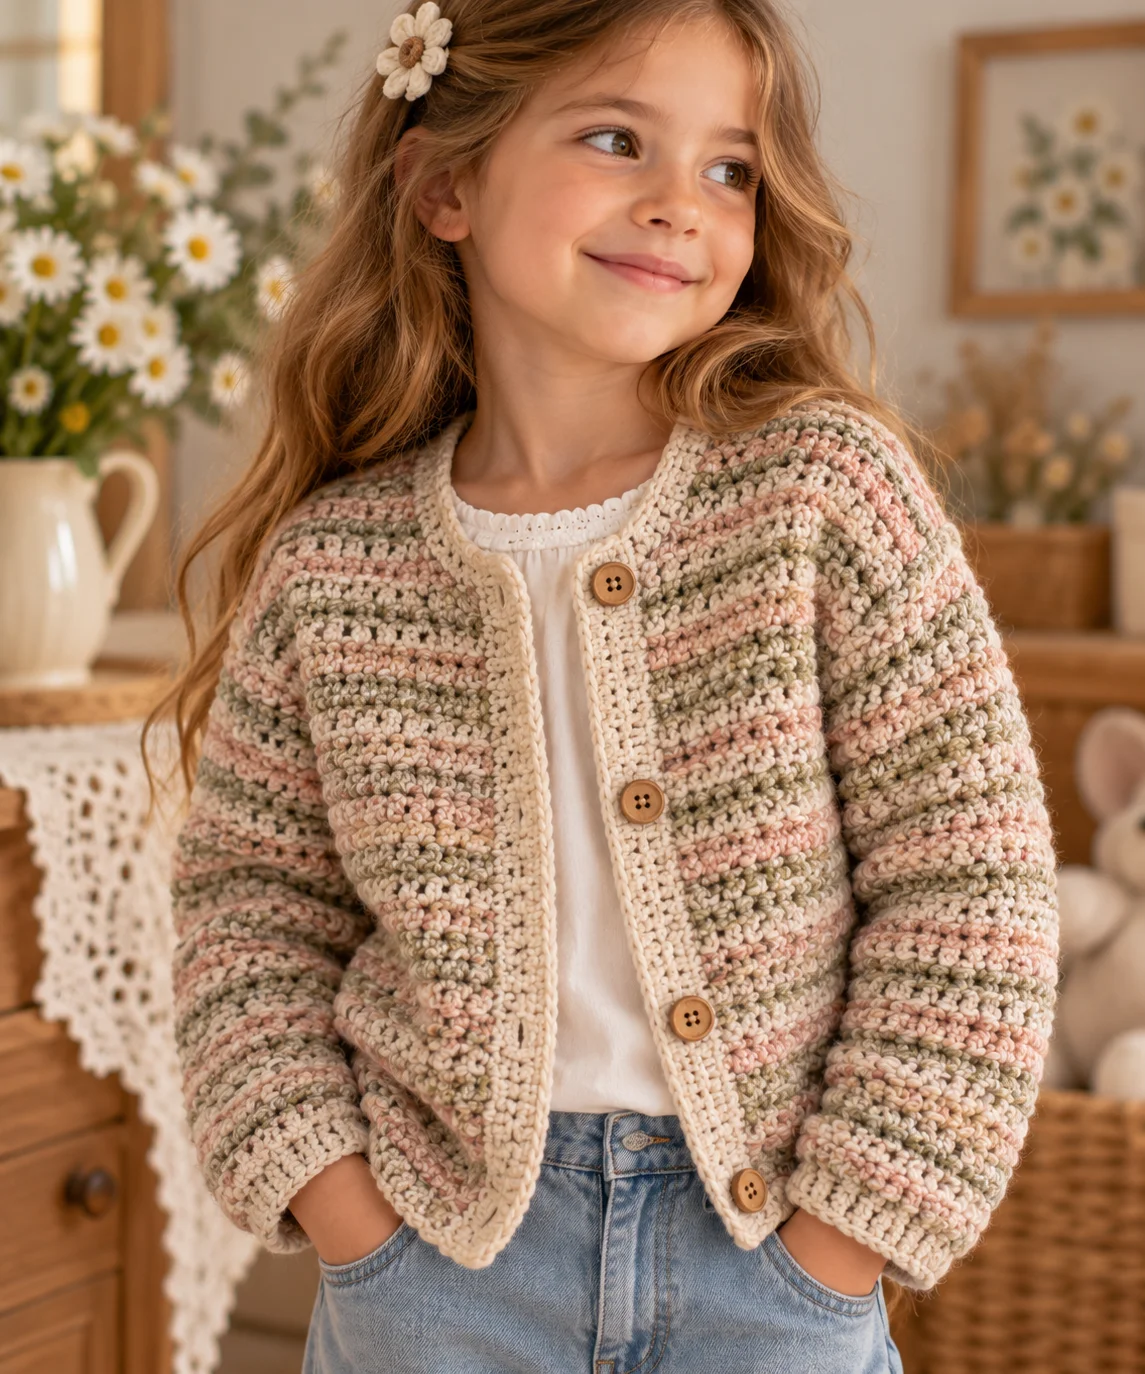
The Riverbed Cardigan Junior is a cozy crochet layer designed for kids who love comfortable handmade clothing. Its softly textured fabric has a subtle rippling effect that resembles smooth stones and gentle water flowing over a riverbed.
This cardigan is worked in separate back, front, and sleeve pieces and then seamed together. A simple front edging and button band finish the design.
The pattern is written for approximately ages 6–8, with instructions for adjusting the length and sleeve fit.
Project Overview
- Skill level: Intermediate
- Size: Junior, approximately 6–8 years
- Construction: Separate panels seamed together
- Terminology: US crochet terms
- Main stitch: Half double crochet
- Texture: Alternating front-loop and back-loop half double crochet
- Fastening: Buttons
- Style: Relaxed, everyday cardigan
Materials
- Approximately 700–800 yards worsted-weight (#4) yarn
- 5.0 mm crochet hook
- Yarn needle
- Scissors
- Stitch markers
- Measuring tape
- 3 medium-sized buttons
Choose a soft, washable yarn suitable for children’s clothing.
A heathered, tweed, or subtly variegated yarn works particularly well with the riverbed-inspired texture.
Crochet Abbreviations
US crochet terminology:
- ch – chain
- sl st – slip stitch
- sc – single crochet
- hdc – half double crochet
- FLO – front loop only
- BLO – back loop only
- st/sts – stitch/stitches
- sk – skip
- inc – increase
- dec – decrease
- RS – right side
- WS – wrong side
Special Stitch: Ripple Texture
The main fabric alternates between working half double crochet through the front loop and back loop.
When instructed to work hdc in FLO, insert the hook through the front loop only.
When instructed to work hdc in BLO, insert the hook through the back loop only.
Alternating these stitches creates soft horizontal ridges without requiring complicated stitch combinations.
Finished Measurements
Approximate finished measurements:
- Chest circumference: 28 inches
- Back length: 16 inches
- Sleeve length: 15 inches
- Cardigan width across body: approximately 14 inches per half when laid flat
For the best fit, measure the child before beginning. The cardigan is intended to have a relaxed fit with room for a shirt underneath.
Gauge
Approximately 14 hdc x 10 rows = 4 inches.
If your gauge is tighter, use a larger hook. If your gauge is looser, use a smaller hook.
Because this is a garment, checking gauge before beginning the main pieces is strongly recommended.
Back Panel
Ch 51.
Row 1
Hdc in the 2nd ch from hook and in each ch across.
(50 sts)
Row 2
Ch 1 and turn.
Hdc in BLO across.
(50 sts)
Row 3
Ch 1 and turn.
Hdc in FLO across.
(50 sts)
Rows 4–39
Repeat Rows 2 and 3.
Keep alternating BLO and FLO hdc to maintain the textured riverbed effect.
Fasten off.
The finished back panel should measure approximately 14 inches wide and 16 inches long.
Set aside.
Left Front Panel
Ch 27.
Row 1
Hdc in the 2nd ch from hook and across.
(26 sts)
Row 2
Ch 1 and turn.
Hdc in BLO across.
(26 sts)
Row 3
Ch 1 and turn.
Hdc in FLO across.
(26 sts)
Rows 4–30
Continue alternating Rows 2 and 3.
Front Neck Shaping
The upper portion of the front panel will be shaped slightly to create the neckline.
Row 31
Ch 1 and turn.
Hdc across the first 17 sts.
Leave the remaining 9 sts unworked.
(17 sts)
Rows 32–34
Ch 1 and turn.
Hdc across.
(17 sts)
Fasten off, leaving a long tail for seaming.
Right Front Panel
Work the same as the left front panel until Row 30.
For the neckline shaping:
Row 31
Ch 1 and turn.
Skip the first 9 sts and hdc across the remaining 17 sts.
(17 sts)
Rows 32–34
Ch 1 and turn.
Hdc across.
(17 sts)
Fasten off, leaving a long tail.
The two front panels should mirror one another.
Sleeves
Make 2.
The sleeves are worked from the cuff upward.
Ch 25.
Row 1
Hdc in the 2nd ch from hook and across.
(24 sts)
Row 2
Ch 1 and turn.
Hdc in BLO across.
(24 sts)
Row 3
Ch 1 and turn.
Hdc in FLO across.
(24 sts)
Rows 4–24
Continue alternating BLO and FLO hdc.
Sleeve Increases
The sleeve gradually widens toward the upper arm.
Row 25
Ch 1 and turn.
Hdc in the first st, 2 hdc in the next st, hdc across until 2 sts remain, 2 hdc in the next st, hdc in the final st.
(26 sts)
Row 26
Ch 1 and turn.
Hdc in BLO across.
(26 sts)
Row 27
Ch 1 and turn.
Hdc in FLO across.
(26 sts)
Row 28
Repeat Row 26.
Row 29
Repeat Row 27.
Row 30
Ch 1 and turn.
Hdc in the first st, 2 hdc in the next st, hdc across until 2 sts remain, 2 hdc in the next st, hdc in the final st.
(28 sts)
Rows 31–36
Continue alternating BLO and FLO hdc across.
Fasten off.
Repeat for the second sleeve.
Blocking the Pieces
Before assembly, gently block the back, front, and sleeve pieces.
Lay each piece flat and shape it to the intended measurements.
Allow the pieces to dry completely.
Blocking helps the textured stitches relax and makes the seams easier to align.
Cardigan Assembly
Place the back panel flat with the right side facing upward.
Position the two front panels over the back panel.
Align the shoulders and side edges.
Shoulder Seams
Using a yarn needle and matching yarn, sew the shoulder seams together.
Work through corresponding stitches along the top edges.
Secure the yarn and weave in the ends.
Side Seams
Starting at the lower edge, sew each front panel to the back panel.
Leave the lower portion open if you prefer a more relaxed side opening; otherwise, sew the entire side seam up to the underarm.
For the standard cardigan shape, leave the sleeve opening completely open.
Attaching the Sleeves
Fold each sleeve in half lengthwise with the wrong side facing outward.
Sew the long sleeve seam from the cuff toward the upper edge.
Turn the sleeve right side out.
Insert the sleeve into the armhole with the sleeve seam positioned along the underside of the arm.
Pin the sleeve evenly around the armhole.
Sew the sleeve securely to the body.
Repeat for the second sleeve.
Front and Neck Edging
Join yarn at the lower front edge.
Edging Round 1
Ch 1.
Work sc evenly along the front edge, around the neckline, and down the opposite front edge.
At corners, work 2 sc in the same area when needed to prevent the edging from pulling.
Sl st to the starting point.
Fasten off.
Edging Round 2
Join yarn at the lower front edge again.
Ch 1.
Sc evenly around the entire front opening and neckline.
Sl st to the first sc.
Fasten off.
Weave in all ends.
Button Band
Choose which side will be the button side.
Join yarn near the top of the front opening.
Work 2 rows of sc along the front edge.
Keep the stitches even and avoid making the band too tight.
Buttonholes
On the opposite front edge, mark three buttonhole positions:
- Near the upper chest
- Approximately halfway down
- Near the lower front
For each buttonhole, work:
Sc to marked position, ch 2, skip 2 sts, sc across.
On the next row, work sc into the chain-2 space.
Fasten off and weave in the ends.
Sew the three buttons securely opposite the buttonholes.
Check that the buttons are firmly attached before the cardigan is worn.
Finishing
Weave in every remaining yarn tail.
Gently reshape the cardigan.
Button the cardigan and lay it flat to check the overall shape.
If the front edges pull inward, lightly block the finished cardigan again.
Customizing the Riverbed Cardigan
Make It Longer
Add additional rows to the back and front panels before beginning the neckline shaping.
For a longer cardigan, add approximately 1 inch at a time rather than dramatically increasing the length.
Make the Sleeves Longer
Continue working the sleeve rows before finishing the sleeve cap.
Measure the sleeve against the child’s arm for the best result.
Create a Cropped Cardigan
Work fewer body rows before beginning the neckline shaping.
A shorter version pairs nicely with dresses or high-waisted skirts.
Change the Color
The textured stitch looks beautiful in:
- Sage green
- Oatmeal
- Rust
- Mustard
- Denim blue
- Dusty rose
- Chocolate brown
- Cream
For a striped cardigan, change colors every 4–6 rows while keeping the stitch pattern unchanged.
Tips for Success
Count your stitches
The front and back panels need consistent stitch counts for clean assembly.
Keep the texture consistent
Always alternate BLO and FLO rows. If you accidentally work through both loops, the texture will become less defined.
Check sleeve placement
Before sewing a sleeve permanently, pin it into the armhole and try the cardigan flat. This makes it easier to correct positioning.
Don’t overtighten seams
A slightly flexible seam will make the cardigan more comfortable to wear.
Test your buttonholes
Button sizes vary. Make a small test buttonhole before working the actual cardigan so you know your chosen button will pass through comfortably.
Safety
This cardigan is intended as children’s clothing. Make sure all buttons and other attached components are securely sewn on and inspect them regularly for looseness or damage.
Avoid long cords or dangling decorations that could become a strangulation hazard.
Always choose materials appropriate for the intended child and follow applicable clothing-safety requirements.
Frequently Asked Questions
Is the Riverbed Cardigan suitable for beginners?
It is best suited to a confident beginner or intermediate crocheter because the basic stitches are simple, but garment construction and seaming require some additional skills.
Can I use bulky yarn?
You can, but it will substantially change the finished size and fabric. For this pattern, worsted-weight yarn gives the intended drape and texture.
Can I make the cardigan smaller?
Yes. The easiest method is to reduce the width and length of the panels while maintaining matching front and back measurements.
For a substantially smaller size, make a gauge swatch and calculate the required number of stitches from the child’s chest measurement.
Can I make an adult version?
Yes. Use the same basic construction but take accurate body measurements and calculate the panel widths, body length, sleeve length, and neckline for the intended wearer.
Why is my cardigan too stiff?
Your yarn or tension may be producing a dense fabric. Try a larger hook and make another gauge swatch before continuing.
Can I machine wash the cardigan?
Follow the washing instructions for the yarn you choose. If the yarn is machine washable, place the finished cardigan in a suitable laundry bag and use the recommended gentle cycle.
Final Thoughts
The Riverbed Cardigan Junior combines a simple garment shape with an understated textured stitch pattern that gives the fabric plenty of visual interest. The design is easy to personalize with different colors, lengths, sleeve styles, and buttons.
Once you are comfortable with the construction, you can use the same basic techniques to create coordinating cardigans in different sizes and color palettes.