Crochet Mesh Stitch Baby Pullover Sweater – Free Pattern Guide
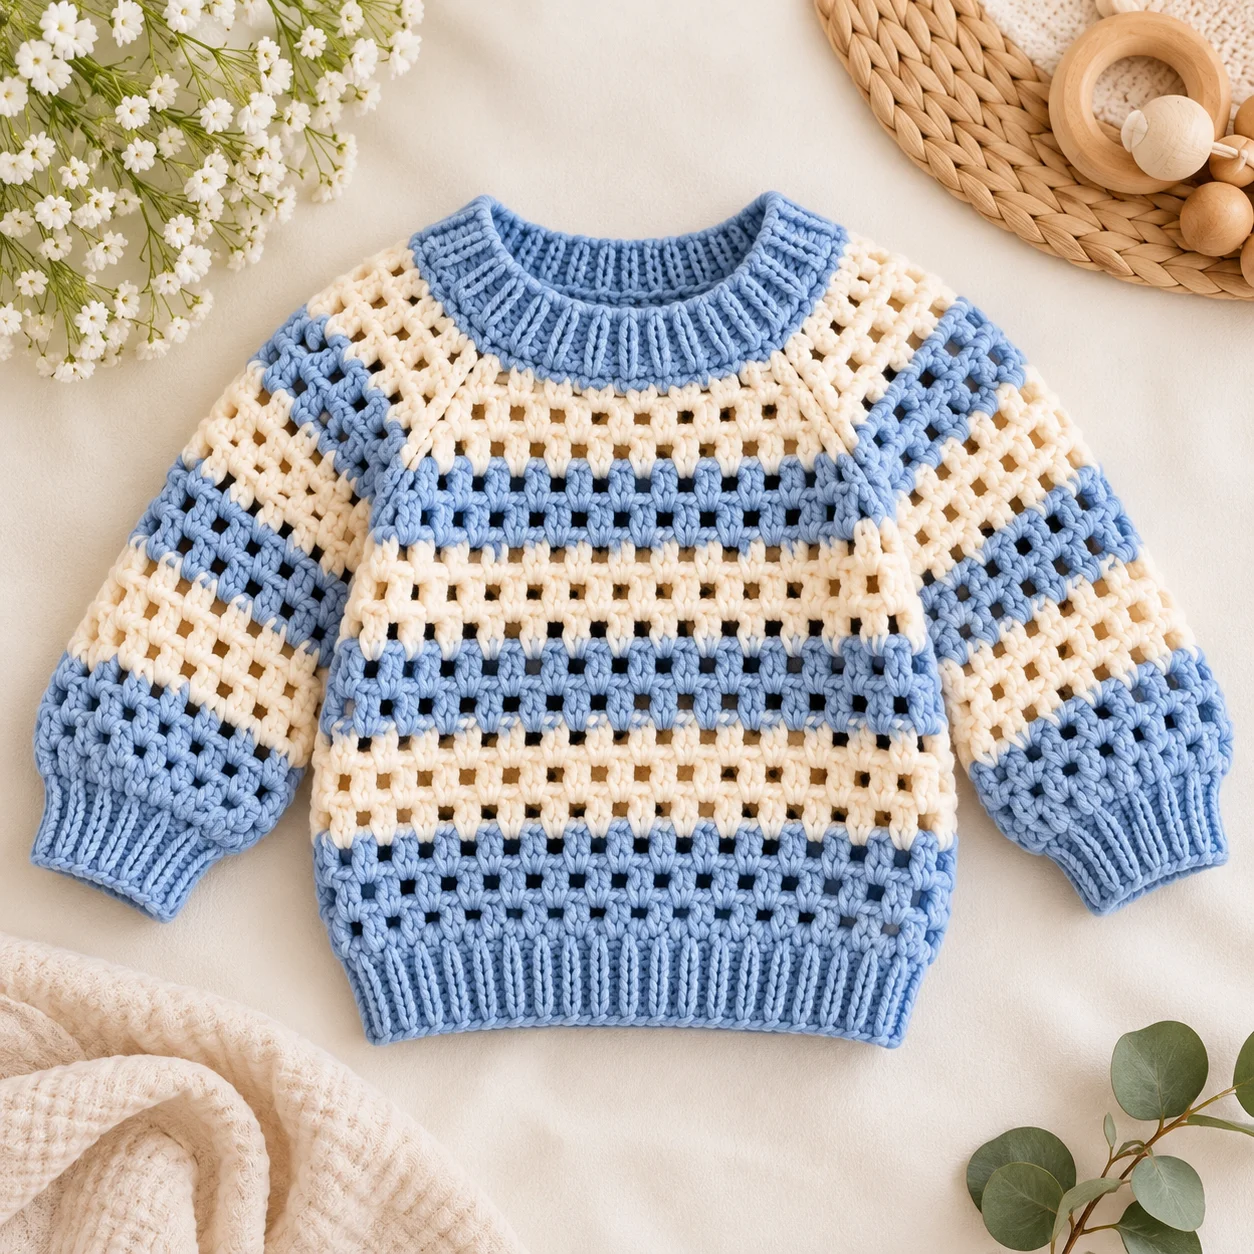
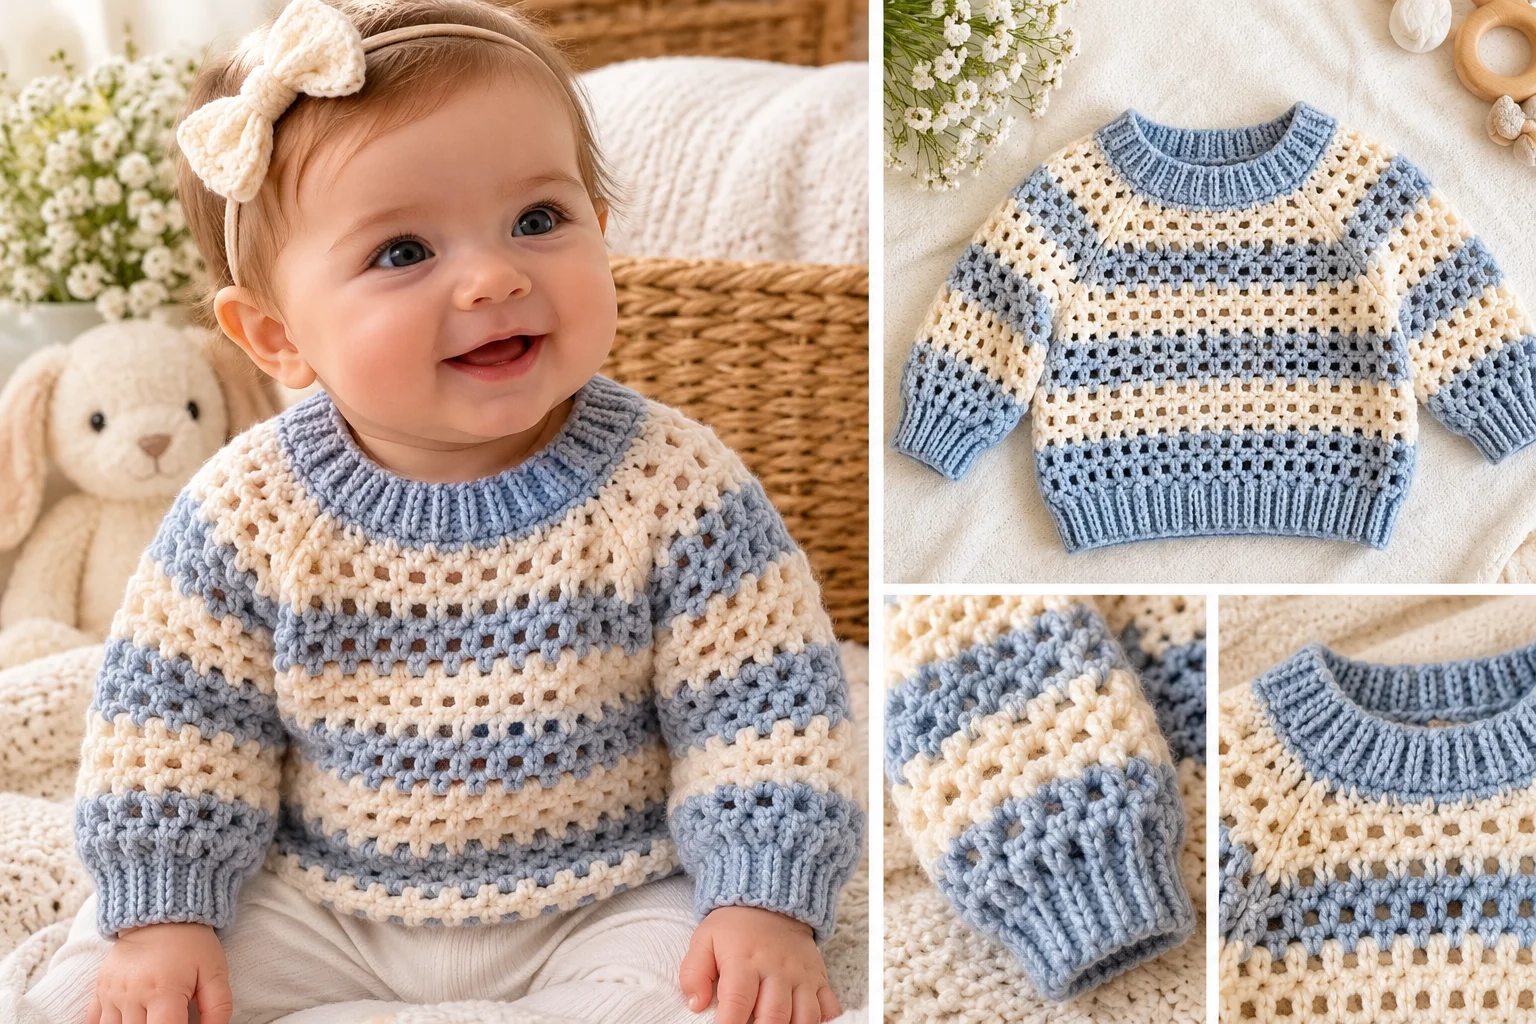
A crochet mesh stitch baby pullover sweater is a lovely handmade layer for cooler days. The open mesh creates a lightweight fabric, while the ribbed cuffs and hem give the sweater a finished, classic look.
One particularly useful free design is the Crochet Mesh Stitch Baby Pullover Sweater by Tiffany Brown of Daisy Farm Crafts. The original design is worked from the neckline downward, allowing the crocheter to adjust the sweater’s size by changing when the armholes are joined. The designer also provides guidance for adapting the sweater based on the baby’s head circumference and armhole depth.
This article explains the design, stitch construction, materials, sizing approach, and techniques without reproducing the original designer’s complete pattern instructions.
Project Overview
This baby pullover features:
- A top-down construction
- A simple single crochet and chain mesh stitch
- Raglan-style increases at four corners
- Separate sleeves worked after the armholes are joined
- Two-color striping
- Ribbed sleeve cuffs
- A ribbed bottom band
- A pullover neckline rather than a button or zipper opening
The original pattern uses Caron Simply Soft, a worsted-weight 100% acrylic yarn, with a 5 mm hook for the main sweater and a smaller hook for the ribbed band.
The mesh stitch itself is particularly straightforward: single crochet stitches are separated by chain-1 spaces. Daisy Farm Crafts describes the stitch as an even-chain repeat consisting of single crochet, chain 1, skip 1, and another single crochet.
Materials
For the original version, you will need:
- Caron Simply Soft, 100% acrylic, worsted weight
- 1 skein Light Country Blue
- 1 skein Country Blue
- H/5.00 mm crochet hook
- 4.5 mm crochet hook
- Tapestry needle
- Scissors
- Fabric tape measure
The original designer also demonstrates the sweater in other color combinations, including pink and fuchsia.
Yarn Substitution
A different worsted-weight acrylic yarn can be used, but changing yarn can affect both the gauge and finished measurements.
The original designer specifically notes that different worsted-weight acrylic yarns can produce different results because yarn characteristics such as bounce and drape vary.
For a baby sweater, choose a yarn that is soft, washable, and comfortable against delicate skin.
Crochet Abbreviations
The original pattern uses US crochet terminology:
- ch – chain
- sc – single crochet
- dc – double crochet
- sl st – slip stitch
- yo – yarn over
- yoSLST – yarn-over slip stitch
- FPDC – front post double crochet
- BPDC – back post double crochet
- st/sts – stitch/stitches
- sk – skip
Gauge
The stated gauge is:
4 inches = 18 stitches and 18 rows of the pattern.
Gauge is particularly important when making baby clothing because even a relatively small difference in tension can noticeably change the finished circumference.
Make a gauge swatch before beginning if you want to reproduce the original sizing as closely as possible.
Finished Size and Sizing
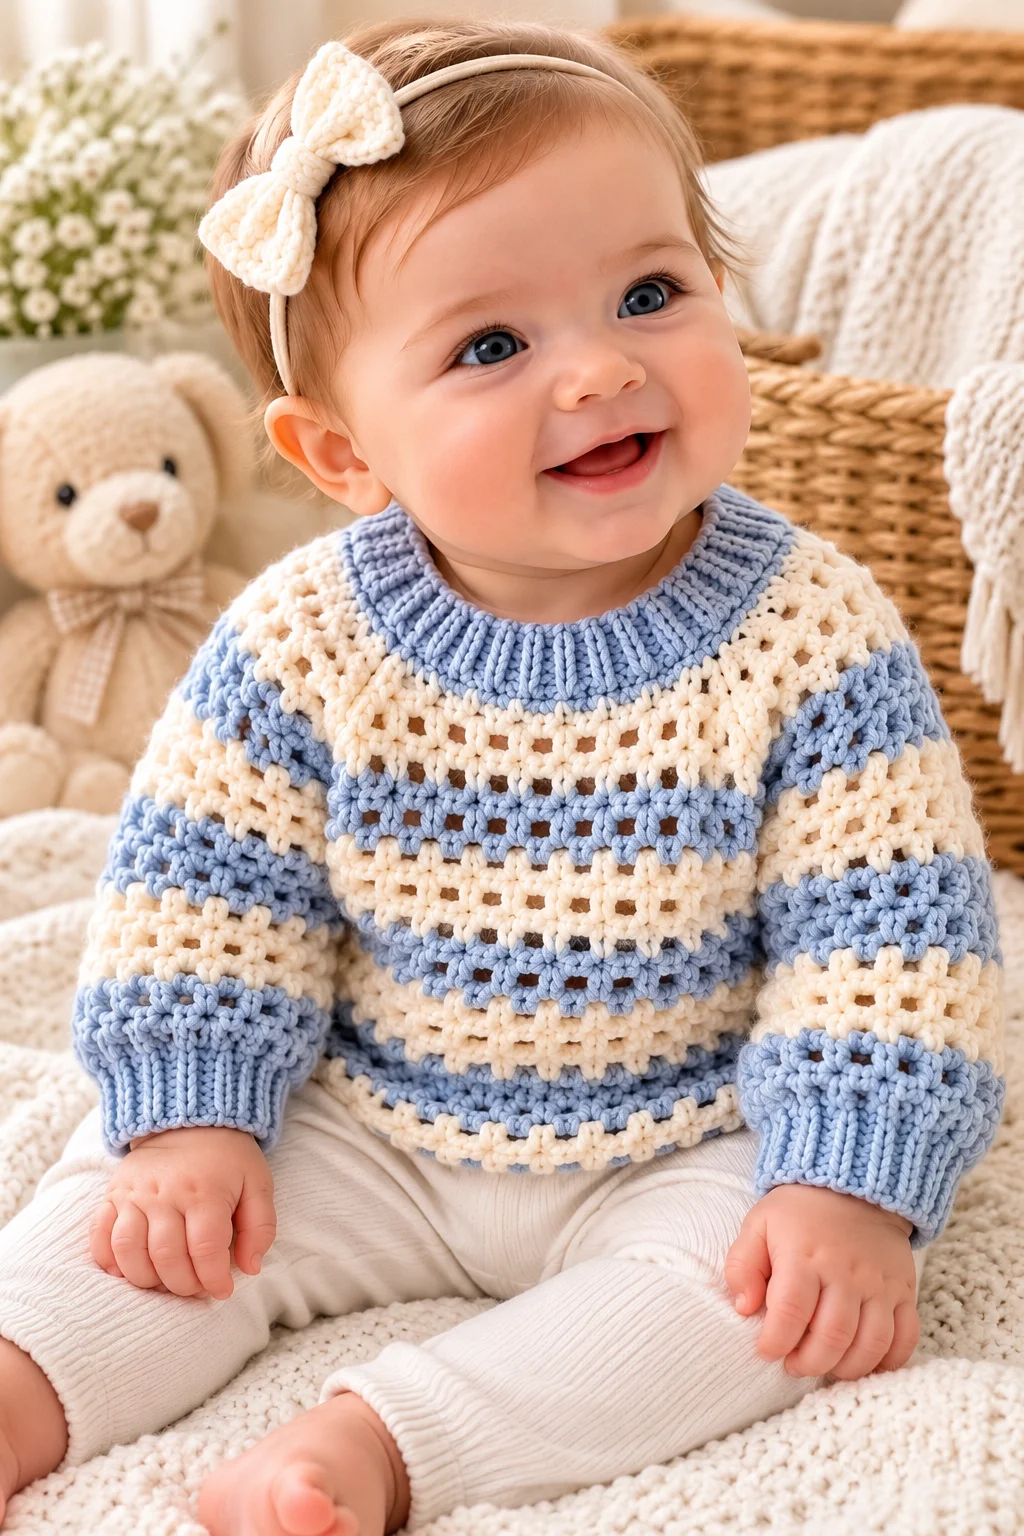
One of the most useful features of this design is that it can be adjusted according to the baby’s measurements.
The designer explains that the neckline is designed to fit over the baby’s head, and recommends checking the baby’s head circumference rather than relying solely on an age label. The armhole depth can also be used to determine when to stop increasing the yoke.
For the original example, the designer used an armhole depth of approximately 3.25 inches for the smaller version.
For a larger version, the designer increased the yoke until reaching approximately 3.75 inches of armhole depth.
This measurement-based approach is more reliable than assuming every baby of the same age will have identical proportions.
Understanding the Mesh Stitch
The mesh stitch is the defining feature of this sweater.
Its basic structure is:
Single crochet, chain 1, skip the next stitch, single crochet.
On subsequent rows or rounds, the single crochet stitches are worked into the previous row’s single crochet stitches, while the chain spaces create the open areas.
This produces a lightweight fabric with small rectangular openings.
Because the mesh is created with chain spaces rather than complicated lacework, it is relatively easy to maintain once the rhythm of the stitch becomes familiar.
Mesh Stitch Tips
Keep your chain-1 spaces consistent.
If you accidentally skip a single crochet instead of a chain space, the stitch count and fabric structure can quickly become distorted.
At the end of a round, pay particular attention to where the final single crochet belongs. The original sweater instructions emphasize ending the mesh rounds with a single crochet before joining.
How the Sweater Is Constructed
Step 1: Crochet the Neckband
The sweater begins with a narrow single crochet band.
The original pattern works the band as a long strip, using back-loop-only stitches to create ribbed texture. The two ends are then joined to form a circle.
This creates a flexible neckline while avoiding the need to sew a separate collar onto the sweater.
Step 2: Establish the Yoke
Once the neckband is complete, the sweater is worked around the opening.
Four marked points establish the corners of the yoke:
- Front
- Back
- Left shoulder
- Right shoulder
At each corner, an increase is created with a single crochet, chain 2, single crochet combination.
The mesh stitch fills the spaces between these four increase points.
Step 3: Continue the Increase Rounds
The yoke grows as you repeat the increase rounds.
At each corner, work into the chain-2 space rather than treating the corner as an ordinary stitch.
This is what allows the garment to expand outward around the shoulders and chest.
The original version calls for 14 increase rounds or until the armhole depth reaches approximately 3.25 inches.
However, the measurement is more important than blindly following a round count when adapting the sweater to a different baby.
Joining the Armholes
Once the yoke is large enough, the front and back portions are connected while the sleeve openings are separated.
This is an important transition in the construction.
Instead of continuing to increase around the entire garment, the stitches belonging to the sleeve areas are skipped or bridged so that the remaining stitches form the body of the sweater.
The original pattern uses chain stitches across the armhole areas to help maintain the mesh structure when joining the body.
After this point, the sweater becomes much simpler because the body is worked straight downward.
Crocheting the Body
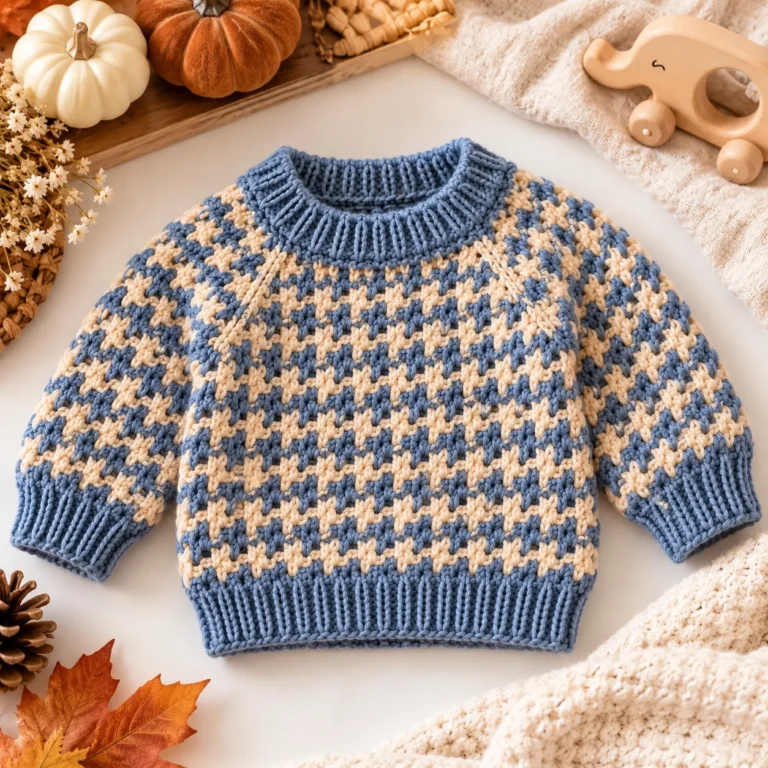
The original sweater uses two shades of blue.
The main body is worked in mesh stitch for multiple rounds in the lighter shade before changing to the darker shade.
Near the bottom, the mesh spaces are eliminated by working single crochet into the appropriate stitches. This creates a solid row from which the ribbed hem can be built.
This transition is a useful design detail: the open mesh provides visual interest through the body, while the solid lower section creates a stable foundation for the ribbing.
Creating the Ribbed Hem
The hem is worked with a smaller hook.
Instead of simply crocheting several rounds of ordinary single crochet, the original design creates a vertical ribbed band using yarn-over slip stitches.
The band is worked back and forth in short rows and attached to the bottom edge as you go. The two ends are eventually sewn together.
This technique creates a flexible ribbed finish that visually resembles the ribbing often used on knitted sweaters.
Crocheting the Sleeves
The sleeves are started at the center of each underarm.
The mesh stitch is worked around the sleeve opening, maintaining the same open pattern used on the body.
The original version uses the lighter blue for ten rows and then changes to the darker blue for another nine rows.
Because baby proportions vary, you can use the baby’s arm length as a practical guide rather than relying exclusively on a predetermined number of rounds.
Sleeve Cuffs
The lower sleeve is finished differently from the mesh portion.
First, the chain spaces are omitted to create a solid round. Double crochet is then worked around the sleeve, followed by alternating front-post and back-post double crochet stitches.
This creates a stretchy ribbed cuff. The original pattern works two rounds of this post-stitch ribbing.
Why Use FPDC and BPDC?
Front-post and back-post double crochet stitches create raised vertical columns.
Alternating the two makes the fabric contract slightly, giving the cuff useful stretch around the baby’s wrist.
Color Ideas
The original design looks especially cute with two related shades, but there are many ways to personalize it.
Soft Neutrals
Try:
- Cream
- Oatmeal
- Light taupe
- Warm beige
This creates a simple sweater suitable for everyday wear.
Classic Baby Colors
Try:
- Powder blue and navy
- Blush pink and rose
- Sage and cream
- Lavender and plum
Rainbow Stripes
Use several coordinating colors and change shades every few rounds.
Because the mesh stitch is relatively simple, color changes become the main decorative element.
One-Color Version
You can also work the entire sweater in a single color for a more minimalist look.
This is especially effective with a yarn that has subtle tonal variation.
Tips for a Better Fit
Measure the Head
The neckline must be large enough to pass comfortably over the baby’s head.
The original designer specifically recommends taking the baby’s head circumference when determining the starting neck size.
Check Armhole Depth
Don’t rely solely on age.
Measure from the shoulder area toward the underarm and stop the yoke increases when the sweater reaches the appropriate depth.
Adjust Length Independently
Once the armholes are joined, you can add or remove body rounds to change the overall sweater length.
The same principle applies to the sleeves.
Use a Garment as a Reference
For an older baby, another well-fitting shirt or sweater can be a useful reference for sleeve and body length.
The original designer used a purchased shirt as a guide when making a larger version.
Common Mistakes
Losing the Corner Increase
The four corner spaces are what shape the yoke.
Use stitch markers and check them at the beginning of every increase round.
Miscounting Mesh Spaces
Remember that the chain spaces are part of the stitch pattern.
If you accidentally work into the wrong location, the mesh can become uneven.
Making the Neckline Too Small
A sweater that fits the chest may still be difficult to put over a baby’s head.
Always consider head circumference when determining neckline size.
Using the Same Hook for Everything
The original pattern uses different hook sizes for the main sweater and the ribbed band.
Using a smaller hook for ribbing helps create a firmer, more compact finish.
Baby Sweater Safety
Baby clothing should be checked carefully before use.
Avoid decorative buttons, beads, or other small detachable embellishments that could become choking hazards.
Make sure all yarn ends are securely woven in and inspect the garment periodically for loose stitching.
The sweater should also fit comfortably without restricting the baby’s neck, arms, or movement.
Frequently Asked Questions
Is this crochet mesh stitch baby sweater beginner-friendly?
The basic mesh stitch is simple, but the complete garment involves yoke shaping, increases, sleeve construction, ribbing, and garment sizing. It is a good project for an adventurous beginner or intermediate crocheter.
What yarn is used for the original pattern?
The original pattern uses Caron Simply Soft, 100% acrylic, worsted weight.
What hook size do I need?
The original design uses a 5 mm hook for the main sweater and a 4.5 mm hook for the ribbed band.
Can I make the sweater larger?
Yes. One of the strengths of this top-down construction is that you can continue the yoke increase rounds until the armhole depth is appropriate.
The original designer also demonstrates a larger version with a deeper armhole and a roomier fit.
Can I make it smaller?
The neckline and yoke can be adjusted by changing when you join the armholes, but the baby’s measurements should guide the modification rather than simply removing an arbitrary number of rounds.
What makes this a mesh stitch?
The main fabric alternates single crochet with chain-1 spaces. The chain spaces create the open appearance characteristic of the mesh stitch.
Is the sweater warm?
It is lighter and more breathable than a densely crocheted sweater because of the mesh construction. It works particularly well as a layering piece.
Original Pattern Source
The complete free pattern is available from Daisy Farm Crafts, where Tiffany Brown provides the full instructions, sizing discussion, photographs, and a video tutorial.
The original designer’s notes are particularly useful if you want to adjust the sweater for a baby’s individual head circumference or armhole depth.
Conclusion
The crochet mesh stitch baby pullover sweater is a charming garment that combines a simple open stitch with thoughtful top-down construction. Its four-corner yoke increases make the sweater relatively easy to customize, while the separate ribbed hem and cuffs give it a polished finish.
The key to getting a good fit is to measure rather than rely entirely on age-based sizing. Pay particular attention to the baby’s head circumference and armhole depth, and make adjustments to the body and sleeves as needed.
For crocheters who enjoy practical baby garments, this is a useful pattern to keep in your crochet library—especially because the basic mesh stitch can also be adapted to other lightweight clothing projects.