Crochet Strawberry Cardigan Pattern
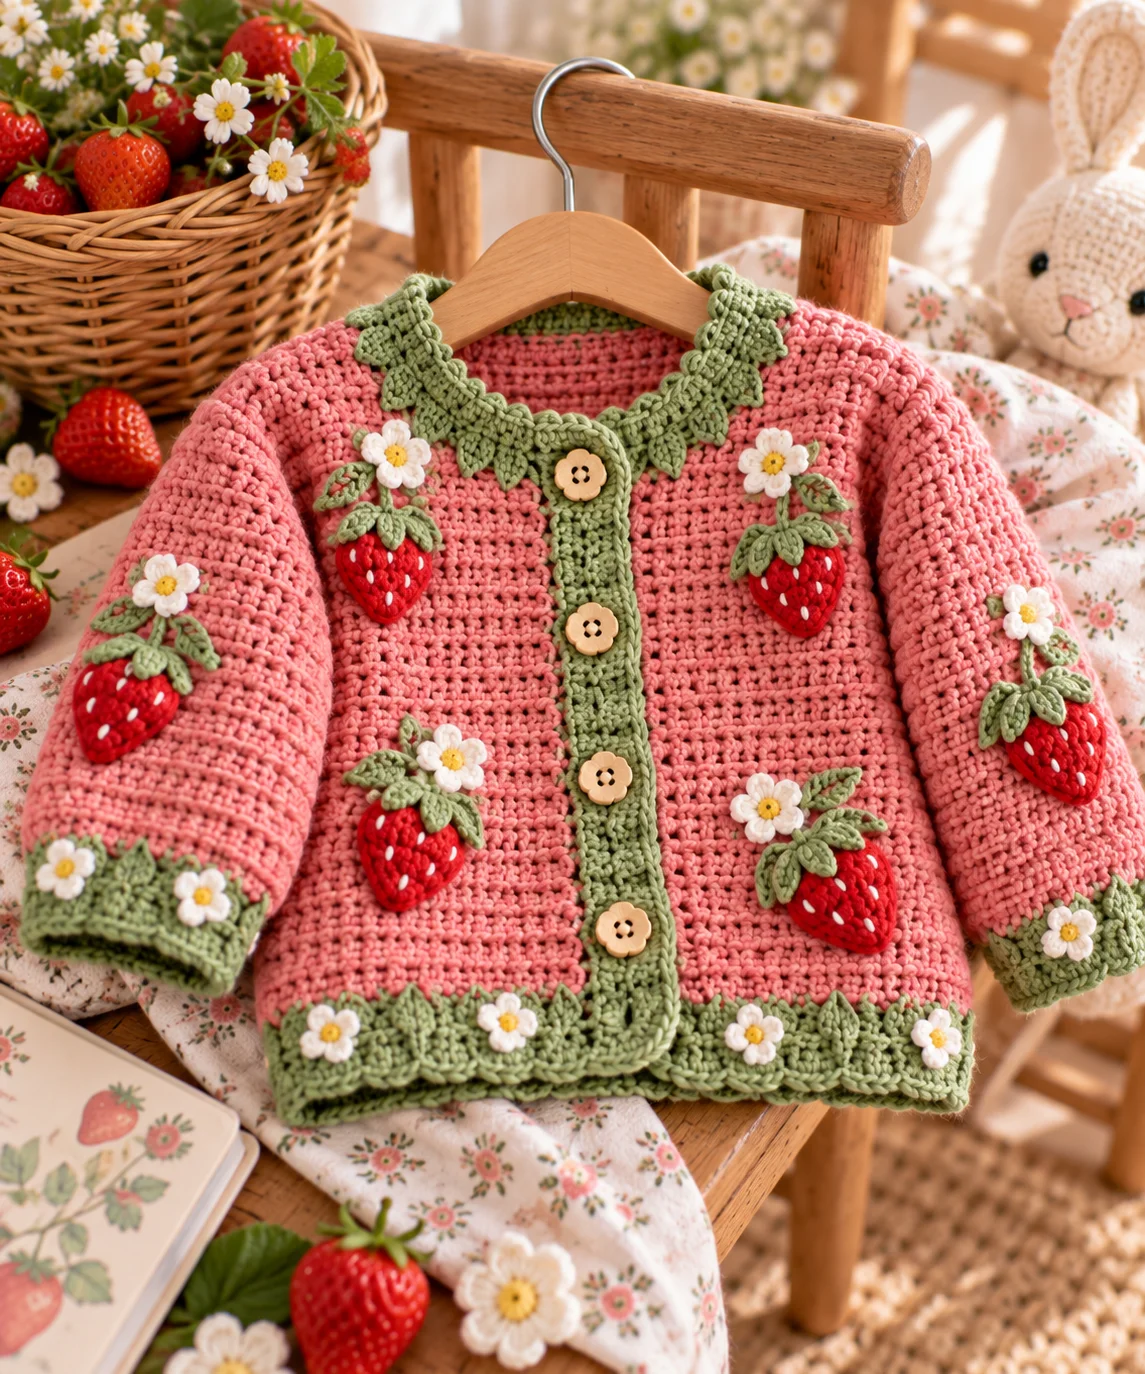
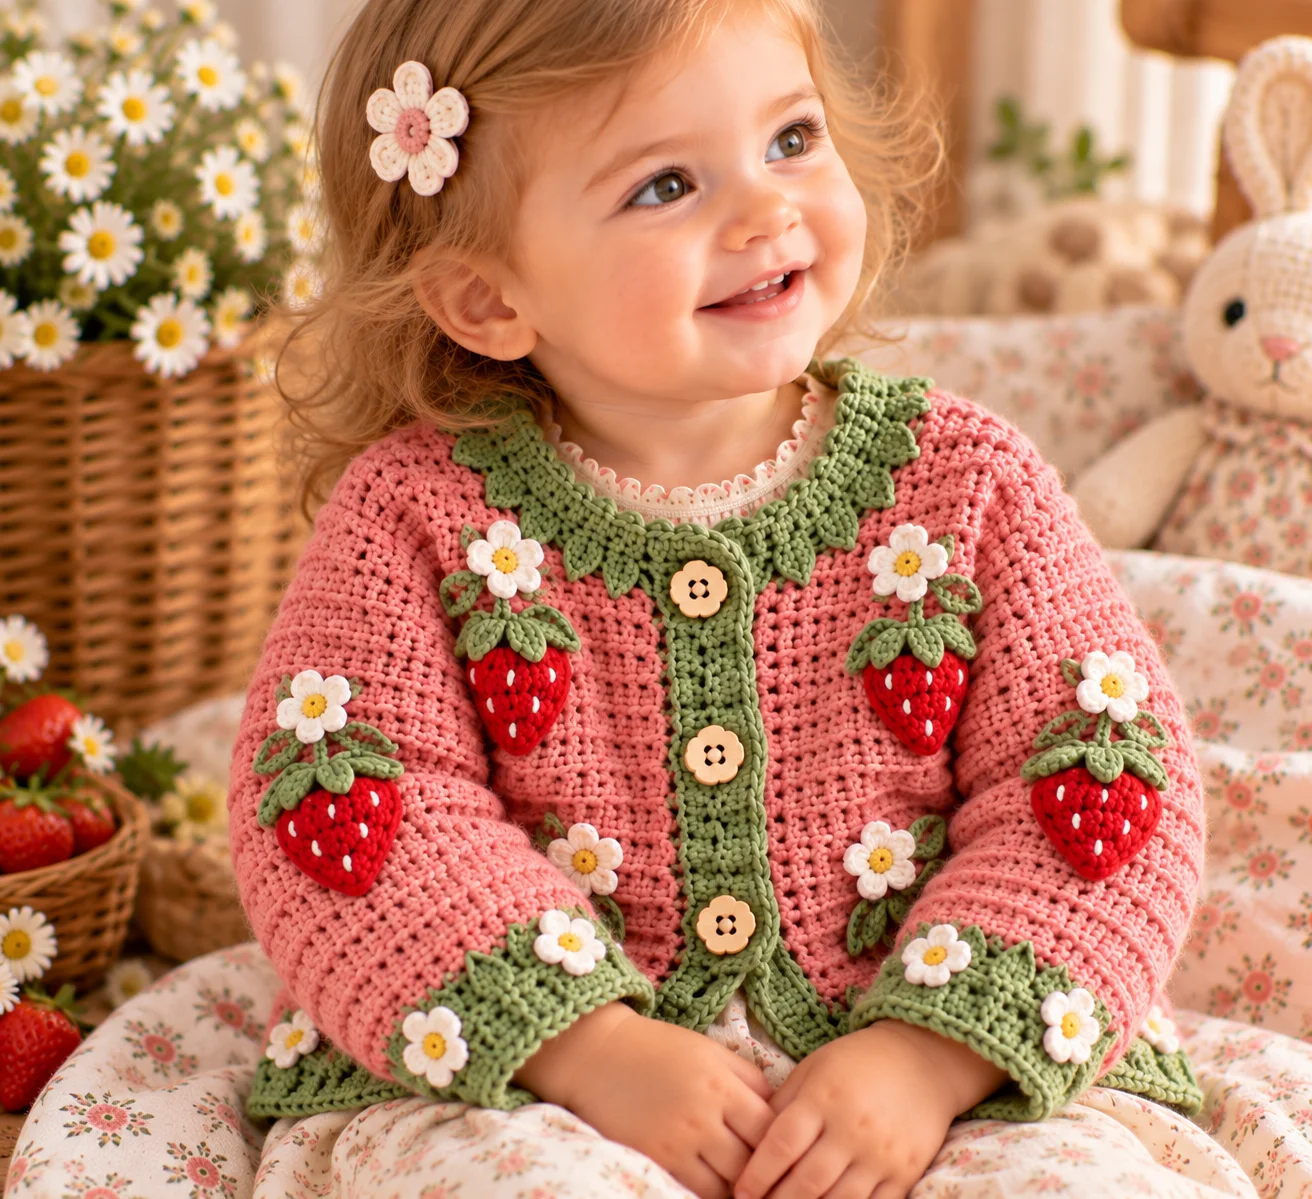
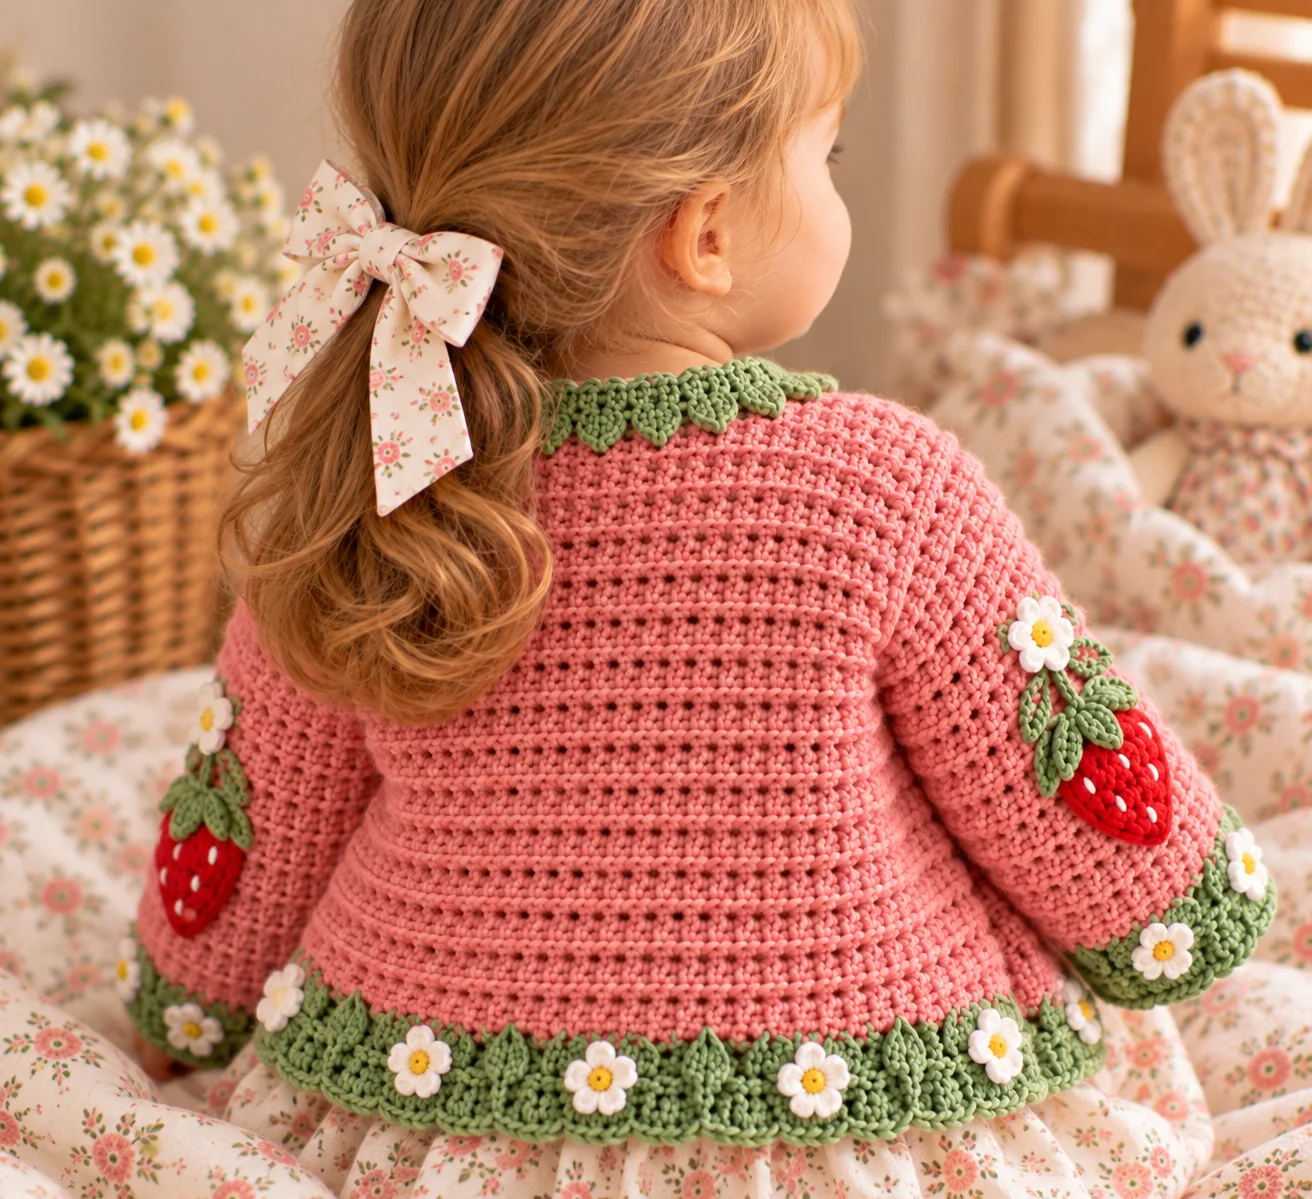
Add a little sweetness to your handmade wardrobe with this adorable Crochet Strawberry Cardigan. Inspired by ripe strawberries, this cozy cardigan combines a soft pink-red body with green leafy accents and delicate strawberry details.
The design uses simple crochet stitches and separate panels, making it approachable while still giving you plenty of opportunities to customize the colors and decorations.
This pattern is written for a child’s size approximately 2–3 years, with guidance for adjusting the fit.
Project Overview
- Skill level: Intermediate
- Approximate size: 2–3 years
- Construction: Separate body panels and sleeves
- Main stitch: Half double crochet
- Yarn weight: Worsted weight (#4)
- Hook: 4.5 mm
- Terminology: US crochet terms
- Closure: Button front
- Theme: Strawberry and garden inspired
Materials
- Approximately 550–650 yards worsted-weight (#4) yarn
- 4.5 mm crochet hook
- Red or strawberry-pink yarn
- Small amount of green yarn
- Small amount of cream or white yarn
- Yarn needle
- Scissors
- Stitch markers
- Measuring tape
- 4 small buttons
Choose soft, washable yarn suitable for children’s clothing.
Crochet Abbreviations
- ch – chain
- sl st – slip stitch
- sc – single crochet
- hdc – half double crochet
- dc – double crochet
- st/sts – stitch/stitches
- BLO – back loop only
- inc – increase
- dec – decrease
- RS – right side
- WS – wrong side
Finished Measurements
Approximate finished measurements:
- Chest circumference: 24 inches
- Back length: 14 inches
- Sleeve length: 11 inches
- Back width: 12 inches
The cardigan is designed with comfortable ease for layering.
For a better fit, compare these measurements with the child’s actual measurements before beginning.
Gauge
Approximately:
14 hdc x 10 rows = 4 inches
Make a gauge swatch before starting the cardigan.
If your swatch is too large, change to a smaller hook. If it is too small, use a larger hook.
Back Panel
With strawberry-pink yarn, ch 43.
Row 1
Hdc in the 2nd ch from hook and across.
(42 sts)
Row 2
Ch 1 and turn.
Hdc in BLO across.
(42 sts)
Rows 3–30
Repeat Row 2.
Fasten off and weave in the beginning tail.
The completed back panel should be approximately 12 inches wide and 12 inches tall.
Left Front Panel
Ch 22.
Row 1
Hdc in the 2nd ch from hook and across.
(21 sts)
Rows 2–30
Ch 1 and turn.
Hdc in BLO across.
(21 sts)
Fasten off, leaving a long tail for assembly.
Right Front Panel
Make a second panel identical to the left front panel.
Ch 22.
Work Rows 1–30 exactly as for the left front.
Fasten off, leaving a sewing tail.
You now have three body pieces:
- 1 back panel
- 2 front panels
Shoulder Seams
Place the back panel flat.
Position the front panels on top with the right sides facing upward.
Align the outer edges.
Leave the center opening between the two front panels.
Sew the shoulders together, matching the upper stitches.
For a comfortable neckline, leave approximately 12 stitches open across the center of the back.
Secure and weave in the yarn ends.
Side Seams
Sew each front panel to the corresponding side of the back panel.
Begin at the lower edge and work upward.
Leave approximately 4 inches open at the top of each side for the armholes.
Repeat on the opposite side.
Sleeves
Make 2.
Using strawberry-pink yarn, ch 23.
Row 1
Hdc in the 2nd ch from hook and across.
(22 sts)
Row 2
Ch 1 and turn.
Hdc in BLO across.
(22 sts)
Rows 3–17
Repeat Row 2.
Row 18
Ch 1 and turn.
Hdc in the first st, 2 hdc in the next st, hdc across until 2 sts remain, 2 hdc in the next st, hdc in the final st.
(24 sts)
Row 19
Ch 1 and turn.
Hdc in BLO across.
(24 sts)
Row 20
Repeat Row 19.
Row 21
Repeat the increase:
Hdc in the first st, 2 hdc in the next st, hdc across until 2 sts remain, 2 hdc in the next st, hdc in the final st.
(26 sts)
Rows 22–25
Ch 1 and turn.
Hdc in BLO across.
(26 sts)
Fasten off, leaving a long tail.
Repeat for the second sleeve.
Assemble the Sleeves
Fold each sleeve in half lengthwise.
With the wrong side facing outward, sew the long edges together.
Turn the sleeve right side out.
Repeat with the second sleeve.
Attach the Sleeves
Insert a sleeve into an armhole.
Position the sleeve seam underneath the arm.
Match the top of the sleeve with the armhole opening.
Sew the sleeve securely around the armhole.
Repeat for the second sleeve.
Turn the cardigan right side out and check that both sleeves hang evenly.
Front Edging
Join strawberry-pink yarn at the bottom of one front panel.
Round 1
Ch 1.
Work sc evenly up the front edge, around the neckline, and down the opposite front edge.
At each lower corner, work 2 sc into the corner area.
Sl st to the beginning.
Fasten off.
Button Band
Choose one front edge for the buttons.
Join yarn near the lower corner.
Row 1
Ch 1.
Sc evenly up the front edge.
Turn.
Row 2
Ch 1.
Sc across.
Fasten off.
Buttonhole Band
Work the same edging on the opposite side.
On the second row, add four evenly spaced buttonholes.
For each buttonhole:
Sc to the buttonhole position, ch 2, skip 2 sts, sc in the next stitch.
Continue across.
On the next row, work 2 sc into each chain-2 space.
Fasten off.
Sew the buttons securely opposite the buttonholes.
Crochet Strawberry Appliqués
The strawberry details give this cardigan its signature look.
Make several small strawberries for the front panels.
Strawberry Body
Using red or strawberry-pink yarn, make a magic ring.
Round 1
Ch 1.
Work 6 sc into the ring.
Sl st to the first sc.
(6 sts)
Round 2
Ch 1.
Work 2 sc in each stitch around.
(12 sts)
Round 3
Ch 1.
Sc in next st, 2 sc in next st.
Repeat around.
(18 sts)
Round 4
Ch 1.
Sc in each stitch around.
(18 sts)
Round 5
Ch 1.
Sc in next st, sc2tog.
Repeat around.
(12 sts)
Round 6
Ch 1.
Sc2tog around.
(6 sts)
Fasten off, leaving a sewing tail.
Lightly shape the strawberry with your fingers.
Strawberry Leaves
Using green yarn:
Round 1
Make a magic ring.
Work 6 sc into the ring.
Sl st to the first sc.
Round 2
Ch 3, sl st back down the chain, sl st into the next stitch.
Repeat around to create small pointed leaves.
Fasten off.
Sew the leafy piece securely to the top of the strawberry.
Strawberry Seeds
For a simple decorative effect, use cream or pale yellow yarn and embroider several tiny seed-shaped stitches onto each strawberry.
Space them evenly.
Keep the embroidery firmly secured on the wrong side.
Attaching the Strawberries
Arrange the strawberries on the cardigan before sewing them down.
You can place:
- One large strawberry on each front panel
- Several tiny strawberries across the lower edge
- A strawberry near one shoulder
- Small strawberries around the sleeves
Once you are happy with the arrangement, sew each piece securely to the cardigan.
For children’s clothing, avoid using loose beads or other detachable decorations for the seeds.
Optional Strawberry Border
For an extra decorative finish, add tiny green embroidered leaves along the lower edge of the cardigan.
Use short stitches to create simple pointed leaves.
Keep the embellishments flat so the cardigan remains comfortable.
Finishing
Weave in every remaining yarn tail securely.
Trim excess yarn.
Check all seams and embellishments.
Button the cardigan and gently shape the front edges.
If your yarn permits blocking, lightly block the cardigan according to the yarn manufacturer’s care instructions.
Customization Ideas
Make a Simpler Cardigan
Skip the strawberry appliqués and use embroidered seeds or small green leaves instead.
Add More Strawberries
Make several small strawberries and scatter them across the cardigan for a playful garden effect.
Change the Main Color
Instead of strawberry pink, try:
- Cream
- Soft pink
- Dusty rose
- Burgundy
- Raspberry
- Pale yellow
A cream cardigan with red strawberries creates a particularly sweet contrast.
Add a Green Trim
Work the front edging in green yarn to make the cardigan resemble a strawberry plant.
Tips for a Neat Finish
Measure before assembling
Lay the panels flat before sewing them together and make sure their edges match.
Keep both sleeves identical
Use the first sleeve as a measuring guide for the second.
Don’t sew appliqués too tightly
Pulling the yarn too hard can cause the fabric underneath to pucker.
Secure all decorations
Children’s clothing receives plenty of movement and washing. Make sure every sewn-on component is firmly attached.
Test the buttons
Check each button before the cardigan is worn and inspect them regularly afterward.
Safety
This cardigan is intended for babies and toddlers, so safety should be considered when adding decorative details.
Buttons, beads, charms, and other small detachable pieces can present choking hazards. Use securely sewn buttons and embroidered details instead of loose decorative pieces whenever possible.
Avoid long cords or dangling ties.
Inspect the cardigan regularly for loose buttons, appliqués, seams, or yarn ends and remove it from the child if any component becomes damaged.
Frequently Asked Questions
Can I make this strawberry cardigan for a baby?
Yes. Adjust the panel dimensions according to the baby’s measurements and keep all embellishments securely attached.
Can I use DK yarn?
Yes, but DK yarn will create a lighter and generally smaller garment. You will need to work from measurements rather than following the worsted-weight stitch counts exactly.
Can I make the strawberries smaller?
Yes. Use fewer increase rounds in the strawberry body to create smaller appliqués.
Can I crochet strawberries directly into the cardigan?
Yes, but separate appliqués make it easier to position the fruit evenly and change the design later.
How should I wash the cardigan?
Follow the care instructions for your yarn. For children’s garments, gentle washing and thorough drying are generally preferable to harsh treatment.
Can I make the cardigan in adult sizes?
Yes. Take accurate chest, arm, and body measurements and recalculate the panel dimensions using your gauge. The same basic construction can be scaled to larger sizes.
Final Thoughts
This Crochet Strawberry Cardigan combines a simple cozy cardigan with cheerful fruit-inspired details. The strawberry appliqués can be arranged in countless ways, making it easy to create a completely different look with the same basic pattern.
Try a soft pink cardigan with bright red strawberries for a classic garden theme, or use neutral yarn and just a few tiny strawberry accents for a more understated handmade piece.