Crochet Pixie Hat Free Pattern for Babies and Toddlers
Crochet Pixie Hat Free Pattern: A Cute and Cozy Baby Hat
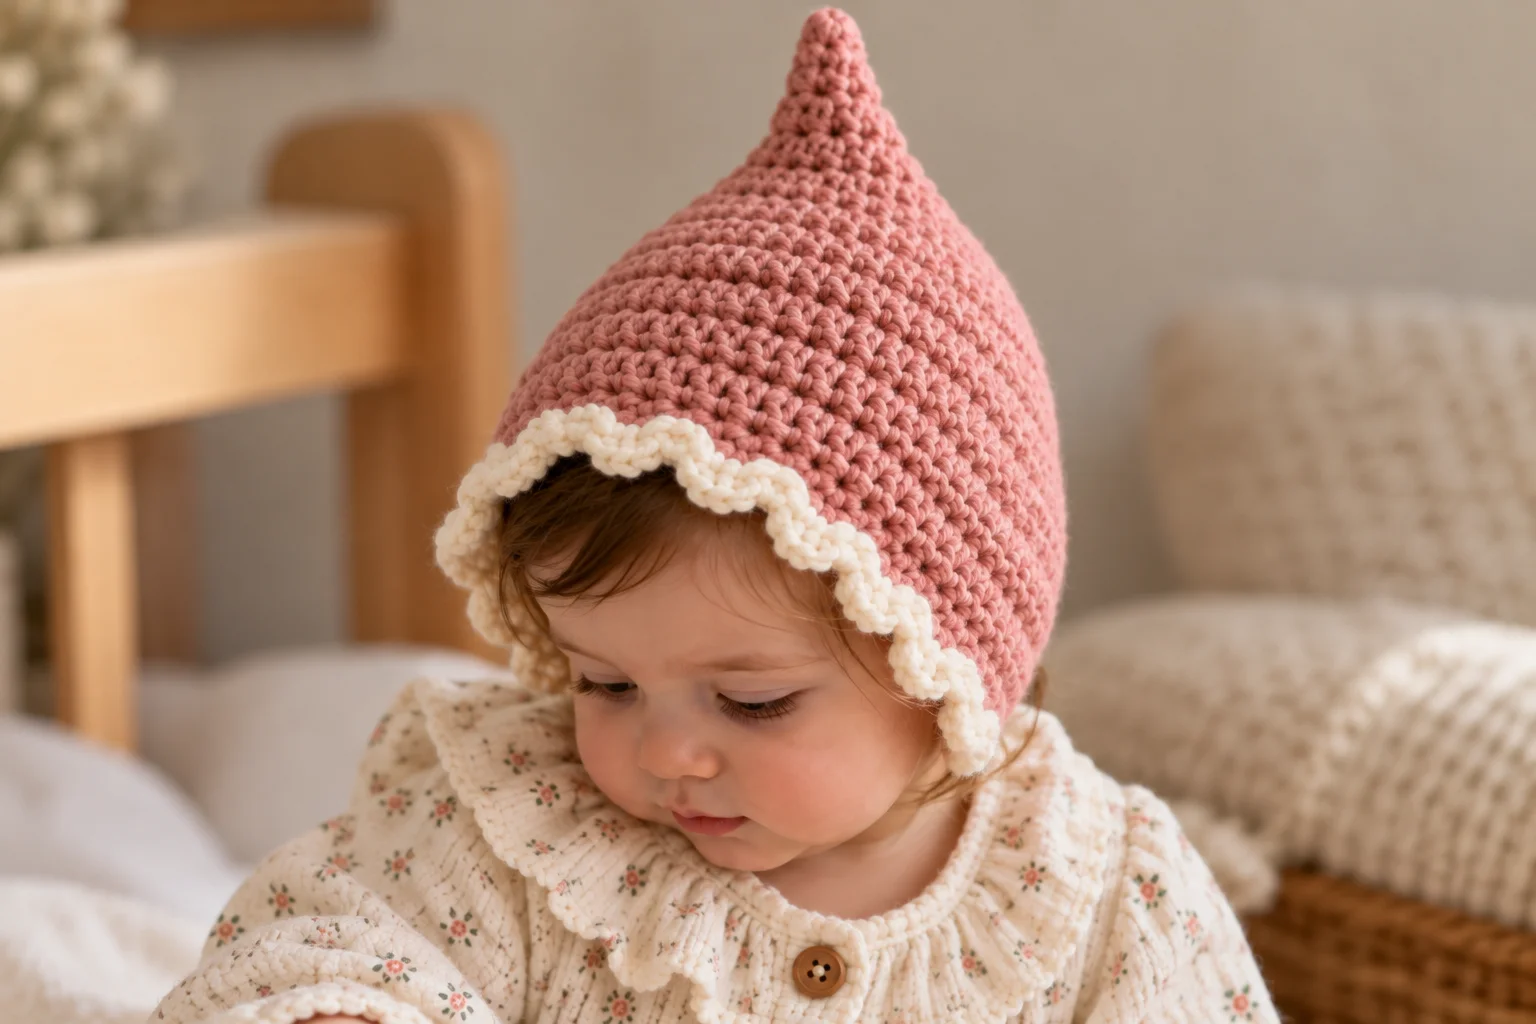
A crochet pixie hat is an adorable accessory that combines warmth, comfort, and a touch of woodland charm. With its distinctive pointed crown, soft texture, and cozy fit, this whimsical hat is perfect for babies, toddlers, and children.
Whether you’re preparing a handmade baby shower gift, creating a cute autumn accessory, or looking for a simple crochet project, a pixie hat is a lovely choice. You can make it in a solid color for a classic look, choose pastel shades for a delicate finish, or add decorative edging for extra charm.
This free crochet pixie hat pattern provides a simple design with a pointed crown and a comfortable body. It uses basic stitches and straightforward shaping, making it suitable for crocheters who are familiar with the fundamentals.
About This Crochet Pixie Hat
The defining feature of a pixie hat is its pointed top, which gives it a playful, fairy-tale appearance. Unlike a traditional rounded beanie, a pixie hat usually has a triangular or slightly elongated crown.
This design can be customized with different colors, textures, and edging styles.
Project details
- Skill level: Beginner to intermediate
- Project type: Crochet hat
- Construction: Worked from the crown toward the lower edge
- Main stitch: Single crochet
- Yarn: Soft DK-weight yarn
- Style: Classic pointed pixie hat
- Customization: Contrasting edging, stripes, or decorative details
The instructions below describe a simple sample design. Because head sizes and crochet tension vary, check the finished measurements as you work.
Materials Needed
- Soft DK-weight yarn suitable for the intended wearer
- Crochet hook appropriate for the yarn and gauge
- Scissors
- Tapestry needle
- Stitch marker
- Measuring tape
Choose a soft, washable yarn for a baby hat. Cotton blends and washable acrylic yarns can be practical options, provided the yarn is comfortable and suitable for the intended season.
Crochet Abbreviations
The pattern uses US crochet terminology.
- ch: Chain
- sc: Single crochet
- sl st: Slip stitch
- st(s): Stitch(es)
- inc: Increase
- dec: Decrease
- rep: Repeat
- BLO: Back loop only
An increase means working two stitches into the same stitch. A decrease combines stitches to reduce the stitch count.
Gauge and Sizing
Gauge is important because the hat needs to fit comfortably without slipping or feeling too tight.
Make a small swatch using the yarn and hook you plan to use. Measure your stitches and adjust the hook if necessary.
For the best fit, measure the wearer’s head circumference and compare it with the intended finished circumference. A baby hat generally needs some negative ease, meaning the finished hat circumference is slightly smaller than the head measurement, but the appropriate amount depends on the yarn, stitch pattern, and construction.
Do not rely on age alone when choosing a size.
Free Crochet Pixie Hat Pattern
This is a basic construction guide for a pointed pixie hat. It is not a fully graded, stitch-count-verified pattern for every age. Use a complete size-specific pattern if you need exact round counts and finished measurements.
Step 1: Create the Crown
Begin with a magic ring or the starting method specified by your design.
Work single crochet stitches into the ring, then continue crocheting in rounds. Increase at regular intervals to create a gradually widening shape.
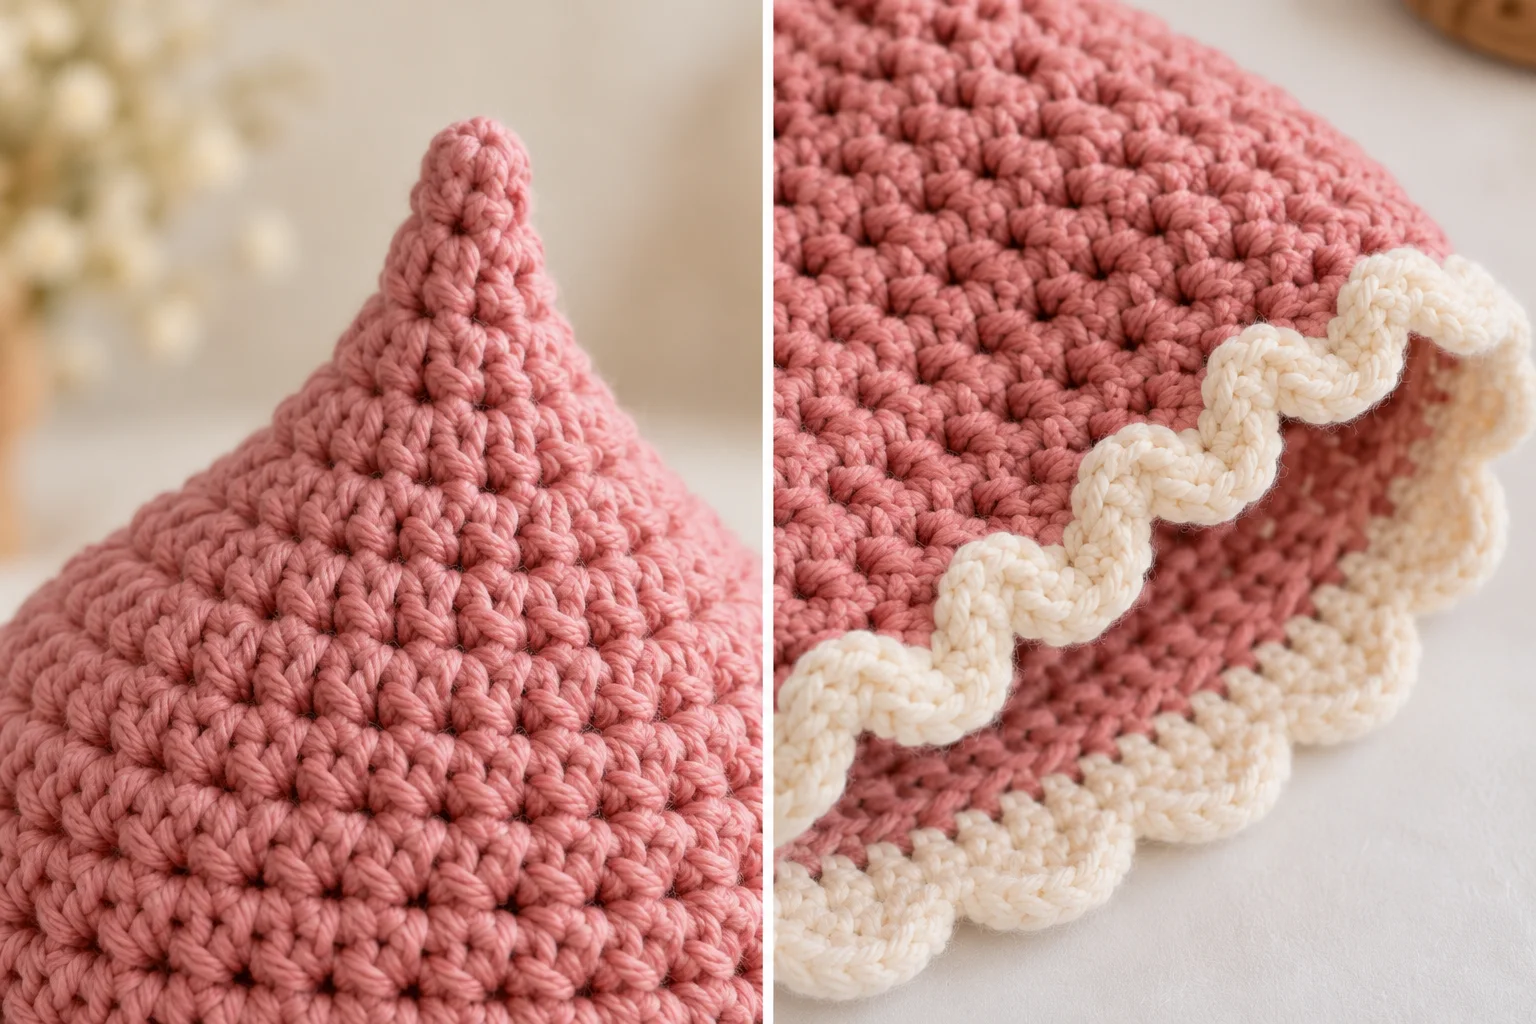
For a traditional pixie silhouette, the crown should develop a longer, pointed shape rather than forming a completely flat circle. The placement and frequency of increases determine the final shape.
Step 2: Shape the Pointed Crown
Continue working the established stitch pattern while adjusting the increases to form the pointed crown.
Try the hat on periodically, or compare it with a paper template or measurements for the intended size.
Avoid increasing too quickly, as this may create a wide, flat crown instead of a pointed silhouette.
Step 3: Crochet the Main Body
Once the crown reaches the intended shape and width, continue crocheting the body.
Work evenly without additional increases where the pattern calls for a straight section. This allows the fabric to develop into the main body of the hat.
Continue until the hat reaches the desired depth, allowing for the lower edging if you plan to add one.
Step 4: Add the Lower Edge
Finish the bottom edge with a neat round of single crochet or another border that suits your design.
For a textured finish, you can use back-loop-only single crochet. This creates subtle horizontal ridges along the edge.
Keep the border flexible so it does not make the hat too tight around the head.
Step 5: Weave in the Ends
Fasten off and weave in all yarn ends securely using a tapestry needle.
Inspect the hat for loose strands and uneven stitches. If the yarn permits, gently wash and reshape the finished hat according to the care instructions.
Customization Ideas
Classic Pixie Hat
Use a single neutral color such as cream, beige, gray, or brown. This creates a simple, timeless accessory that pairs easily with different outfits.
Pastel Pixie Hat
Choose blush pink, pale blue, lavender, or mint green for a soft baby accessory.
Striped Pixie Hat
Alternate two or more colors to create stripes along the crown and body. Plan the color changes carefully to keep the finish neat.
Textured Pixie Hat
Use a textured stitch pattern if your chosen design supports it. A ribbed lower edge can provide a contrasting finish.
Decorative Border
Add a simple scalloped edge or contrasting trim for a more delicate look. Make sure the edging remains soft and comfortable.
Tips for a Better Fit
Measure the head circumference. This is more reliable than choosing a size based only on age.
Check the crown shape. A pixie hat should have a distinct point, so adjust the shaping according to the selected pattern.
Keep the tension consistent. Uneven tension can cause the crown to twist or the lower edge to stretch.
Choose suitable yarn. A soft, washable yarn helps make the hat comfortable and practical.
Avoid a tight brim. The lower edge should stay in place without squeezing the head.
Common Mistakes to Avoid
- Increasing too quickly: Excessive increases may create a flat crown.
- Using the wrong hook size: This can change both the fabric density and the finished fit.
- Ignoring measurements: A hat may be too tight or too loose if you do not check its dimensions.
- Making the edging too tight: A restrictive edge can make the hat uncomfortable.
- Leaving loose yarn ends: Secure all ends to prevent unraveling.
Baby Hat Safety
Choose yarn appropriate for the intended wearer and ensure that the hat fits comfortably. Avoid long cords, ties, and small detachable decorations that could pose safety risks. Check seams and yarn ends before each use, and do not leave a baby unattended while wearing handmade accessories.
A crochet hat should not be used as a substitute for safe sleep practices. Remove hats and other unnecessary head coverings during indoor sleep unless a qualified healthcare professional advises otherwise.
Frequently Asked Questions
Is a crochet pixie hat suitable for beginners?
Yes, a simple pixie hat can be suitable for beginners who understand basic stitches and increasing. The pointed crown may require some practice to shape evenly.
What yarn is best for a crochet pixie hat?
Soft DK-weight yarn is a useful option for lightweight hats when it matches the pattern’s requirements. Choose a washable yarn appropriate for the season and intended wearer.
How do I make the pixie point longer?
The length and shape of the point depend on the construction method and increase placement. Follow a pattern designed for the silhouette you want rather than adding arbitrary rounds.
Can I make this hat for an older child?
Yes, provided you use a pattern or sizing instructions suitable for the child’s head measurements. Larger sizes may require adjustments to the crown, body depth, and overall circumference.
Can I add earflaps?
Some pixie hat designs include earflaps, but they require additional shaping. Choose a pattern that specifically includes them if you want a secure fit around the ears.
How do I wash a crochet pixie hat?
Follow the yarn label’s care instructions. Reshape the hat gently after washing and allow it to dry completely.
Conclusion
A crochet pixie hat is a charming project that combines a playful pointed crown with a cozy handmade finish. With soft yarn, suitable sizing, and careful shaping, you can create a lovely accessory for a baby or child.
Choose a design that matches your crochet experience, check your measurements as you work, and finish the edges neatly. Once you’re comfortable with the basic construction, experiment with stripes, pastel colors, and decorative borders to make a pixie hat that reflects your personal style.