Baby Bear Crocheted Hat – Free Easy Crochet Pattern
Baby Bear Crocheted Hat – Free Original Crochet Pattern
SEO Title: Baby Bear Crocheted Hat – Free Easy Crochet Pattern
Meta Description: Crochet an adorable baby bear hat with cute rounded ears. This original easy crochet pattern includes sizes, materials, instructions, tips, and variations.
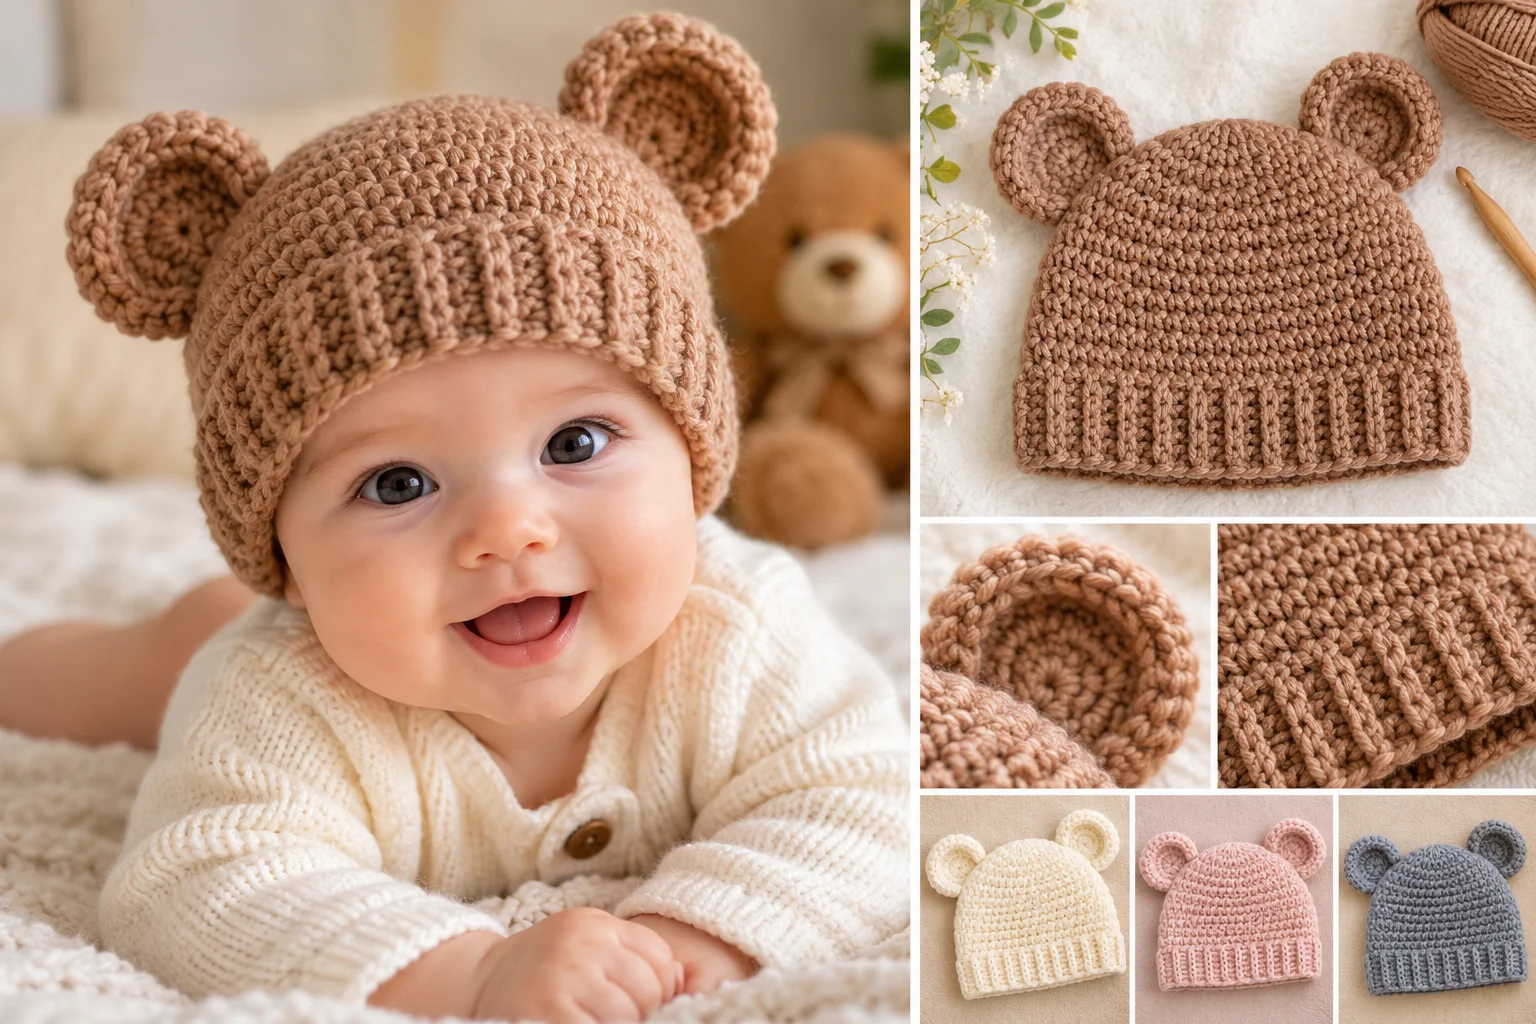
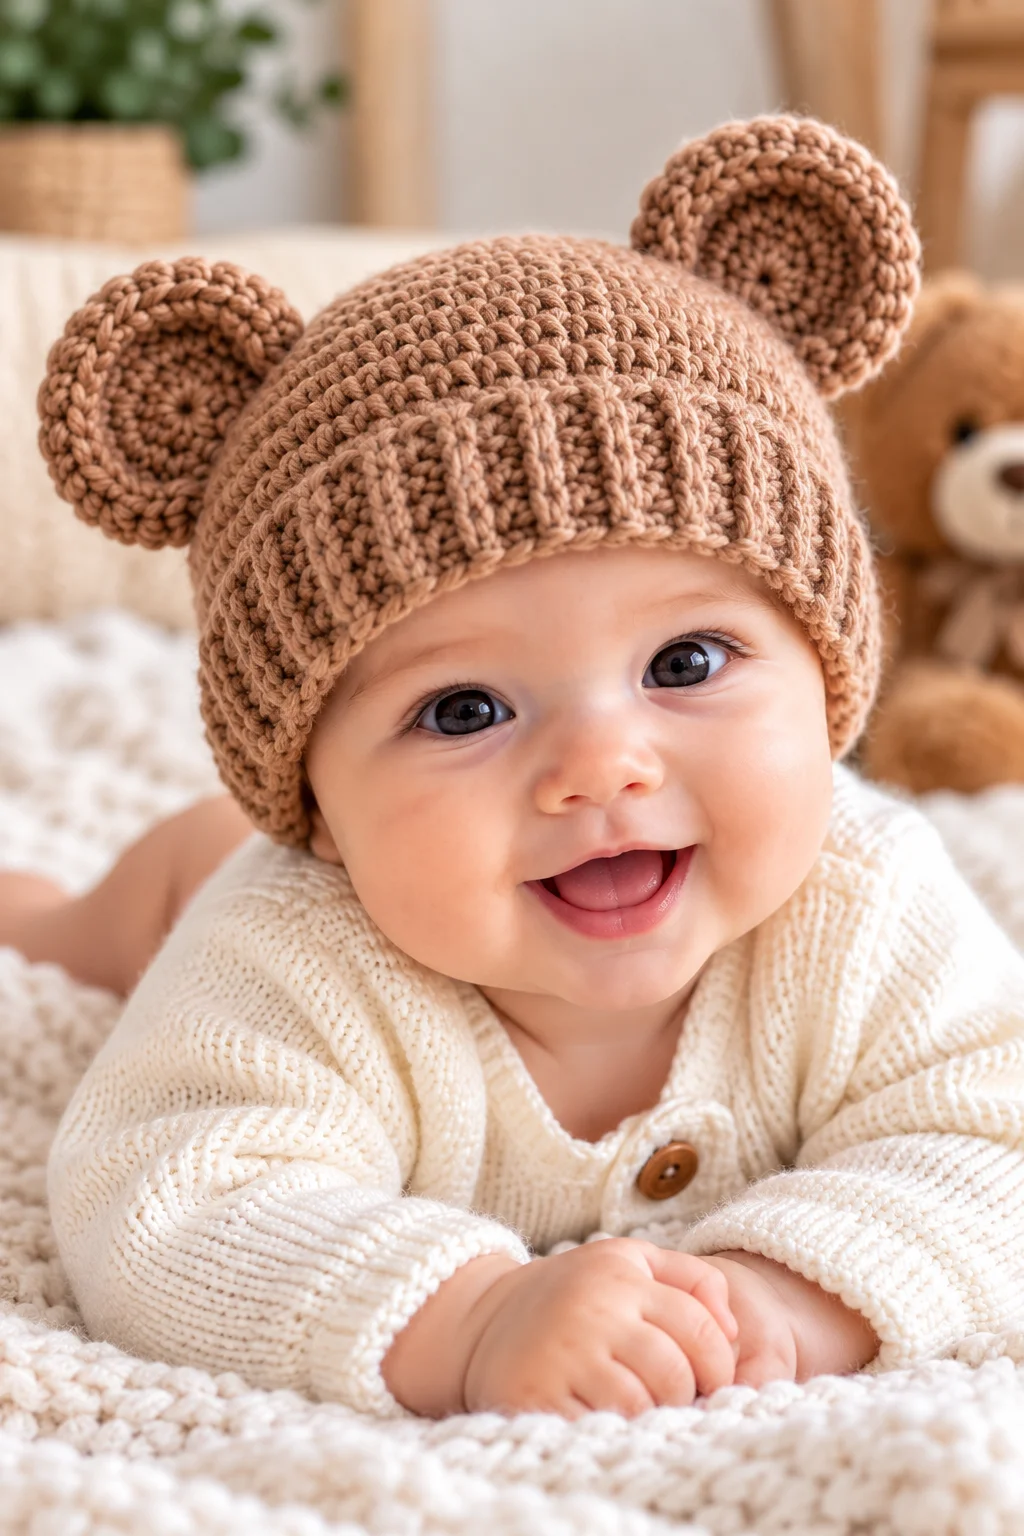
There is something especially sweet about a little baby wearing a handmade bear hat. With its cozy shape and rounded bear ears, this baby bear crocheted hat makes a wonderful baby shower gift, newborn photo accessory, or handmade winter hat.
This original crochet pattern uses basic stitches and simple shaping, making it a good project for beginners who are comfortable crocheting in rounds. The hat is worked from the crown downward, and the bear ears are crocheted separately and sewn onto the finished hat.
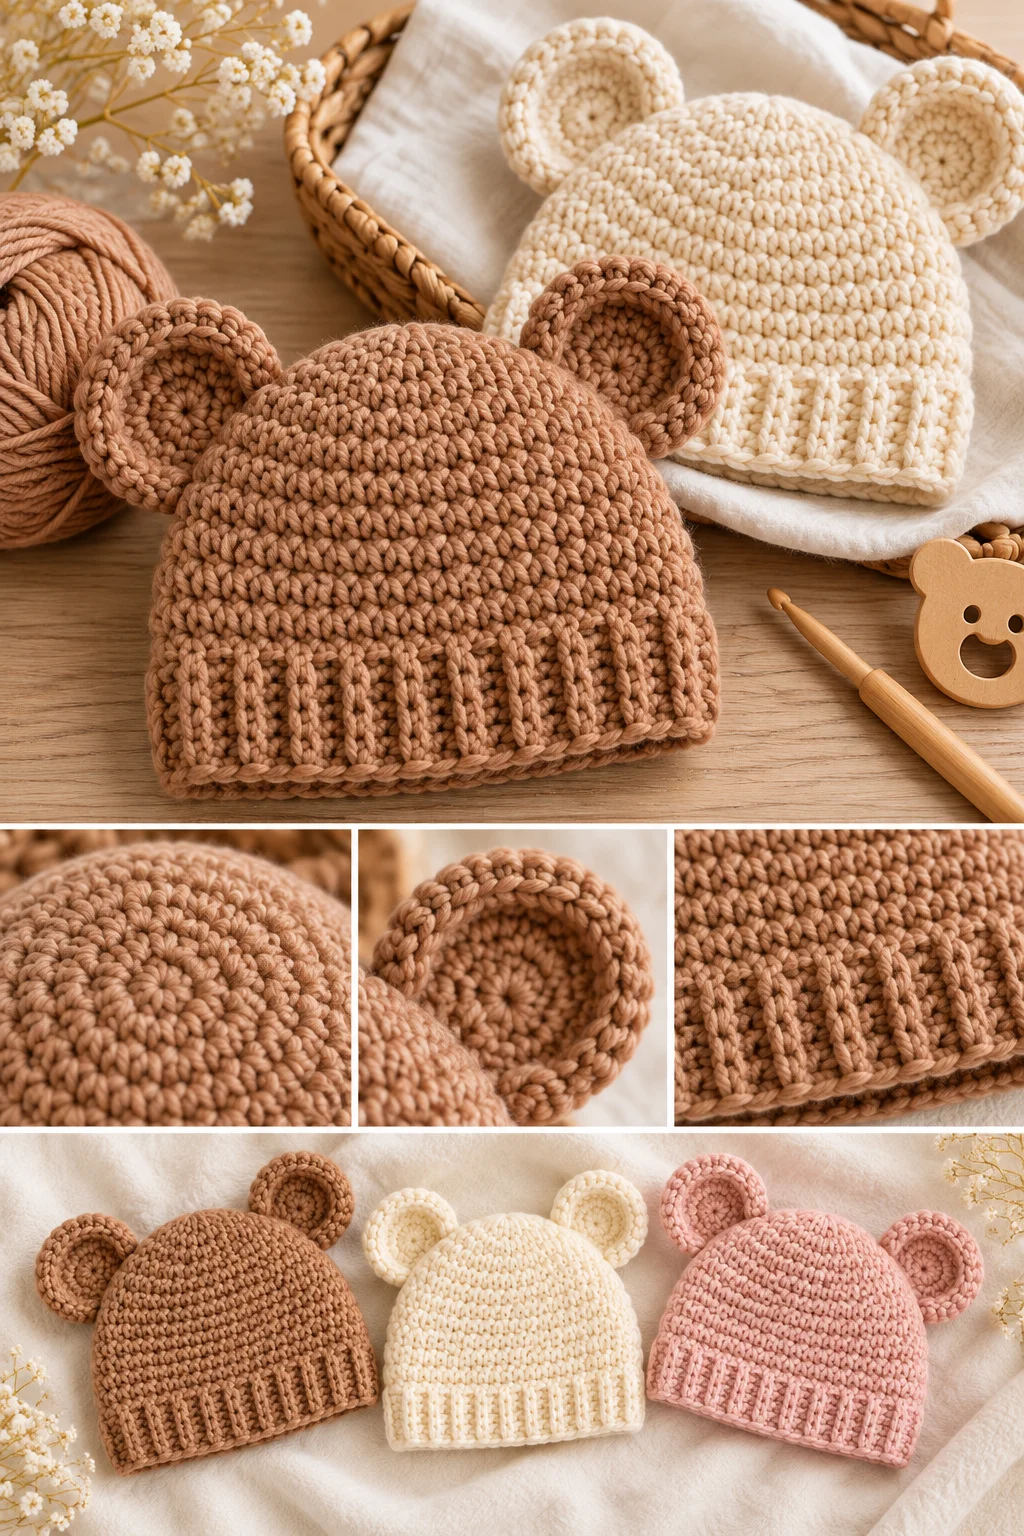
You can make the hat in traditional brown for a teddy-bear look or experiment with cream, gray, pink, blue, or other colors for a more modern style.
Baby Bear Hat at a Glance
- Project type: Crochet baby hat
- Skill level: Easy
- Crochet terminology: US
- Construction: Top-down
- Main stitch: Half double crochet
- Yarn: Worsted-weight yarn
- Hook: 5.0 mm (H-8)
- Sizes: Newborn and 0–3 months
- Features: Rounded bear ears and simple brim
- Pattern style: Worked in joined rounds
Materials
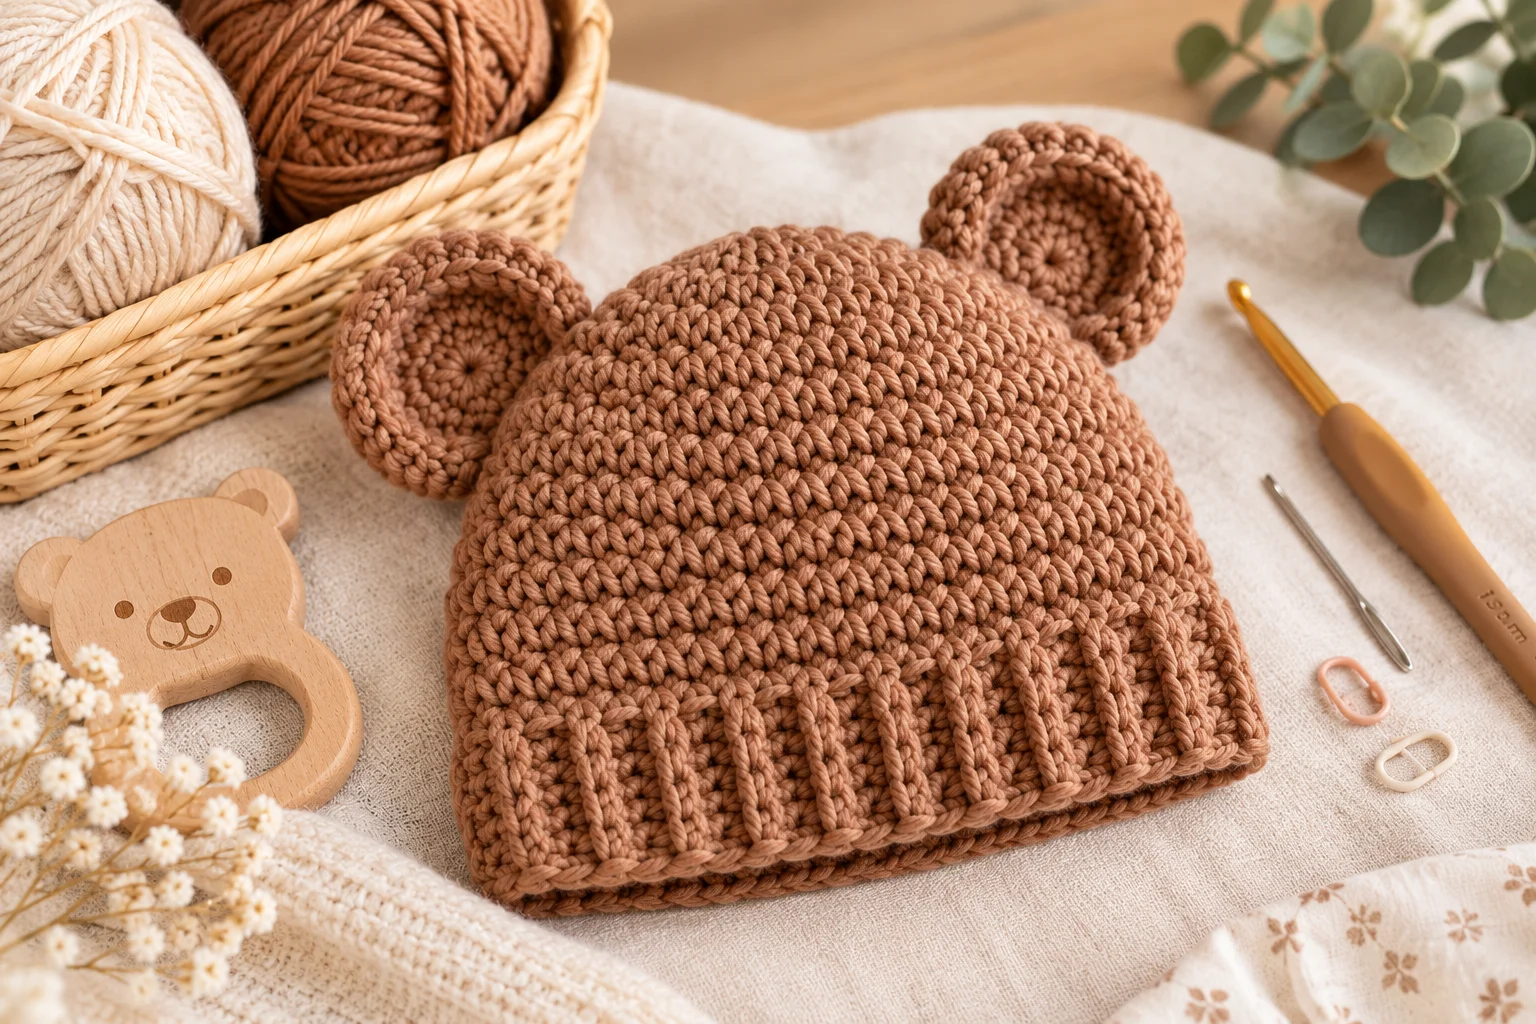
For this baby bear hat, you will need:
- Worsted-weight yarn, approximately 60–80 yards
- 5.0 mm crochet hook
- Yarn needle
- Scissors
- Stitch marker, optional
Choose a soft yarn that feels comfortable against a baby’s skin. Machine-washable yarn is especially practical for baby gifts.
For a traditional bear, choose brown, tan, or caramel. Cream makes an adorable polar-bear-inspired version, while gray gives the hat a cute woodland appearance.
Crochet Abbreviations
This pattern uses US crochet terminology.
| Abbreviation | Meaning |
|---|---|
| ch | chain |
| hdc | half double crochet |
| sc | single crochet |
| dc | double crochet |
| sl st | slip stitch |
| st | stitch |
| sts | stitches |
| BLO | back loop only |
| inc | increase |
Increase: Work 2 stitches into the same stitch.
Gauge
The main-body gauge is approximately:
14 hdc × 10 rounds = 4 inches
Gauge is important when making baby hats because a small difference in tension can noticeably change the finished circumference.
If your swatch is too large, try a smaller hook. If it is too small, try a larger hook.
Finished Measurements
| Size | Approx. Head Circumference | Approx. Hat Height |
|---|---|---|
| Newborn | 12–13 inches | 5 inches |
| 0–3 months | 13–14 inches | 5½ inches |
Because babies vary in size, measuring the intended baby’s head is the best way to determine the appropriate size.
Special Techniques
Half Double Crochet Increase
To make an increase, work 2 hdc into the same stitch.
Working in Joined Rounds
At the end of each round, join to the first stitch with a slip stitch.
Chain 1 at the beginning of the next round. The chain 1 does not count as a stitch.
Keeping this method consistent helps maintain an even hat shape.
Baby Bear Crocheted Hat Pattern
The hat is worked from the crown downward. The crown is increased first, followed by several rounds worked evenly to create the sides of the hat.
The newborn size is listed first, with the 0–3-month size given in parentheses.
Crown
Round 1
Make a magic ring.
Ch 1 and work 8 hdc into the ring.
Join with a sl st to the first hdc.
(8 sts)
Round 2
Ch 1.
Work 2 hdc in each stitch around.
Join with a sl st.
(16 sts)
Round 3
Ch 1.
Hdc in the next st, 2 hdc in the next st.
Repeat from * around.
Join with a sl st.
(24 sts)
Round 4
Ch 1.
Hdc in the next 2 sts, 2 hdc in the next st.
Repeat from * around.
Join with a sl st.
(32 sts)
Round 5
Ch 1.
Hdc in the next 3 sts, 2 hdc in the next st.
Repeat from * around.
Join with a sl st.
(40 sts)
The newborn crown is now complete.
0–3-Month Crown
For the larger size, continue with one additional increase round.
Round 6
Ch 1.
Hdc in the next 4 sts, 2 hdc in the next st.
Repeat from * around.
Join with a sl st.
(48 sts)
The 0–3-month crown is now complete.
Newborn Hat Body
Round 6
Ch 1.
Hdc in each stitch around.
Join with a sl st.
(40 sts)
Round 7
Repeat Round 6.
(40 sts)
Round 8
Repeat Round 6.
(40 sts)
Round 9
Repeat Round 6.
(40 sts)
Round 10
Repeat Round 6.
(40 sts)
The hat should measure approximately 4½ inches from the crown at this point.
0–3-Month Hat Body
After completing the crown:
Round 7
Ch 1.
Hdc in each stitch around.
Join with a sl st.
(48 sts)
Round 8
Repeat Round 7.
(48 sts)
Round 9
Repeat Round 7.
(48 sts)
Round 10
Repeat Round 7.
(48 sts)
Round 11
Repeat Round 7.
(48 sts)
Round 12
Repeat Round 7.
(48 sts)
The hat should measure approximately 5 inches from the crown.
Hat Brim
The final round creates a slightly firmer lower edge.
Newborn
Ch 1.
Working in the BLO, sc in each stitch around.
Join with a sl st.
(40 sts)
Fasten off and weave in the yarn tail.
0–3 Months
Ch 1.
Working in the BLO, sc in each stitch around.
Join with a sl st.
(48 sts)
Fasten off and weave in the yarn tail.
Bear Ears
The ears are made separately and attached after the hat is finished.
Make 2 ears.
Ear Round 1
Make a magic ring.
Ch 1.
Work 8 sc into the ring.
Join with a sl st.
(8 sts)
Ear Round 2
Ch 1.
Work 2 sc in each stitch around.
Join with a sl st.
(16 sts)
Ear Round 3
Ch 1.
Sc in the next st, 2 sc in the next st.
Repeat from * around.
Join with a sl st.
(24 sts)
Fasten off, leaving a long tail for sewing.
Make a second ear in the same way.
Optional Inner Ears
For a contrasting inner-ear detail, make two smaller pieces using a lighter color.
Round 1
Make a magic ring.
Ch 1.
Work 6 sc into the ring.
Join with a sl st.
(6 sts)
Round 2
Ch 1.
Work 2 sc in each stitch around.
Join with a sl st.
(12 sts)
Fasten off, leaving a sewing tail.
Place one inner ear inside each larger ear and sew it securely into position.
The inner ears are optional. The hat also looks cute with solid-color ears.
Attaching the Bear Ears
Lay the finished hat flat with the front facing you.
Place the ears toward the upper sides of the hat. Adjust their position until they look symmetrical.
Pin the ears temporarily if desired.
Using the yarn tails, sew across the lower portion of each ear, attaching it securely to the hat.
Sew through several points along the bottom rather than attaching the ear at only one point.
Once the ear is secure, weave the remaining yarn through the inside of the hat.
Repeat with the second ear.
Shaping the Ears
For a simple teddy-bear appearance, leave the ears flat.
For slightly more dimension, gently fold the bottom portion of each ear and make a few stitches through the fold before attaching it to the hat.
This gives the ear a subtle curved appearance without stuffing it.
Finishing
Inspect the completed hat carefully.
- Weave in all loose ends.
- Check that both ears are securely attached.
- Make sure the brim is even.
- Gently shape the crown with your hands.
- Check for loose stitches or unfinished yarn tails.
The hat does not require complicated blocking.
Color Ideas
Classic Teddy Bear
Use medium or dark brown for the entire hat.
Polar Bear
Use white or ivory yarn with cream inner ears.
Woodland Bear
Try taupe, oatmeal, warm beige, or gray.
Pink Bear
Use blush pink with cream inner ears for a sweet baby-girl-inspired version.
Blue Bear
Try a soft blue with white or cream details.
Neutral Bear
Cream, beige, oatmeal, and light gray make lovely gender-neutral choices.
Customization Ideas
One of the easiest ways to personalize the hat is by changing the colors.
You can also make the ears slightly smaller or larger.
For smaller ears, stop after Round 2 of the outer ear.
For larger ears, add another increase round:
Round 4: Ch 1. Sc in the next 2 sts, 2 sc in the next st. Repeat from * around. Join with a sl st. (32 sts)
Changing the ear size will change the proportions of the finished hat, so compare the ears with the hat before attaching them.
Tips for a Better Baby Bear Hat
Count Your Stitches
The crown increases determine the width of the hat. Check your stitch count at the end of each round.
Keep Your Tension Consistent
Very loose tension can make the hat oversized, while tight tension can make it smaller and less flexible.
Measure Before Finishing
If possible, compare the hat circumference with the baby’s head measurement before finishing the final rounds.
Use a Stitch Marker
A stitch marker can help you identify the beginning of each round and make counting easier.
Take Time With the Ears
The ears are the most recognizable part of the design. Position both ears carefully before sewing them permanently into place.
Common Problems and Solutions
My hat is too small.
Your tension may be tighter than the pattern gauge. Try a larger hook.
My hat is too large.
Your stitches may be looser than the intended gauge. Try a smaller hook.
My crown is wavy.
Too many increases can cause the crown to ruffle. Check that you are following the increase instructions and stitch counts correctly.
My crown looks pointed.
Check your tension and make sure the increases are being distributed evenly.
My ears are different sizes.
Count the stitches in both ears and compare them before attaching them to the hat.
My ears flop forward.
Sew across a wider section of the lower edge of each ear to give them additional support.
Baby Hat Safety
Inspect the finished hat carefully before giving it to a baby.
Make sure there are no loose yarn ends, poorly attached ears, or detachable decorations.
Avoid adding buttons, beads, plastic eyes, pom-poms, or other small embellishments that could become choking hazards.
A baby should not be left unattended while wearing an accessory that could create a safety risk. Follow appropriate infant-safety guidance when using handmade clothing and accessories.
Frequently Asked Questions
What yarn is best for a baby bear hat?
A soft worsted-weight yarn is a good choice for this design. Choose a yarn that feels comfortable against delicate skin and is easy to care for.
What crochet hook size should I use?
This pattern is designed around a 5.0 mm crochet hook with worsted-weight yarn.
If your gauge differs, adjust the hook size rather than changing the pattern randomly.
Is this pattern suitable for beginners?
Yes. The hat uses basic half double crochet stitches and straightforward increases. The ears are also simple and are attached separately.
Can I make this hat in another size?
Yes. You can adapt the hat by adjusting the number of crown increase rounds and the number of rounds worked evenly afterward.
The key is to make the crown large enough for the intended head circumference before stopping the increases.
Can I use a different yarn weight?
You can experiment with different yarn weights, but the finished dimensions will change. Always make a gauge swatch when substituting yarn.
Can I sell finished hats made from this pattern?
Yes. Finished items made from this original pattern may be sold. Do not copy, redistribute, or republish the written pattern itself as your own.
Use your own product photographs and descriptions when selling finished hats.
Can I make the ears a different color?
Yes. Contrasting ears or inner ears are an easy way to customize the design.
Cream, white, beige, pink, gray, and other colors can all work beautifully.
Conclusion
This Baby Bear Crocheted Hat is a simple and adorable crochet project for babies. The top-down construction keeps the hat straightforward, while the rounded ears give it a cute teddy-bear character.
Choose a classic brown yarn for a traditional bear or experiment with soft neutrals and pastels for a modern look. With a little attention to gauge, stitch counts, and ear placement, you can create a cozy handmade hat that makes a thoughtful baby shower gift or special photo-session accessory.