Pumpkin Newborn Set | Free Crochet Pattern for Baby
Pumpkin Newborn Set – Free Crochet Pattern
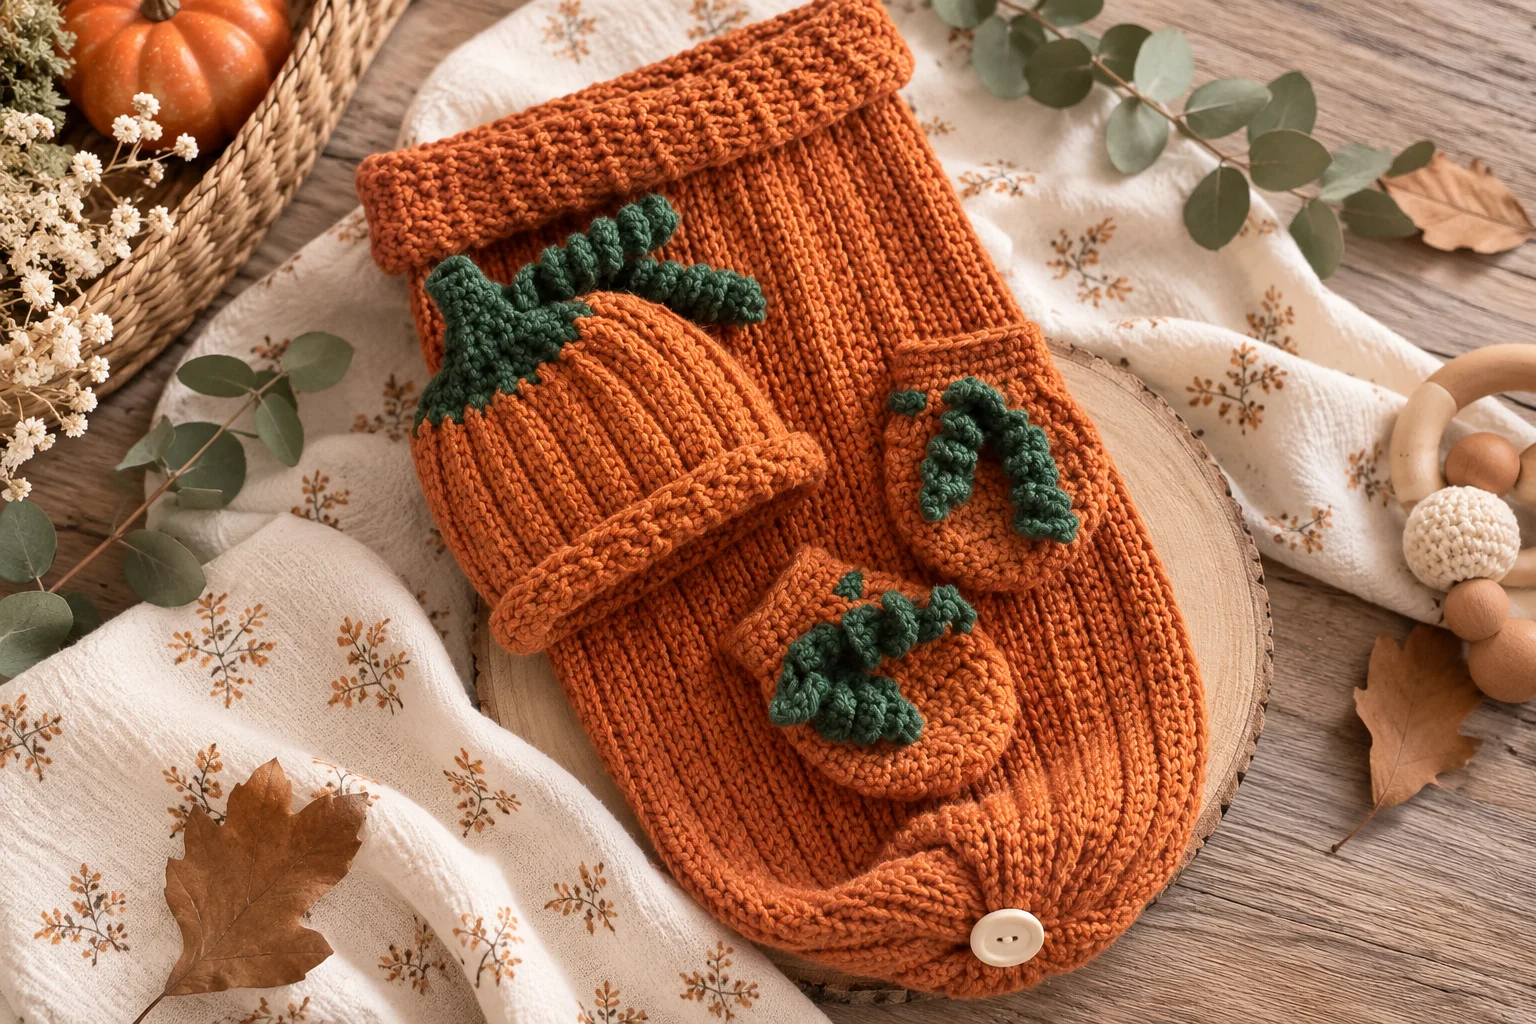
Create an adorable fall photo prop with this sweet Pumpkin Newborn Set! This cozy crochet set features a pumpkin-inspired newborn hat paired with a matching pumpkin diaper cover.
The design uses warm autumn colors, a simple crochet texture, and a cute stem detail to create a festive look for newborn photography, Halloween, Thanksgiving, or a baby’s first fall.
The pieces are crocheted separately, so you can also use the pumpkin hat on its own or make the diaper cover in a coordinating color.
Pumpkin Newborn Set at a Glance
- Skill level: Easy
- Size: Newborn
- Yarn: Worsted-weight (#4)
- Hook: 4 mm (G-6)
- Main stitches: Single crochet and half double crochet
- Construction: Worked in rounds
- Set includes: Pumpkin hat and diaper cover
- Terminology: US crochet terms
Materials
You will need:
- Orange worsted-weight (#4) yarn
- Small amount of green yarn
- Small amount of brown yarn
- 4 mm crochet hook
- Yarn needle
- Scissors
- Stitch marker
- Measuring tape
Choose a soft yarn suitable for baby clothing and photo props. Avoid rough or scratchy fibers.
Crochet Abbreviations
- MR – magic ring
- ch – chain
- sc – single crochet
- hdc – half double crochet
- sl st – slip stitch
- inc – increase
- dec – decrease
- BLO – back loop only
- st/sts – stitch/stitches
Finished Measurements
The newborn hat is designed for an approximate head circumference of 13–14 inches.
The diaper cover is designed to fit a typical newborn photo-prop size.
Because newborn sizes vary, measure the baby whenever possible rather than relying solely on age.
This set is designed primarily as a photography prop, not as an everyday garment.
Pumpkin Newborn Hat
The hat is worked from the crown downward.
Use orange yarn.
Round 1
Make a magic ring.
Work 10 hdc into the ring.
Join with a slip stitch.
(10 sts)
Round 2
Ch 2.
Work 2 hdc in each stitch around.
Join with a slip stitch.
(20 sts)
Round 3
Ch 2.
Hdc in the next stitch, 2 hdc in the next stitch.
Repeat around.
Join with a slip stitch.
(30 sts)
Round 4
Ch 2.
Hdc in the next 2 stitches, 2 hdc in the next stitch.
Repeat around.
Join with a slip stitch.
(40 sts)
Round 5
Ch 2.
Hdc in the next 3 stitches, 2 hdc in the next stitch.
Repeat around.
Join with a slip stitch.
(50 sts)
The crown should now be wide enough for a newborn-sized hat.
Rounds 6–11
Ch 2.
Hdc in each stitch around.
Join with a slip stitch.
Continue until the hat reaches approximately 5 inches in height.
Fasten off and weave in the yarn end.
Pumpkin Ribbing
To make the hat look more like a pumpkin, create subtle vertical ridges.
Using a yarn needle and orange yarn, work several long stitches from the crown toward the bottom edge.
Space the stitches evenly around the hat.
Gently pull each strand just enough to create a shallow indentation.
Do not pull too tightly.
These lines divide the hat into pumpkin-like sections.
Pumpkin Stem
Switch to brown yarn.
Round 1
Make a magic ring.
Work 6 sc into the ring.
Rounds 2–4
Sc around.
Fasten off and leave a sewing tail.
Add a tiny amount of stuffing if desired.
Sew the stem to the center top of the pumpkin hat.
Optional Green Leaf
Use green yarn.
Chain 6.
Starting in the second chain from the hook:
- Sc
- Hdc
- Dc
- Hdc
- Sc
Continue around the opposite side of the chain.
Slip stitch to the beginning.
Fasten off.
Sew the leaf beside the pumpkin stem.
Pumpkin Diaper Cover
The diaper cover is designed with a comfortable waist and shaped leg openings.
Use orange yarn.
Waistband
Chain 50.
Join with a slip stitch to form a ring, taking care not to twist the chain.
Round 1
Ch 1.
Sc around.
Join with a slip stitch.
(50 sts)
Rounds 2–4
Ch 1.
Sc around.
Join with a slip stitch.
The waistband should remain flexible.
Shaping the Back
The back of the diaper cover needs additional width for coverage.
Row 1
Work across approximately half of the stitches using sc.
Turn.
Rows 2–6
Ch 1.
Sc across.
Turn after each row.
Fasten off.
This creates the back section of the cover.
Shaping the Front
Reattach yarn to the opposite side of the waistband.
Work the front section in single crochet.
Gradually decrease toward the center so the finished cover follows the natural shape of the baby’s body.
Front Rows
Work sc across the row.
At the beginning and end of selected rows, work a decrease to narrow the front.
Continue until the front reaches the desired depth.
Fasten off.
Adding the Leg Edges
Attach orange yarn around one leg opening.
Work one round of sc evenly around the opening.
Repeat for the second leg.
For a slightly stretchy edge, work the final round through the back loop only.
Fasten off and weave in all ends.
Pumpkin Details for the Diaper Cover
Add subtle vertical pumpkin ridges to the front using orange yarn and a yarn needle.
Work the embroidery from the waistband toward the lower edge.
Space the ridges evenly so they visually coordinate with the pumpkin hat.
Keep the embroidery secure and trim any excess yarn.
Optional Green Waist Tie
For a decorative finishing touch, create a short crochet cord in green yarn.
Chain a length appropriate for the waist and weave it through the waistband.
For newborn use, avoid long loose ties or cords. A cord should not be left where it could wrap around a baby’s neck or become a strangulation hazard.
For the safest version, skip the tie entirely.
Make Your Pumpkin Set Extra Cute
Add a Leaf
A small green leaf beside the hat’s stem instantly gives the pumpkin a more recognizable shape.
You can add a matching leaf to the front of the diaper cover.
Use Two Shades of Orange
Try a darker orange for the pumpkin ridges and a lighter orange for the main pieces.
This creates additional dimension without complicated crochet stitches.
Try a Cream Pumpkin
Cream, ivory, or beige can create a modern farmhouse-style pumpkin set.
Pair it with a muted green stem and leaf.
Make a Fall Color Set
Other beautiful combinations include:
- Burnt orange and cream
- Rust and sage
- Mustard and brown
- Pumpkin orange and forest green
- Terracotta and ivory
Tips for Making a Newborn Crochet Set
Measure Before Use
Newborn babies vary significantly in size.
Check the finished hat and diaper cover against the intended baby before use.
Keep the Fabric Soft
Avoid overly tight stitches that create a stiff fabric.
Don’t Overdecorate
The pumpkin design is already decorative. Avoid loose buttons, beads, or other small embellishments.
Check the Hat Fit
The hat should sit comfortably without being tight around the baby’s head.
Inspect the Set
Before every use, check for loose yarn, damaged stitches, or decorations that may have become detached.
Safety Information
This newborn set is best treated as a supervised photography prop.
Newborns should never be left unattended while wearing crochet accessories. Make sure the hat and diaper cover do not restrict breathing, movement, circulation, or body temperature regulation.
Do not use long ties, cords, loose strings, buttons, beads, or other small detachable decorations.
Remove the set immediately if the baby becomes uncomfortable, overheated, or distressed.
Never leave a newborn wearing a hat or costume unattended, and never place loose crochet accessories near a sleeping baby.
Frequently Asked Questions
What size baby is this pumpkin set for?
The set is designed for newborn photography, with the hat intended for an approximate 13–14 inch head circumference.
Can I make the pumpkin hat larger?
Yes. Add another increase round before working the straight rounds, then continue until the crown reaches the desired circumference.
Can I make the diaper cover for a larger baby?
Yes. Increase the waistband circumference and adjust the front and back sections according to the baby’s measurements.
What yarn is best for a newborn pumpkin set?
A soft, smooth yarn is recommended. Choose a yarn that is comfortable against delicate newborn skin and follow the manufacturer’s care instructions.
Is this set suitable for everyday wear?
It is best considered a photo prop rather than everyday newborn clothing. For photography, always use it under direct adult supervision.
Can I make the hat without the diaper cover?
Absolutely. The pumpkin hat works as a standalone fall accessory or photography prop.
Final Thoughts
This Pumpkin Newborn Set is a fun way to celebrate a baby’s first fall. The pumpkin-shaped hat and coordinating diaper cover create an adorable seasonal look without requiring complicated crochet techniques.
Try traditional orange and green for a classic pumpkin, or experiment with cream, rust, sage, and other autumn shades for a modern fall-inspired set.
Because newborns require special care, always prioritize comfort, temperature, safe fit, and close adult supervision when using handmade crochet pieces for photography.