Crochet Black Cat Hat
Crochet Black Cat Hat – Free Pattern
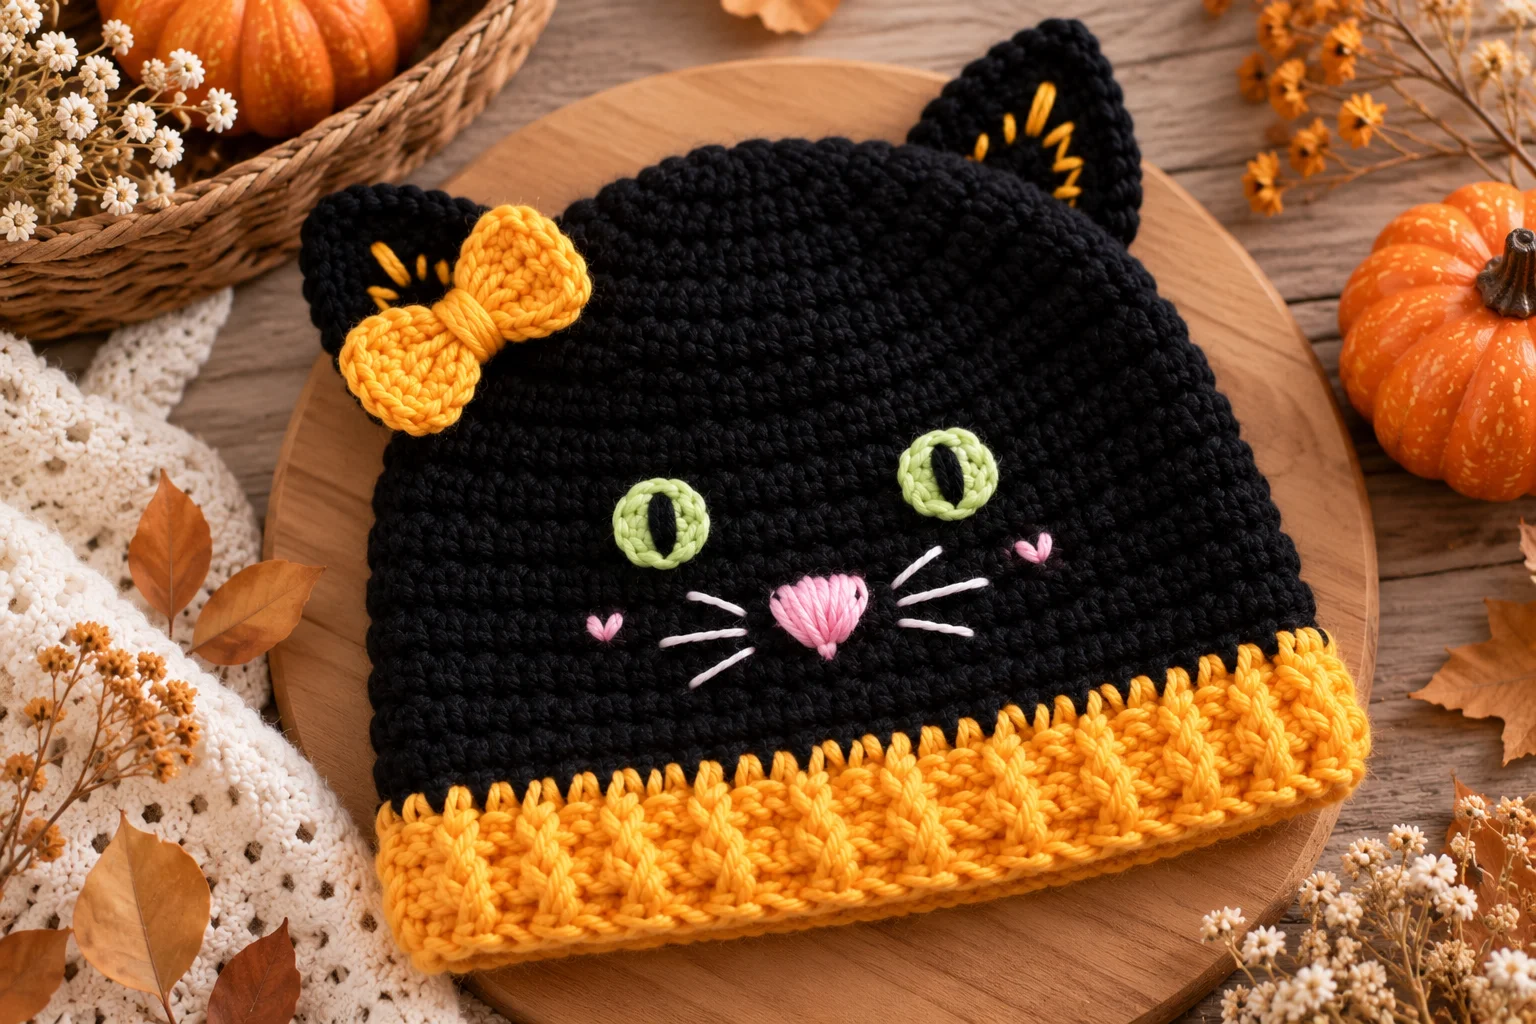
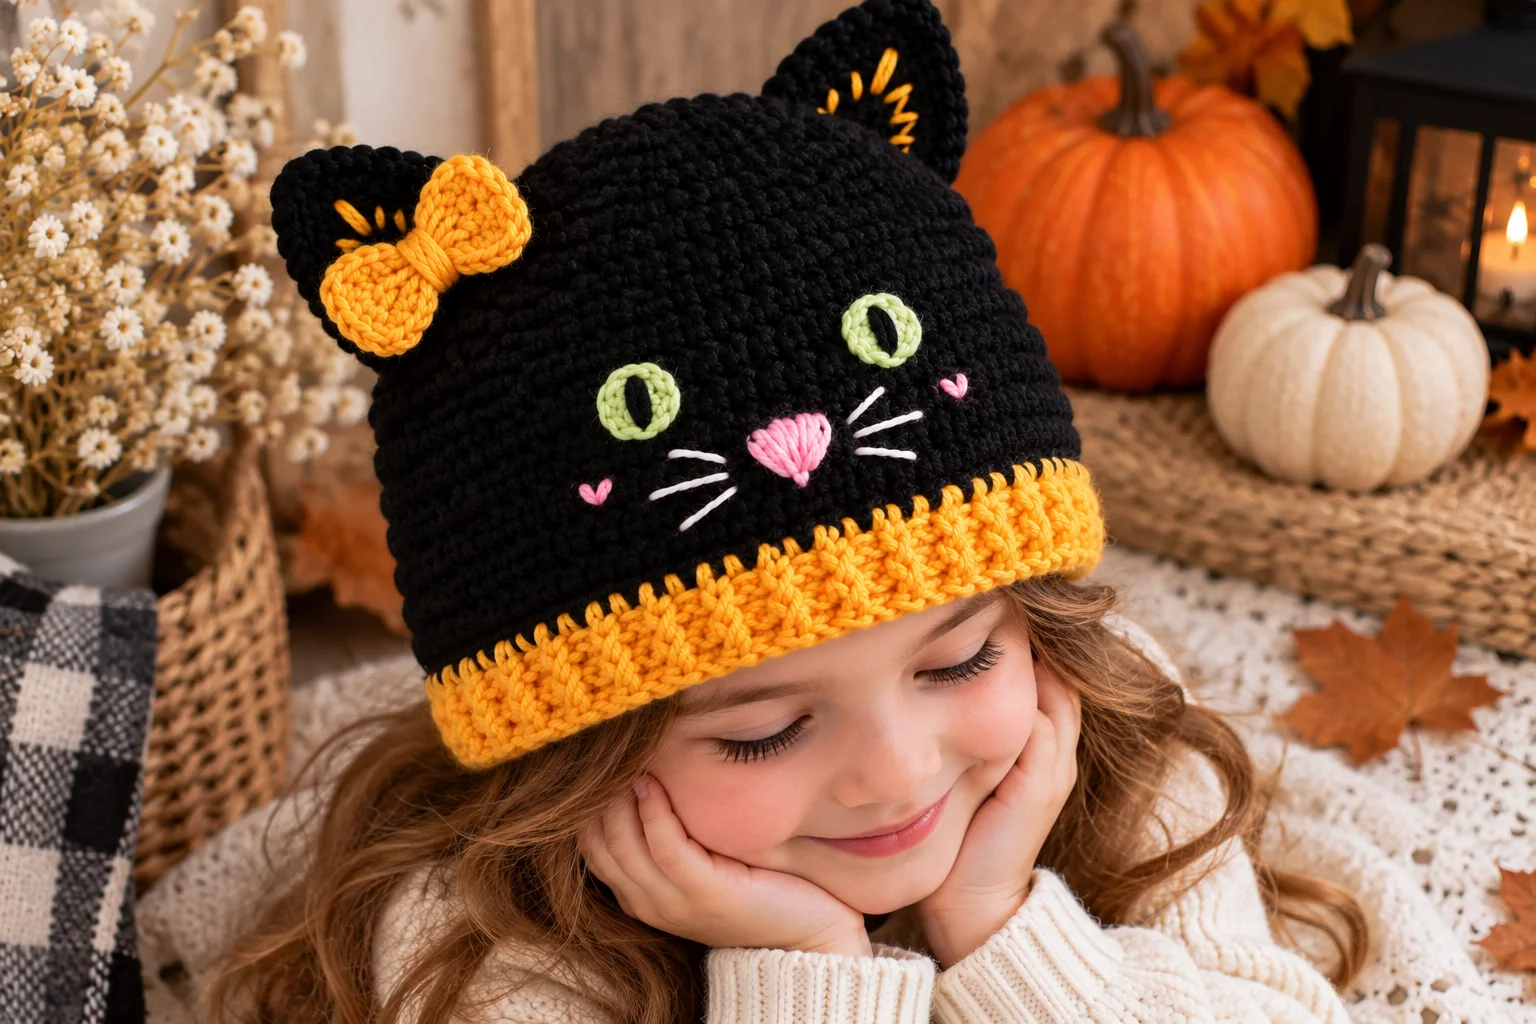
Turn a cozy crochet beanie into an adorable feline accessory with this Crochet Black Cat Hat! This easy pattern features a classic black beanie shape topped with pointed cat ears, making it perfect for Halloween, costume parties, fall photos, or anyone who loves cats.
The hat is worked from the crown downward using basic crochet stitches. Once the beanie is finished, simple crocheted ears are added to create the unmistakable cat-ear silhouette.
Keep the design completely black for a sleek look, or add small embroidered eyes, whiskers, or a contrasting inner ear for extra personality.
Crochet Black Cat Hat at a Glance
- Skill level: Easy
- Sizes: Child, Teen, Adult
- Yarn: Worsted-weight (#4)
- Hook: 5 mm (H-8)
- Main stitch: Half double crochet
- Construction: Worked in joined rounds
- Features: Pointed cat ears
- Terminology: US crochet terms
Materials
You will need:
- Black worsted-weight (#4) yarn
- Small amount of pink, gray, or purple yarn for optional inner ears
- 5 mm crochet hook
- Yarn needle
- Scissors
- Stitch marker
- Measuring tape
- Black embroidery thread, optional
Choose a soft black yarn for a comfortable hat. Acrylic yarn is an easy-care option, while a wool or wool-blend yarn can create a warmer winter version.
Crochet Abbreviations
- MR – magic ring
- ch – chain
- sc – single crochet
- hdc – half double crochet
- dc – double crochet
- sl st – slip stitch
- inc – increase
- dec – decrease
- st/sts – stitch/stitches
Finished Sizes
| Size | Approx. Head Circumference |
|---|---|
| Child | 19–20 in |
| Teen | 20–22 in |
| Adult | 21–23 in |
Crochet naturally has some stretch, so choose the size closest to the intended head measurement.
For the best fit, measure around the head where the hat will sit.
Gauge
Approximately:
14 hdc × 10 rounds = 4 × 4 inches
Gauge is important when making a fitted hat. If your stitches are too tight, move up a hook size. If your stitches are too loose, try a smaller hook.
Crochet Black Cat Hat Pattern
The hat is worked from the crown downward.
The instructions below provide the basic child size. To make a larger size, continue increasing the crown until it reaches the required circumference before working the straight rounds.
Crown
With black yarn, make a magic ring.
Round 1
Ch 2.
Work 10 hdc into the ring.
Join with a slip stitch.
(10 sts)
Round 2
Ch 2.
Work 2 hdc in each stitch around.
Join with a slip stitch.
(20 sts)
Round 3
Ch 2.
Hdc in the next stitch, 2 hdc in the next stitch.
Repeat around.
Join with a slip stitch.
(30 sts)
Round 4
Ch 2.
Hdc in the next 2 stitches, 2 hdc in the next stitch.
Repeat around.
Join with a slip stitch.
(40 sts)
Round 5
Ch 2.
Hdc in the next 3 stitches, 2 hdc in the next stitch.
Repeat around.
Join with a slip stitch.
(50 sts)
Continue increasing if necessary for a larger size.
Once the crown reaches the desired circumference, stop increasing.
Hat Body
Next Rounds
Ch 2.
Hdc in each stitch around.
Join with a slip stitch.
Repeat until the hat reaches the desired length.
For a standard fitted hat, the lower edge should sit comfortably around the ears and forehead.
Fasten off and weave in the yarn end.
Optional Hat Band
For a more finished lower edge, add a simple band.
Attach black yarn to the bottom edge.
Work one round of sc around the hat.
Join with a slip stitch.
For extra texture, work one or two additional rounds of sc through the back loop only.
Fasten off and weave in the end.
Crochet Cat Ears
Make two identical ears.
The ears are crocheted as small triangles.
Use black yarn.
Row 1
Chain 8.
Sc in the second chain from the hook and across.
(7 sts)
Row 2
Ch 1 and turn.
Sc2tog.
Sc across the remaining stitches.
(6 sts)
Row 3
Ch 1 and turn.
Sc2tog.
Sc across.
(5 sts)
Row 4
Ch 1 and turn.
Sc2tog.
Sc across.
(4 sts)
Row 5
Ch 1 and turn.
Sc2tog.
Sc across.
(3 sts)
Row 6
Ch 1 and turn.
Sc2tog.
Sc across.
(2 sts)
Row 7
Ch 1 and turn.
Sc2tog.
(1 st)
Fasten off and leave a long sewing tail.
Repeat to make the second ear.
Shape the Cat Ears
Fold each ear slightly so the triangle has a gentle curve.
You can leave the ears flat for a simple appearance or lightly stitch the bottom corners together to create more dimension.
Do not add stuffing unless you want a very structured ear.
Optional Inner Ear
For a contrasting inner ear, use pink, gray, purple, or another color.
Create a smaller triangle using the same basic construction.
Sew the smaller triangle onto the center of each black ear.
This is completely optional—the hat looks great with solid black ears too.
Attach the Cat Ears
Put the finished hat on a flat surface.
Place the ears along the top edge.
For a classic cat silhouette, position them approximately equal distances from the center.
Pin them temporarily if needed.
Sew each ear securely to the hat using the long yarn tail.
Stitch along the entire lower edge of each ear.
Weave the ends inside the hat and trim the excess yarn.
Optional Cat Face
The hat can be left as a simple black cat-ear beanie, but you can add a face for an extra playful design.
Use embroidery thread to create:
- Closed eyes
- Small whiskers
- A tiny nose
- Curved eyebrows
For a child-sized hat, embroidered details are preferable to loose plastic pieces or buttons.
Add a Cat Nose
For a simple nose, use pink or gray embroidery thread.
Make a small triangle or oval near the front center of the hat.
Keep the stitches secure and weave the ends into the inside.
Add Whiskers
Use black, white, or gray embroidery thread.
Create three short lines extending outward from each side of the nose.
Keep the whiskers relatively short so they do not become loose hanging strands.
Make a Halloween Black Cat Hat
For a Halloween version, keep the entire hat black and add:
- Orange inner ears
- Purple accents
- A small crochet bow
- Embroidered golden eyes
You can also add a tiny crocheted spider or pumpkin to the side of the hat.
Make a Witchy Cat Hat
Pair the black cat beanie with a small purple or orange bow.
For an extra Halloween-inspired version, attach a tiny crochet witch hat to one of the cat ears.
Tips for a Better-Fitting Cat Hat
Measure the Head
Measure around the widest part of the head before beginning.
This is more reliable than choosing a size based only on age.
Don’t Overstretch the Hat
Crochet hats should have some negative ease, but excessive stretching can distort the crown and ears.
Keep the Ears Even
Measure the distance from each ear to the center of the hat so both sides look balanced.
Secure the Ears Well
The ears are the main decorative feature, so sew them firmly along their entire base.
Keep Embroidery Secure
If you add facial details, weave all embroidery ends securely into the inside of the hat.
Common Mistakes to Avoid
Adding too many crown increases:
This can cause the crown to become wavy.
Not increasing enough:
The hat may cup inward rather than forming a smooth crown.
Making the ears too floppy:
If you want firm ears, use tight stitches and secure the base well.
Placing the ears too close together:
This can make the hat look more like a pointed hood than a cat.
Using loose decorations:
Avoid detachable small pieces, especially on hats intended for young children.
Safety Note
For babies and young children, use embroidered facial details rather than buttons, beads, safety eyes, or other small detachable decorations.
Check the hat regularly for loose yarn or damaged stitching.
Do not add long cords, strings, or ties to the hat, as these can create a strangulation hazard.
Frequently Asked Questions
Is this black cat hat beginner-friendly?
Yes. The beanie uses basic half double crochet, while the ears are simple crocheted triangles.
Can I make this hat for a toddler?
Yes. Use the child’s head measurement to determine the crown circumference and adjust the number of body rounds for the desired height.
Can I make the ears smaller?
Absolutely. Start with a shorter foundation chain and work fewer decrease rows.
Can I make taller cat ears?
Yes. Start with a longer foundation chain and continue decreasing until you reach the top point.
Can I use a different yarn weight?
Yes, but the finished size will change. If using bulky yarn, use an appropriately sized hook and measure the hat as you work.
Can I add a pom-pom?
You can add small pom-poms to the tips of the ears for a playful look, although a classic pointed ear shape gives the strongest cat silhouette.
Final Thoughts
This Crochet Black Cat Hat is a fun and simple way to turn an everyday crochet beanie into a cute feline accessory. The basic hat construction is easy to customize, while the pointed ears instantly create the classic black-cat look.
Make it for Halloween, a costume party, a fall photo session, or simply for someone who loves cats. Keep it sleek and completely black, or add colorful inner ears and embroidered details for extra personality.