Little Daisy Crochet Baby Booties | Free Crochet Pattern
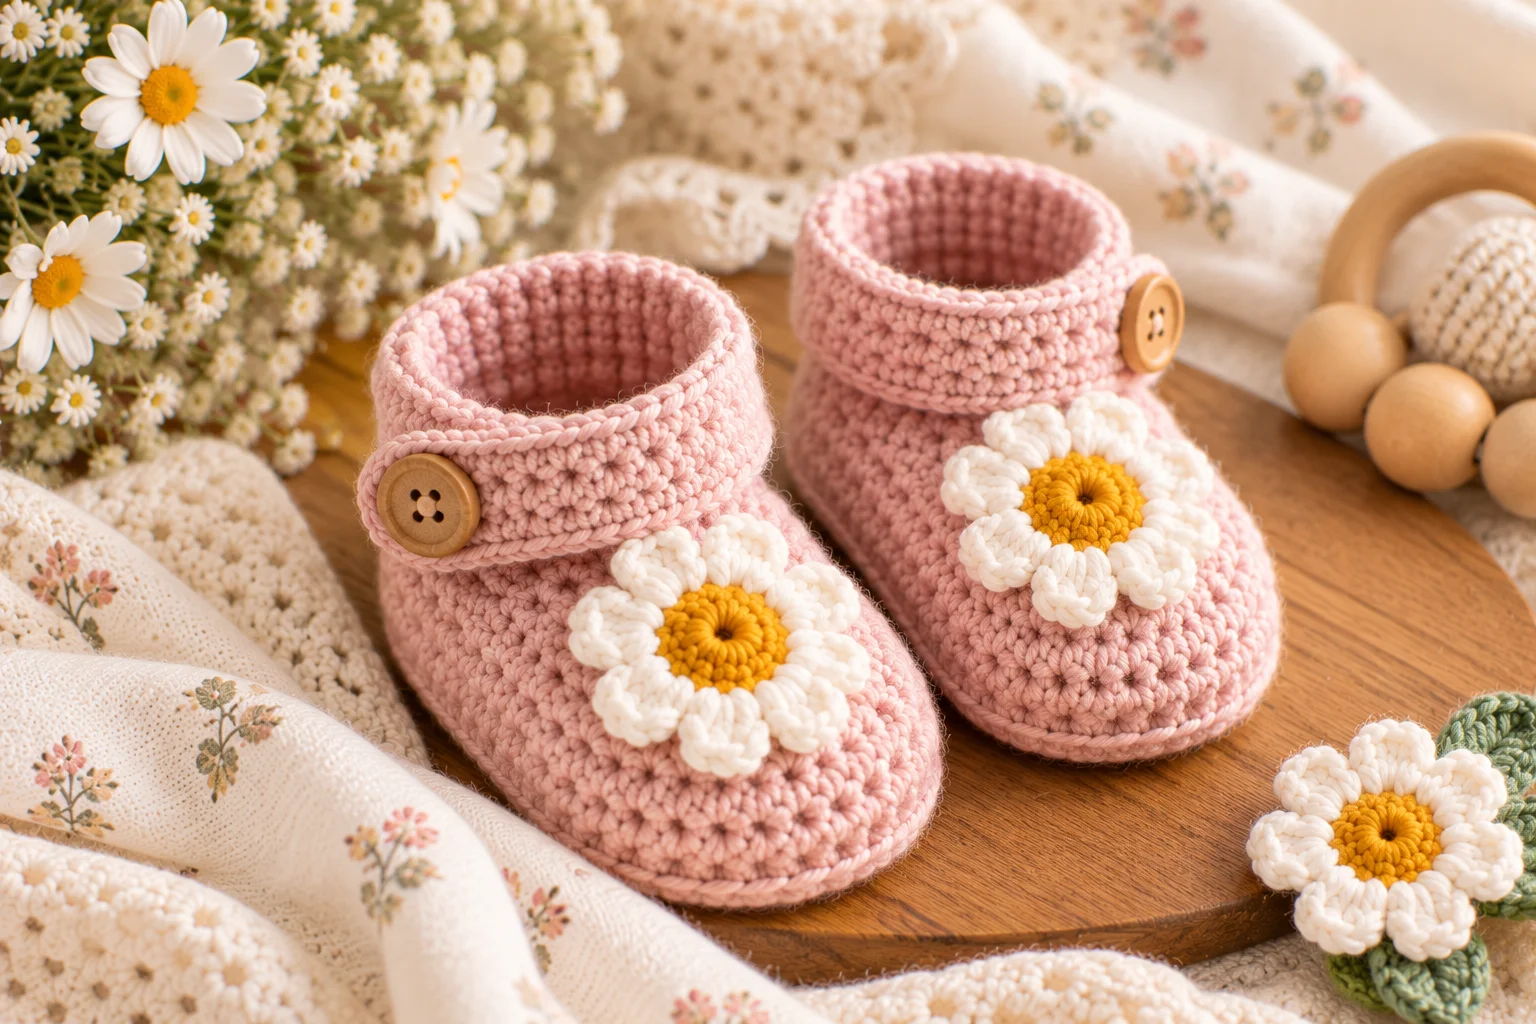
Keep tiny toes warm with these adorable Little Daisy crochet baby booties! These soft little booties feature a simple crochet construction and a sweet daisy-inspired detail that makes them perfect for baby showers, newborn gifts, spring outfits, and everyday wear.
The booties are designed to be comfortable and easy to customize. Choose a soft neutral yarn for a classic look, or use pastel colors to create a cheerful pair of baby shoes for spring.
This is a lovely small crochet project when you want to make something special without committing to a large garment or blanket.
Little Daisy Baby Booties at a Glance
- Skill level: Easy to intermediate
- Sizes: Newborn, 0–3 months, 3–6 months
- Yarn: DK-weight (#3)
- Hook: 3.5 mm (E-4)
- Main stitches: Single crochet and half double crochet
- Construction: Sole and upper worked in rounds
- Decoration: Crochet daisy
- Terminology: US crochet terms
- Pair: Make 2 booties
Materials
You will need:
- DK-weight (#3) soft baby yarn
- 3.5 mm crochet hook
- Small amount of white or cream yarn for the daisy
- Small amount of yellow yarn for the flower center
- Yarn needle
- Scissors
- Stitch marker
- Measuring tape
Choose a smooth, soft yarn that is comfortable against delicate baby skin. Washable yarn is especially practical for baby footwear.
Crochet Abbreviations
- ch – chain
- sc – single crochet
- hdc – half double crochet
- dc – double crochet
- sl st – slip stitch
- st/sts – stitch/stitches
- BLO – back loop only
- sc2tog – single crochet 2 together
Baby Bootie Sizes
The pattern can be made in three small baby sizes.
| Size | Approx. Sole Length |
|---|---|
| Newborn | 3.25 inches |
| 0–3 months | 3.5 inches |
| 3–6 months | 4 inches |
Baby foot sizes can vary, so these measurements are approximate. Whenever possible, measure the baby’s foot and compare it with the sole as you crochet.
The bootie should have enough room for the toes without being excessively loose.
Little Daisy Crochet Baby Booties Pattern
The booties are worked from the sole upward.
First, crochet the oval sole. The upper is then built around the outside edge before shaping the toe and ankle.
Make two booties.
Sole
The following instructions are for the newborn size.
For larger sizes, increase the foundation chain by a few stitches and add the corresponding increase stitches around the toe and heel.
With your main color, chain 10.
Round 1
Sc in the second chain from the hook.
Sc in the next 7 chains.
Work 3 sc in the final chain.
Continue along the opposite side of the foundation chain.
Sc in the next 7 stitches.
Work 2 sc in the final stitch.
Join with a slip stitch.
(20 sts)
Round 2
Ch 1.
Sc in the first stitch.
Work 2 sc in the next stitch.
Sc in the next 7 stitches.
Work 2 sc in each of the next 3 stitches.
Sc in the next 7 stitches.
Work 2 sc in each of the final 2 stitches.
Join with a slip stitch.
(26 sts)
Round 3
Ch 1.
Sc around, working increases evenly around the rounded toe and heel sections.
Join with a slip stitch.
The sole should now have a smooth oval shape.
For the larger sizes, continue increasing until the sole reaches the desired length and width.
Creating the Sole Ridge
The next round establishes a small ridge between the sole and the upper.
Round 4
Ch 1.
Working in the back loop only, sc around.
Join with a slip stitch.
This back-loop round gives the bootie a defined edge and helps the upper turn upward.
Building the Upper
Round 5
Ch 1.
Sc in each stitch around.
Join with a slip stitch.
Round 6
Ch 1.
Hdc in each stitch around.
Join with a slip stitch.
The bootie should now begin to look more like a little shoe.
Shape the Toe
The toe is gently narrowed to create the rounded front of the bootie.
Place stitch markers at the center portion of the toe.
Round 7
Hdc around until you reach the first marked section.
Work hdc2tog across the next two stitches.
Continue working hdc across the toe.
Work another hdc2tog near the opposite side.
Continue around the remaining stitches.
Join with a slip stitch.
Round 8
Hdc evenly around.
Join with a slip stitch.
The decreases should pull the front of the bootie slightly inward.
If the toe looks too narrow, work this round without decreases.
Crochet the Ankle
Continue working single crochet around the bootie until the ankle reaches your desired height.
For a low baby shoe, one or two additional rounds may be enough.
For a more boot-like style, add several rounds to create a taller ankle.
Keep the opening comfortable enough for the baby’s foot to slide inside easily.
Daisy Cuff
For the signature Little Daisy look, add a row of tiny flowers around the ankle.
You can make individual daisies separately and sew them onto the bootie, or create a simple floral border using small stitches.
For the easiest option, make small crochet daisies and attach them around the top edge.
Simple Crochet Daisy
Use yellow yarn for the center.
Round 1
Make a magic ring.
Work 6 sc into the ring.
Pull the center closed and join with a slip stitch.
Fasten off.
Switch to white or cream yarn.
Petals
Attach the white yarn to a center stitch.
For each petal:
- Ch 3
- Work 2 dc into the same stitch
- Ch 3
- Sl st into the same stitch
Repeat around the flower center.
Fasten off and leave a sewing tail.
Gently arrange the petals so the flower lies flat.
Attach the Daisy
Position the daisy on the outer side of the bootie near the ankle.
Sew the center securely to the crochet fabric.
For a larger floral look, make two or three smaller daisies and arrange them along the cuff.
Repeat the decoration on the second bootie.
Add a Contrasting Border
For extra detail, work one round of single crochet around the top opening using a contrasting color.
White, cream, yellow, pink, or green can all look beautiful with a floral theme.
Keep the border simple so the daisy remains the main feature.
Make Different Daisy Booties
These booties can be customized in many ways.
Classic Daisy
- Cream bootie
- White petals
- Yellow center
Pretty Pink
- Pink bootie
- White petals
- Golden-yellow center
Spring Garden
- Soft green bootie
- Cream petals
- Yellow center
Sunshine Yellow
- Pale yellow bootie
- White petals
- Golden center
Neutral Baby Gift
- Beige bootie
- Ivory petals
- Mustard center
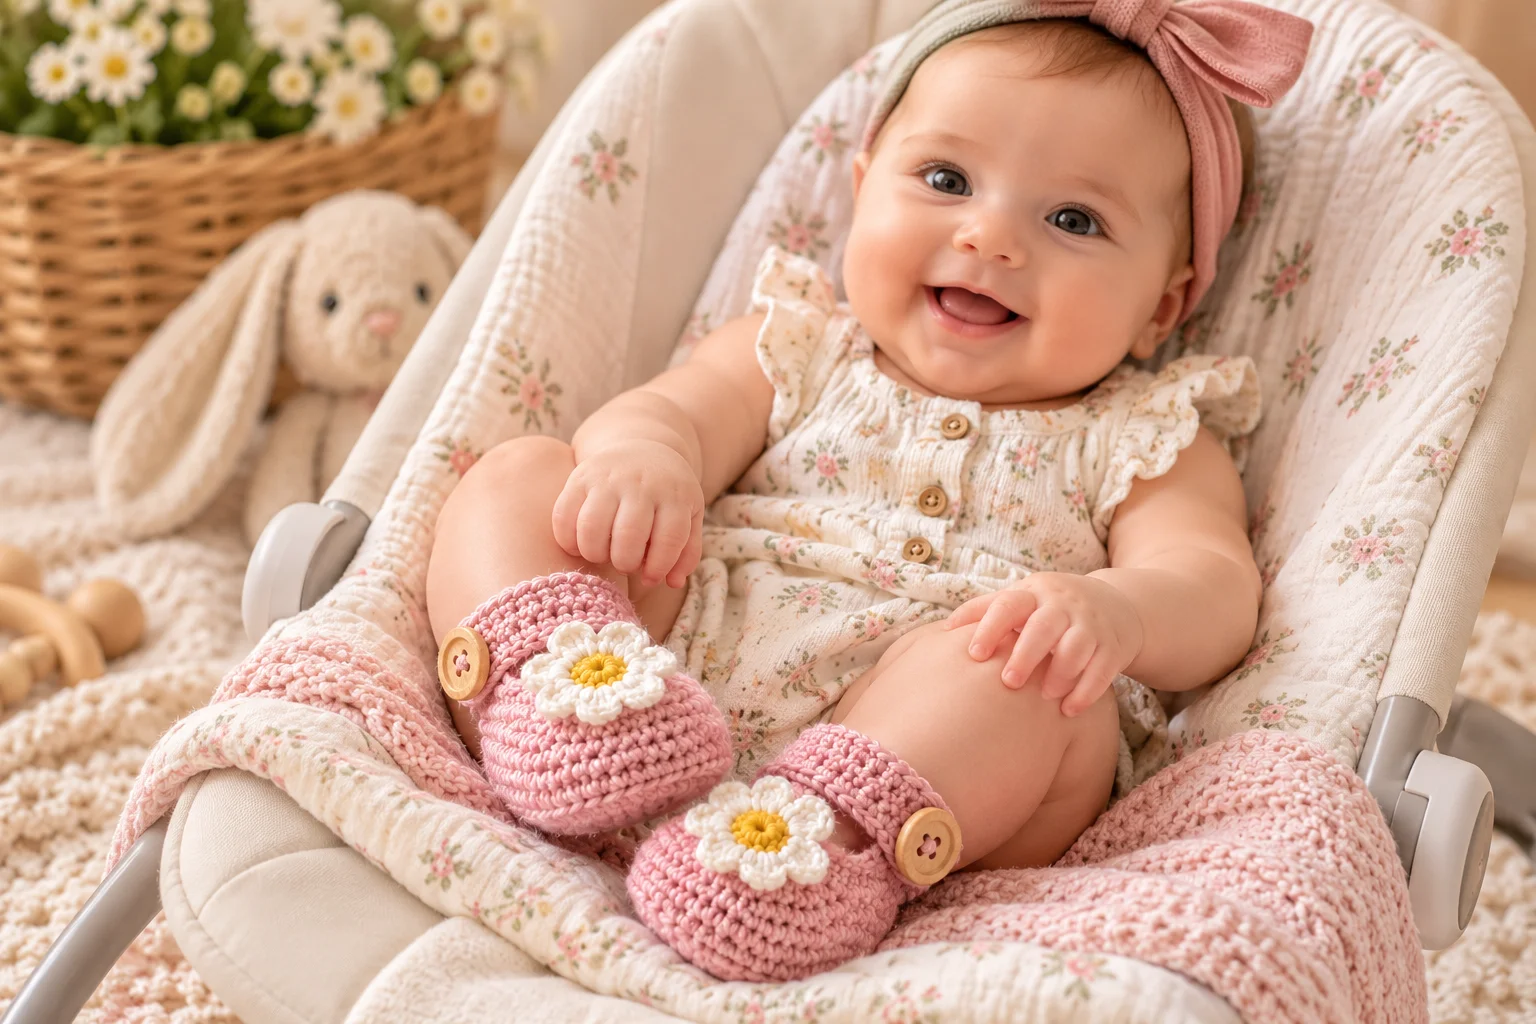
Tips for Getting the Best Fit
Measure the Baby’s Foot
Age ranges are only approximate.
Measure from the back of the heel to the longest toe whenever possible.
Check the Sole Before Continuing
The sole determines most of the bootie’s fit.
Place it against the baby’s foot before beginning the upper.
Keep the Toe Comfortable
The toe should have enough room for the baby’s toes to move.
Avoid excessive decreases that make the front narrow or stiff.
Don’t Make the Ankle Too Tight
The bootie opening should stretch enough to slide comfortably over the foot.
Make Both Booties the Same
Keep track of your rounds and stitch counts so the second bootie matches the first.
Common Mistakes to Avoid
Making the sole too short:
The toes need enough room, so check the sole length before continuing.
Adding too many increases:
Too many increases can make the sole wavy instead of flat.
Crocheting the upper too tightly:
A stiff upper can make the bootie uncomfortable.
Making the opening too small:
The bootie should be easy to put on and remove.
Attaching flowers loosely:
Sew decorative flowers securely and weave in the yarn ends carefully.
Baby Safety
These booties are decorative soft footwear and should be used with appropriate supervision.
Before giving the booties to a baby, inspect them carefully for loose yarn ends, detached flowers, or other small parts.
Make sure all decorative elements are securely attached. Avoid beads, buttons, or other small detachable pieces that could become choking hazards.
Also make sure the booties are not tight around the baby’s ankle or foot.
Frequently Asked Questions
What yarn is best for crochet baby booties?
A soft DK-weight (#3) baby yarn works well for these booties. Choose a washable yarn with a comfortable texture.
Are these baby booties beginner-friendly?
The basic construction uses simple crochet stitches, making the project suitable for a confident beginner. The sole shaping and toe decreases require careful stitch counting.
Can I make these booties larger?
Yes. Adjust the foundation chain and sole increases to create a longer and wider sole. Measure the baby’s foot for the most accurate result.
Do the daisies have to be white?
No. Try pastel pink, lavender, pale blue, peach, or even multicolored petals.
Can I leave off the flowers?
Absolutely. The booties can be made as simple classic crochet baby boots without the floral decoration.
Can I add a taller cuff?
Yes. Continue working rounds around the ankle until you reach your preferred height.
Are these suitable for walking outdoors?
These are soft crochet baby booties rather than structured shoes. They are best suited to keeping little feet cozy indoors or completing a baby outfit rather than providing outdoor protection or traction.
Final Thoughts
These Little Daisy crochet baby booties are a sweet combination of comfort and handmade charm. The simple crochet construction makes them enjoyable to work on, while the tiny daisy adds a beautiful finishing touch.
Try different yarn colors to create a pair for every season. A pastel version makes a lovely spring baby gift, while cream and yellow can create a timeless handmade keepsake.
With their small size and adorable floral detail, these booties are a perfect project when you want to crochet something special for a little one.