Crochet Fairy Flower Hat Pattern
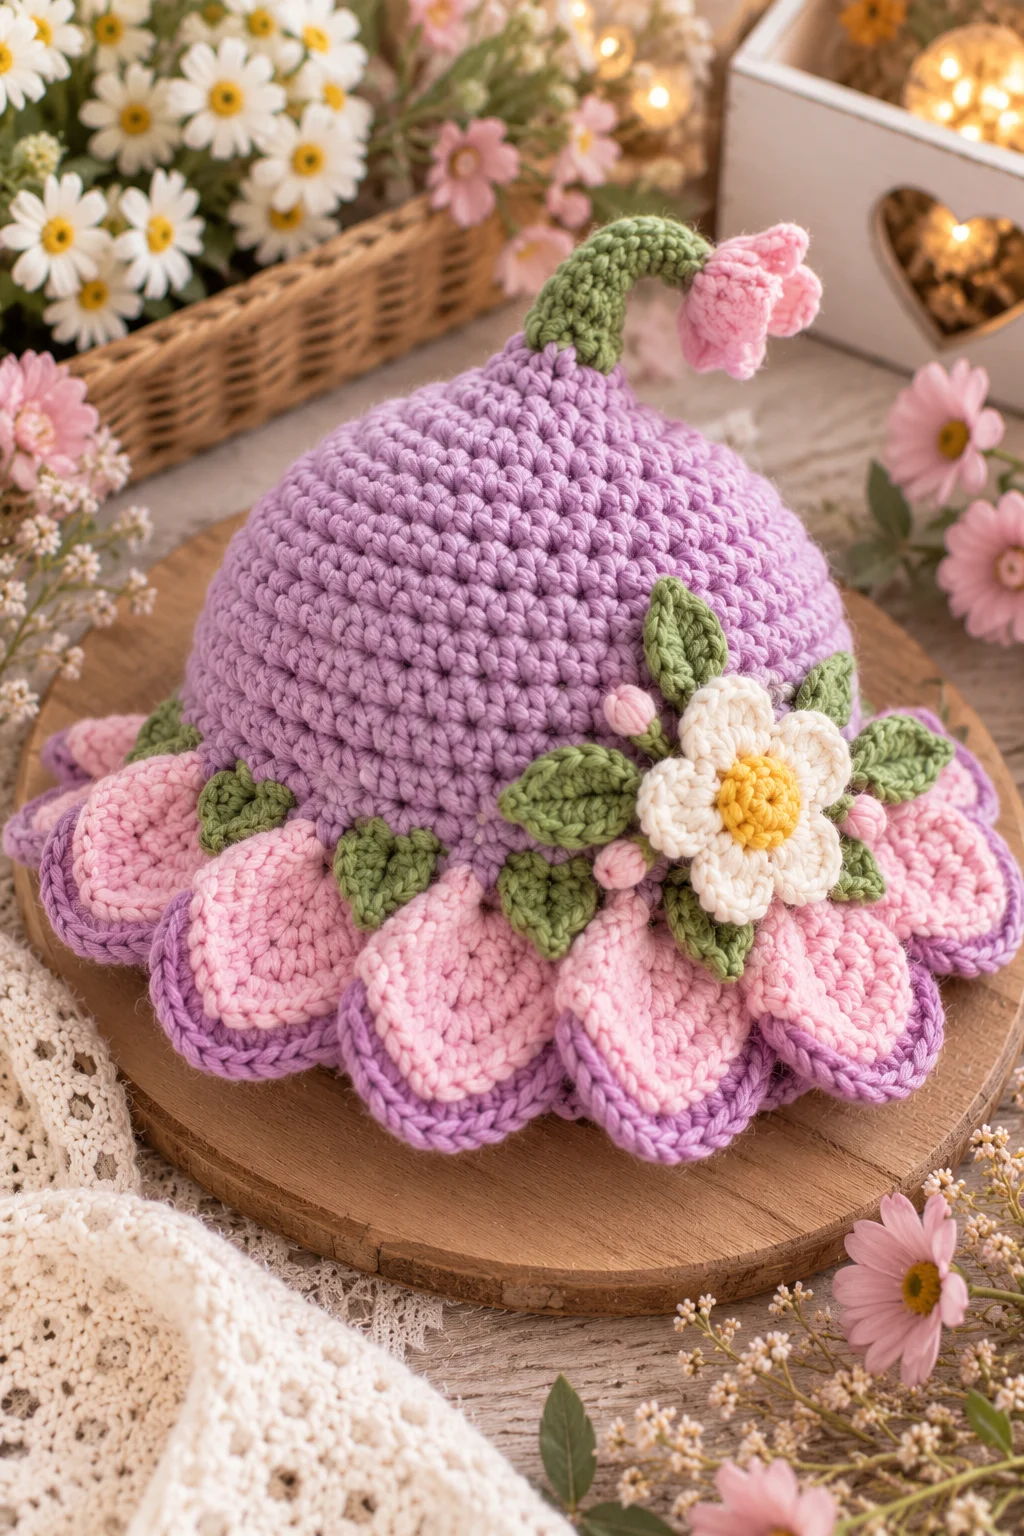
Add a little woodland magic to your crochet wardrobe with this adorable Crochet Fairy Flower Hat! Designed with a cozy beanie base and a playful flower-inspired brim, this whimsical hat is perfect for babies, children, photography sessions, costumes, fairy-themed parties, and imaginative play.
The hat combines a simple crochet construction with soft flower petals around the edge. You can make it in delicate pastel shades for a fairy-inspired look or use bright colors for a cheerful garden theme.
The best part is that the flower details are easy to customize. Make the petals small and subtle or large and dramatic depending on the look you want.
Crochet Fairy Flower Hat at a Glance
- Skill level: Easy to intermediate
- Sizes: Baby, Toddler, Child
- Yarn: Worsted-weight (#4)
- Hook: 5 mm (H-8)
- Main stitch: Half double crochet
- Construction: Worked in joined rounds
- Decoration: Crochet flower petals
- Terminology: US crochet terms
Materials
You will need:
- Worsted-weight (#4) yarn for the hat
- Small amounts of contrasting yarn for the petals
- 5 mm crochet hook
- Yarn needle
- Scissors
- Stitch marker
- Measuring tape
A soft acrylic yarn works well for this project because it is easy to care for and comes in many colors. You can also use a soft cotton blend for a lighter version.
Crochet Abbreviations
- MR – magic ring
- ch – chain
- sc – single crochet
- hdc – half double crochet
- dc – double crochet
- sl st – slip stitch
- inc – increase
- st/sts – stitch/stitches
- BLO – back loop only
Finished Sizes
| Size | Approx. Head Circumference |
|---|---|
| Baby | 15–17 in |
| Toddler | 17–19 in |
| Child | 19–20 in |
These measurements are approximate.
Because crochet stretches, choose the size closest to the intended head circumference rather than making the hat exactly the same size as the head.
For babies and toddlers, measure the head whenever possible.
Gauge
Approximately:
14 hdc × 10 rounds = 4 inches
If your gauge is too tight, try a larger hook. If your stitches are too loose, use a smaller hook.
Crochet Fairy Flower Hat Pattern
The hat is worked from the crown downward.
The basic beanie is made first, followed by the flower-inspired brim.
Baby Size
Round 1
Make a magic ring.
Ch 2.
Work 10 hdc into the ring.
Join with a slip stitch.
(10 sts)
Round 2
Ch 2.
Work 2 hdc in each stitch around.
Join with a slip stitch.
(20 sts)
Round 3
Ch 2.
Hdc in the next stitch, 2 hdc in the next stitch.
Repeat around.
Join with a slip stitch.
(30 sts)
Round 4
Ch 2.
Hdc in the next 2 stitches, 2 hdc in the next stitch.
Repeat around.
Join with a slip stitch.
(40 sts)
Rounds 5–9
Ch 2.
Hdc in each stitch around.
Join with a slip stitch.
Continue until the hat reaches the desired depth.
Fasten off and weave in the end.
Toddler and Child Sizes
For larger sizes, continue the crown increases until the hat circumference is appropriate for the intended wearer.
Once the desired crown size is reached, work even rounds of hdc until the hat reaches the desired height.
Always measure the hat as you work because yarn tension can change the finished size.
Fairy Flower Brim
Now it’s time to turn the basic hat into a flower-inspired design.
Attach your contrasting petal color around the lower edge of the hat.
The petals are worked directly around the bottom edge.
Small Flower Petal
For each petal:
- Slip stitch into the next stitch.
- Chain 3.
- Work 2 dc into the same stitch.
- Chain 2.
- Slip stitch into the same stitch.
Repeat around the entire lower edge.
Fasten off and weave in the yarn end.
This creates a row of small rounded petals.
Larger Fairy Petals
For a more dramatic flower effect, use taller stitches.
For each larger petal:
- Slip stitch into the next stitch.
- Chain 3.
- Work 3 dc into the same stitch.
- Chain 3.
- Slip stitch into the same stitch.
Repeat around.
The larger petals create a soft scalloped edge that resembles flower petals.
Make the Petals Pointed
For a more fairy-like appearance, make the center of each petal taller.
Try:
- Chain 3
- Hdc
- 2 dc
- Hdc
- Slip stitch
Work these stitches into the same base stitch.
This creates a pointed petal with a gentle peak.
Add a Second Petal Layer
For a fuller flower effect, add another row of petals behind the first.
Use a lighter or darker shade of the same color.
Work the second layer into the spaces between the first row of petals.
This creates a layered flower crown effect.
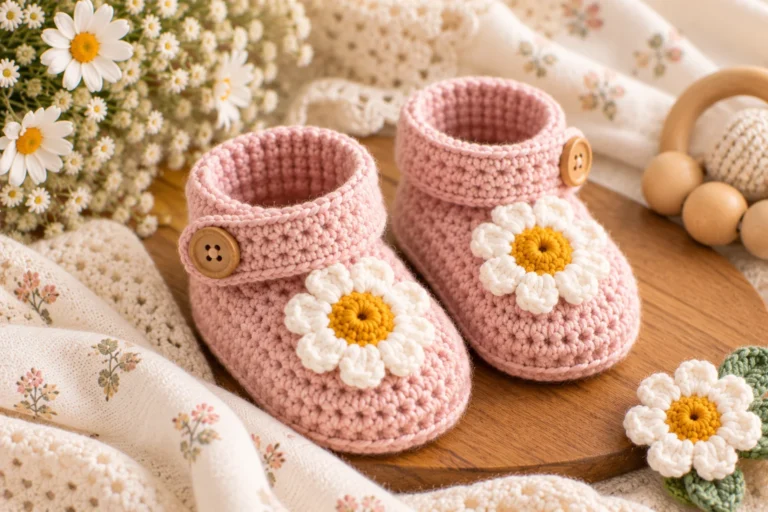
Optional Crochet Flower
For an extra decorative detail, add one flower to the side of the hat.
Flower Center
Make a magic ring.
Work 6 sc into the ring.
Join with a slip stitch.
Fasten off.
Petals
Attach a contrasting color.
For each petal:
- Ch 3
- 2 dc into the same stitch
- Ch 3
- Sl st into the same stitch
Repeat around the center.
Fasten off and sew the flower securely to the side of the hat.
Add Fairy Leaves
For a woodland-inspired version, add small green crochet leaves between the petals.
Simple Leaf
Chain 6.
Starting in the second chain from the hook:
- Sc
- Hdc
- Dc
- Hdc
- Sc
Continue along the opposite side of the chain.
Slip stitch to the beginning.
Fasten off and leave a sewing tail.
Make several leaves and sew them between the flower petals.
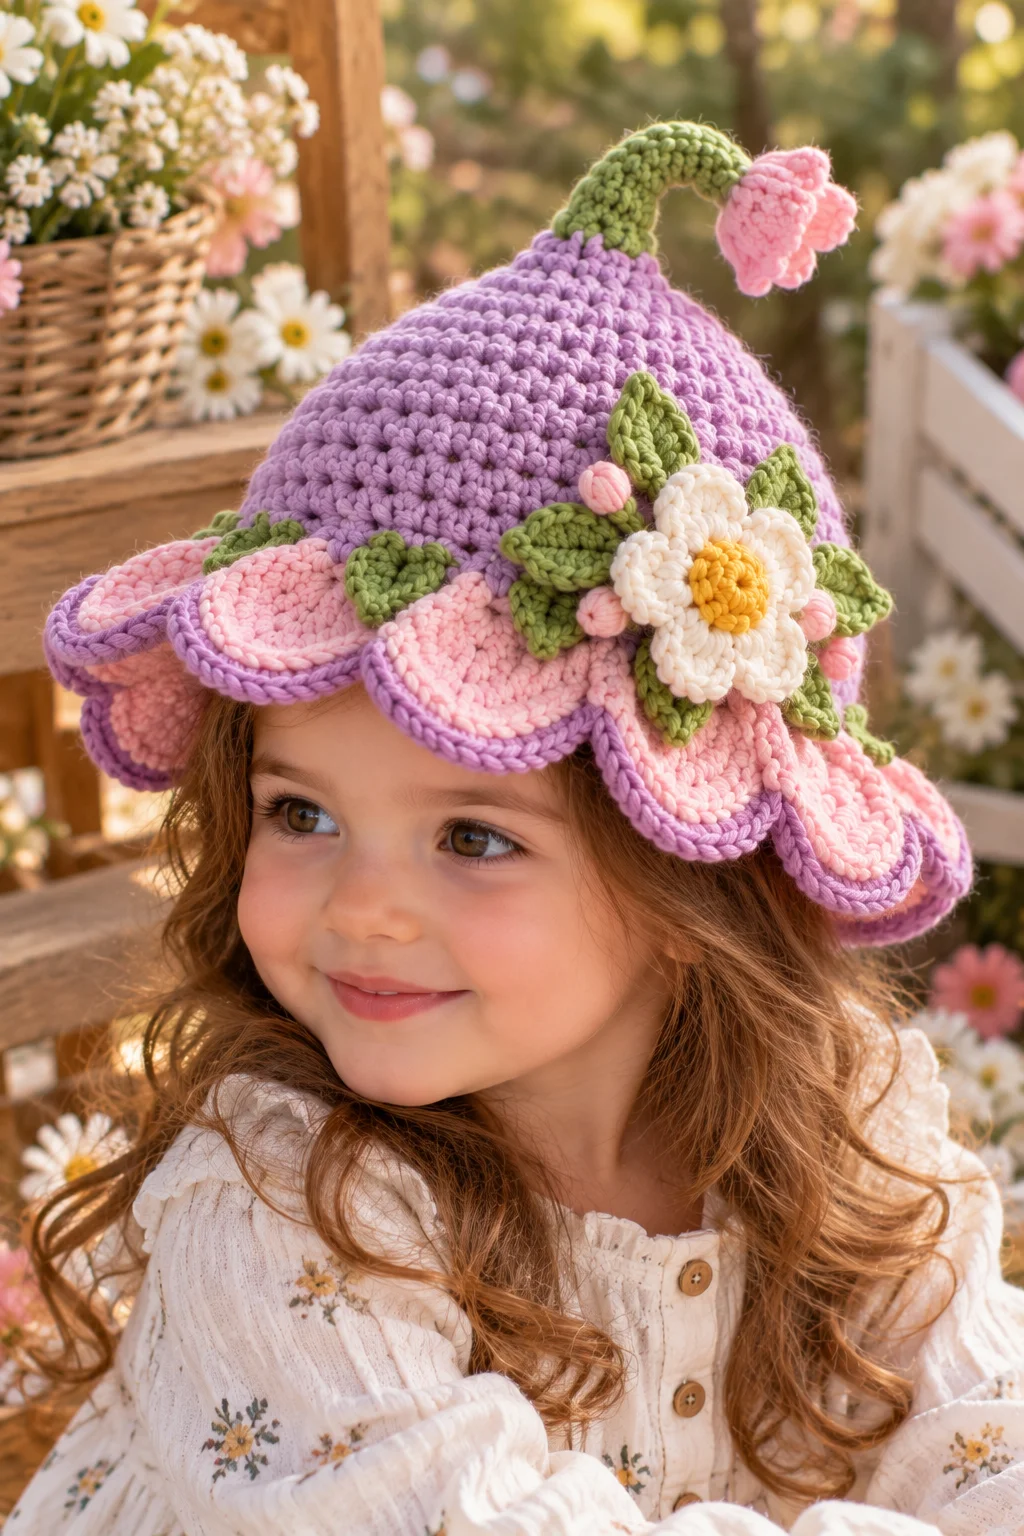
Fairy Flower Hat Color Ideas
Soft Fairy Garden
- Cream hat
- Blush pink petals
- Sage green leaves
- Lavender flower
Rainbow Fairy
Use a different pastel color for each petal.
Woodland Fairy
- Soft brown hat
- Cream petals
- Sage leaves
- Rust flower center
Magical Purple
- Lavender hat
- Deep purple petals
- Pale pink flowers
- Green leaves
Spring Garden
- Light green hat
- White petals
- Yellow flower centers
- Soft pink accents
Customize Your Fairy Hat
Add a Long Fairy Point
For a whimsical fairy or elf-inspired version, make the hat body longer before adding the flower brim.
The extra length creates a soft, floppy point at the top.
Add a Pom-Pom
A yarn pom-pom at the top creates a playful finishing touch.
Use a matching or contrasting color.
Make the Brim Wider
Add another round of petal stitches for a fuller flower effect.
Add Tiny Flowers
Small crochet flowers scattered around the hat can create the appearance of a magical flower garden.
Tips for Crocheting the Fairy Flower Hat
Check the Crown Shape
After the increase rounds, lay the hat flat.
The crown should form a smooth circle without excessive rippling.
Keep the Petals Even
Try to maintain the same number of petals around the hat.
Uneven spacing can make the brim look unbalanced.
Don’t Overload the Hat
A few well-placed flowers can create a more polished appearance than too many large decorations.
Secure Decorative Pieces
Sew flowers and leaves firmly into place and weave all ends securely into the inside of the hat.
Common Mistakes to Avoid
Too many crown increases:
This can make the hat ruffle instead of forming a smooth crown.
Too few increases:
The crown may become too tight and cup inward.
Uneven petals:
Keep your petal groups consistent.
Overly tight stitches:
Tight stitches can make the hat stiff and reduce stretch.
Loose decorations:
Always secure flowers and leaves firmly.
Safety
For baby and toddler versions, avoid small detachable embellishments such as beads, buttons, bells, or plastic pieces.
Embroidered details are a safer alternative for young children.
Inspect the finished hat regularly for loose yarn, damaged stitches, or decorations that may have become detached.
Do not add long cords or ties to children’s hats.
Frequently Asked Questions
Is the fairy flower hat beginner-friendly?
The basic hat uses simple half double crochet, making it approachable for beginners. The decorative petal and flower sections require a little additional attention but use familiar stitches.
What yarn is best for this hat?
Worsted-weight (#4) yarn works well. Choose a soft yarn for baby and child versions.
Can I make this hat for an adult?
Yes. Continue increasing the crown until it reaches the appropriate circumference, then work the body to the desired depth.
Can I make the flower petals in different colors?
Absolutely. Using multiple pastel shades gives the hat a beautiful fairy-garden appearance.
Can I make the petals larger?
Yes. Use taller stitches and additional chains to create larger, more dramatic petals.
Can I make the hat without the flowers?
Yes. The basic beanie can be finished with a simple crochet border if you prefer a more traditional design.
Final Thoughts
This Crochet Fairy Flower Hat is a fun project for anyone who loves whimsical crochet. The basic beanie is simple enough to customize, while the flower-inspired brim transforms it into something magical.
Experiment with pastel colors, add little leaves and flowers, or make the petals in rainbow shades for a playful fairy-garden look. Whether you’re making one for a child, a photo session, or a costume, this handmade hat is sure to bring a little crochet magic to any outfit.