30 Minutes Crochet Baby Hat
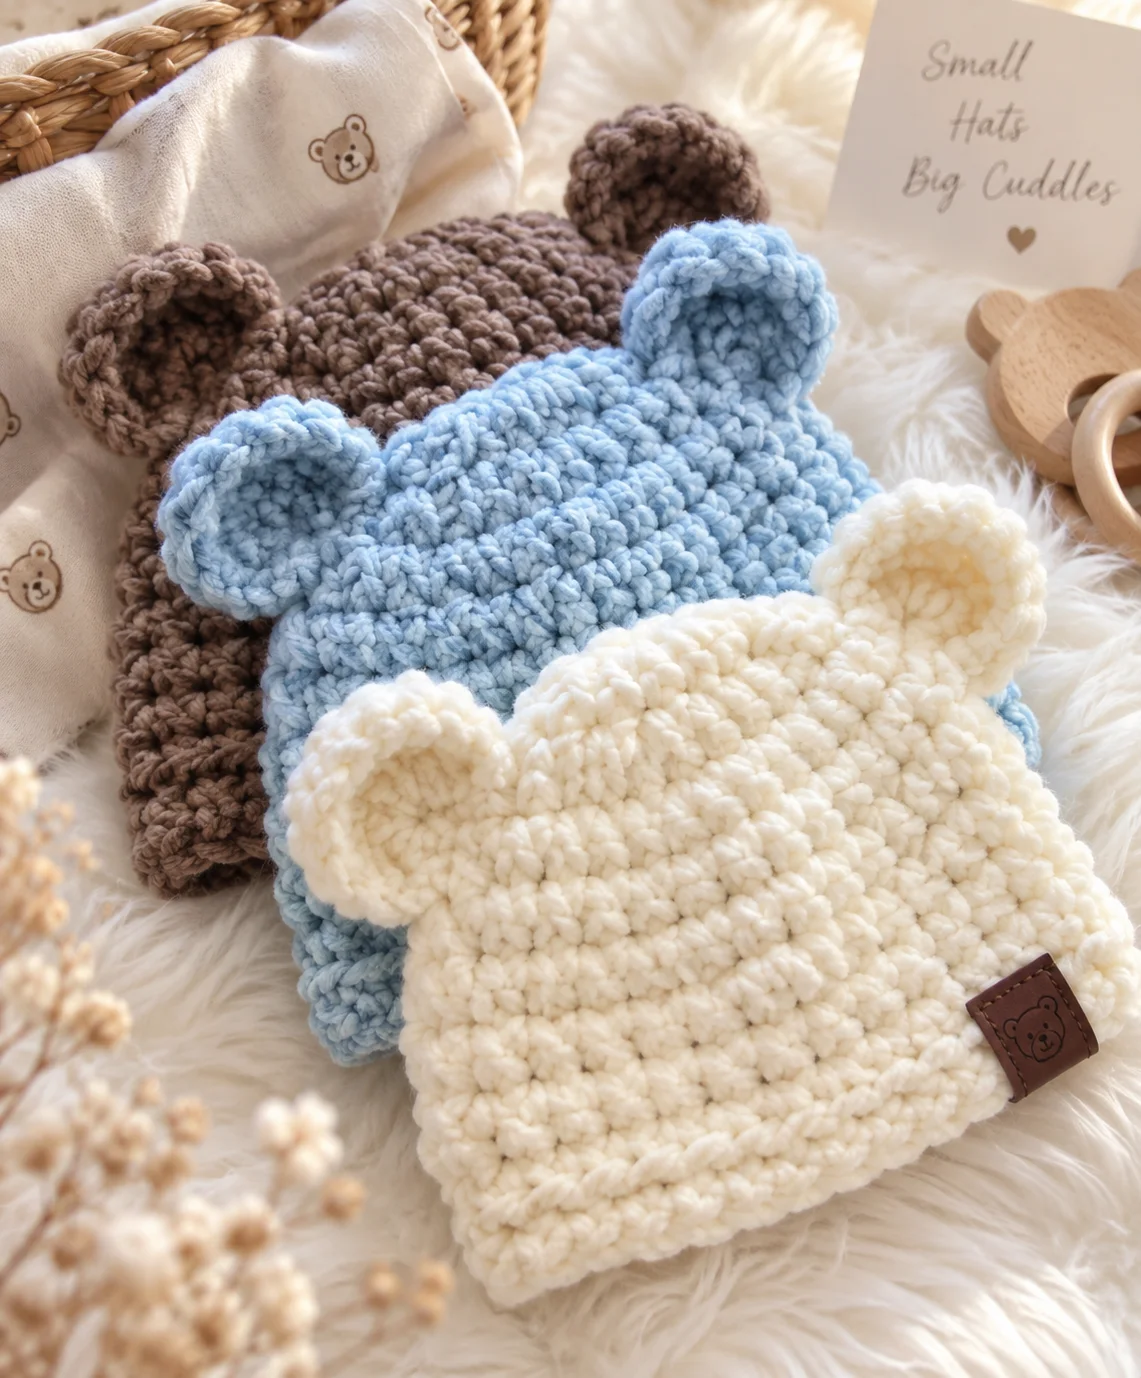
If you need a quick handmade gift for a new baby, this 30 minutes crochet baby hat is a lovely little project to have in your pattern collection. It uses simple crochet stitches and a straightforward construction, making it approachable for beginners while still being enjoyable for more experienced crocheters.
The hat is worked from the top down in rounds, so there are no separate pieces to sew together. You can keep it simple in one color or add stripes, a contrasting brim, or a small pom-pom for a more personalized look.
This tutorial is written using US crochet terminology. The exact time needed will depend on your crochet speed, yarn, tension, and whether you’re comfortable working in rounds.
Materials You’ll Need
- Worsted-weight yarn: approximately 40–60 yards
- 5.0 mm crochet hook
- Scissors
- Tapestry needle
- Stitch marker
- Measuring tape
For a softer baby hat, choose a yarn that is comfortable against delicate skin. Avoid scratchy or overly textured yarns.
Yarn & Hook Information
Recommended Yarn
A soft worsted-weight acrylic or acrylic-blend yarn is a practical choice for this hat. It is widely available, easy to wash, and comes in many colors.
A soft cotton or cotton-blend yarn can also be used, although the finished hat may have a little less stretch and a different drape.
Recommended Hook
Use a 5.0 mm (H-8) crochet hook as a starting point.
Your tension may require a smaller or larger hook. The most important thing is to achieve a comfortable fabric with enough stretch for the baby’s head.
Gauge
Gauge is approximately:
13–14 single crochet stitches = 4 inches
Because this is a baby garment, measuring the finished circumference is more useful than relying on stitch gauge alone.
Approximate Finished Size
This pattern is designed as a small baby size, approximately suitable for a newborn to young baby depending on the baby’s actual head measurement and your tension.
Approximate finished circumference: 13–14 inches
For the safest fit, measure the baby’s head when possible rather than relying only on age.
Important: Baby head sizes vary considerably. The measurements above are estimates for this original pattern and should be adjusted to suit the intended recipient.
Crochet Terms & Abbreviations
The pattern uses US crochet terminology.
- ch — chain
- sc — single crochet
- sl st — slip stitch
- st — stitch
- sts — stitches
- inc — increase, working 2 sc into the same stitch
Before You Start
This is a beginner-friendly crochet project if you already know how to make a magic ring, chain, single crochet, and slip stitch.
The hat is worked from the crown downward in joined rounds.
Place a stitch marker in the first stitch of each round if you find it difficult to identify where a round begins.
A quick note about tension
Don’t crochet extremely tightly. A baby hat needs some stretch so it can fit comfortably without feeling stiff.
If your fabric feels too firm, try a larger hook.
If your hat is becoming much larger than expected, your stitches may be too loose or you may be adding increases where they aren’t required.
How to Crochet a Baby Hat in About 30 Minutes
Step 1: Make the Crown
Begin with a magic ring.
Round 1: Ch 1, work 10 sc into the magic ring. Sl st to the first sc.
10 sts
Round 2: Ch 1, 2 sc in each stitch around. Sl st to the first sc.
20 sts
Round 3: Ch 1, *sc in the next st, 2 sc in the next st; repeat from * around. Sl st to the first sc.
30 sts
Round 4: Ch 1, *sc in each of the next 2 sts, 2 sc in the next st; repeat from * around. Sl st to the first sc.
40 sts
At this point, gently lay the crown flat.
It should look like a fairly flat circle rather than a bowl.
Tip
If the crown is curling upward like a bowl, you may need more increases or a larger hook.
If the edge is becoming wavy or ruffled, there may be too many increases.
Step 2: Work the Sides
Once the crown reaches the approximate width you need, continue working without increases.
Round 5: Ch 1, sc in each stitch around. Sl st to the first sc.
40 sts
Rounds 6–10: Repeat Round 5.
As you work the sides, the circle will begin to curve downward and form the body of the hat.
Try the hat against the intended head if possible. Baby head measurements can vary, so don’t be afraid to add or remove a round.
Step 3: Add the Brim
For a simple, comfortable edge, work a few additional rounds of single crochet.
Rounds 11–12: Ch 1, sc in each stitch around. Sl st to the first sc.
40 sts
If you want a slightly more defined brim, work the final round in single crochet through the back loop only (sc BLO).
This creates a subtle ridge around the bottom of the hat.
Final round: Ch 1, sc BLO in each stitch around. Sl st to the first sc.
Fasten off and leave a yarn tail for weaving in.
Step 4: Finish the Hat
Thread the yarn tail onto a tapestry needle.
Weave the end securely through several stitches on the inside of the hat. Trim the excess yarn.
Repeat with the starting yarn tail.
Give the hat a gentle stretch around the brim to make sure the stitches are flexible.
Your baby hat is finished!
Tips & Troubleshooting
Why is my crochet circle turning into a bowl?
A small amount of cupping can happen while the crown develops, but pronounced cupping usually means you don’t have enough increases.
Try adding an additional increase round or using a slightly larger hook.
Why is my crochet circle wavy?
If the crown looks ruffled rather than flat, you may have too many increases.
Check your stitch count carefully and make sure you aren’t accidentally working two stitches into a stitch that should contain only one.
Why is my hat getting wider?
After the crown is large enough, stop increasing.
If you continue adding increases, the hat will continue expanding instead of forming the sides.
Also check that you aren’t accidentally working twice into the same stitch.
Why is my hat getting smaller?
If your stitch count is decreasing, you may be accidentally skipping stitches.
Count your stitches at the end of each round.
Using very tight tension can also make the finished hat smaller than expected.
Why are my edges uneven?
Joined rounds can sometimes show a visible seam. Try to make your slip stitches consistent and avoid pulling the joining stitch too tightly.
Using a stitch marker can also make the beginning of each round easier to identify.
My hat doesn’t fit. What should I do?
Measure the baby’s head and compare it with the hat’s actual circumference.
For a larger hat, continue the increase rounds until the crown reaches the desired width, then work the sides without increases.
For a smaller hat, stop increasing sooner.
Remember that yarn weight and tension can change the finished measurements considerably.
Yarn Substitutions
You don’t have to use the same yarn brand suggested above.
Acrylic
Soft acrylic is a convenient option for baby hats because it is generally easy to care for and available in many colors.
Cotton
Cotton can produce a cooler, breathable hat, but it usually has less natural stretch than acrylic.
A cotton-blend yarn can be a useful middle ground.
Different yarn weights
You can make this hat with a lighter or heavier yarn, but the finished size will change.
If you use:
- DK/light worsted yarn: use a smaller hook and expect a lighter, smaller hat.
- Worsted-weight yarn: use approximately a 5.0 mm hook as a starting point.
- Bulky yarn: use a larger hook and expect a thicker, warmer hat.
Don’t change yarn weight without checking the measurements. A different yarn can alter both the circumference and height of the hat.
Customization Ideas
There are plenty of simple ways to make this baby hat your own.
Try two colors
Work the crown in one color and the sides in another for a simple color-blocked design.
Add stripes
Change colors every few rounds to create horizontal stripes.
Make a contrasting brim
Work the final one or two rounds in a contrasting color.
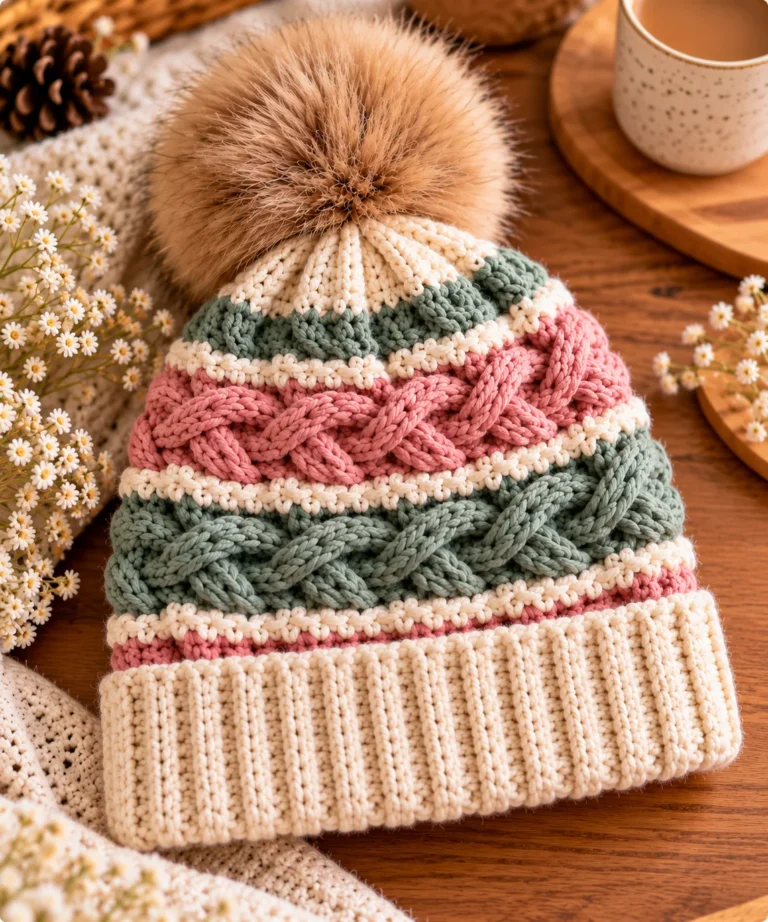
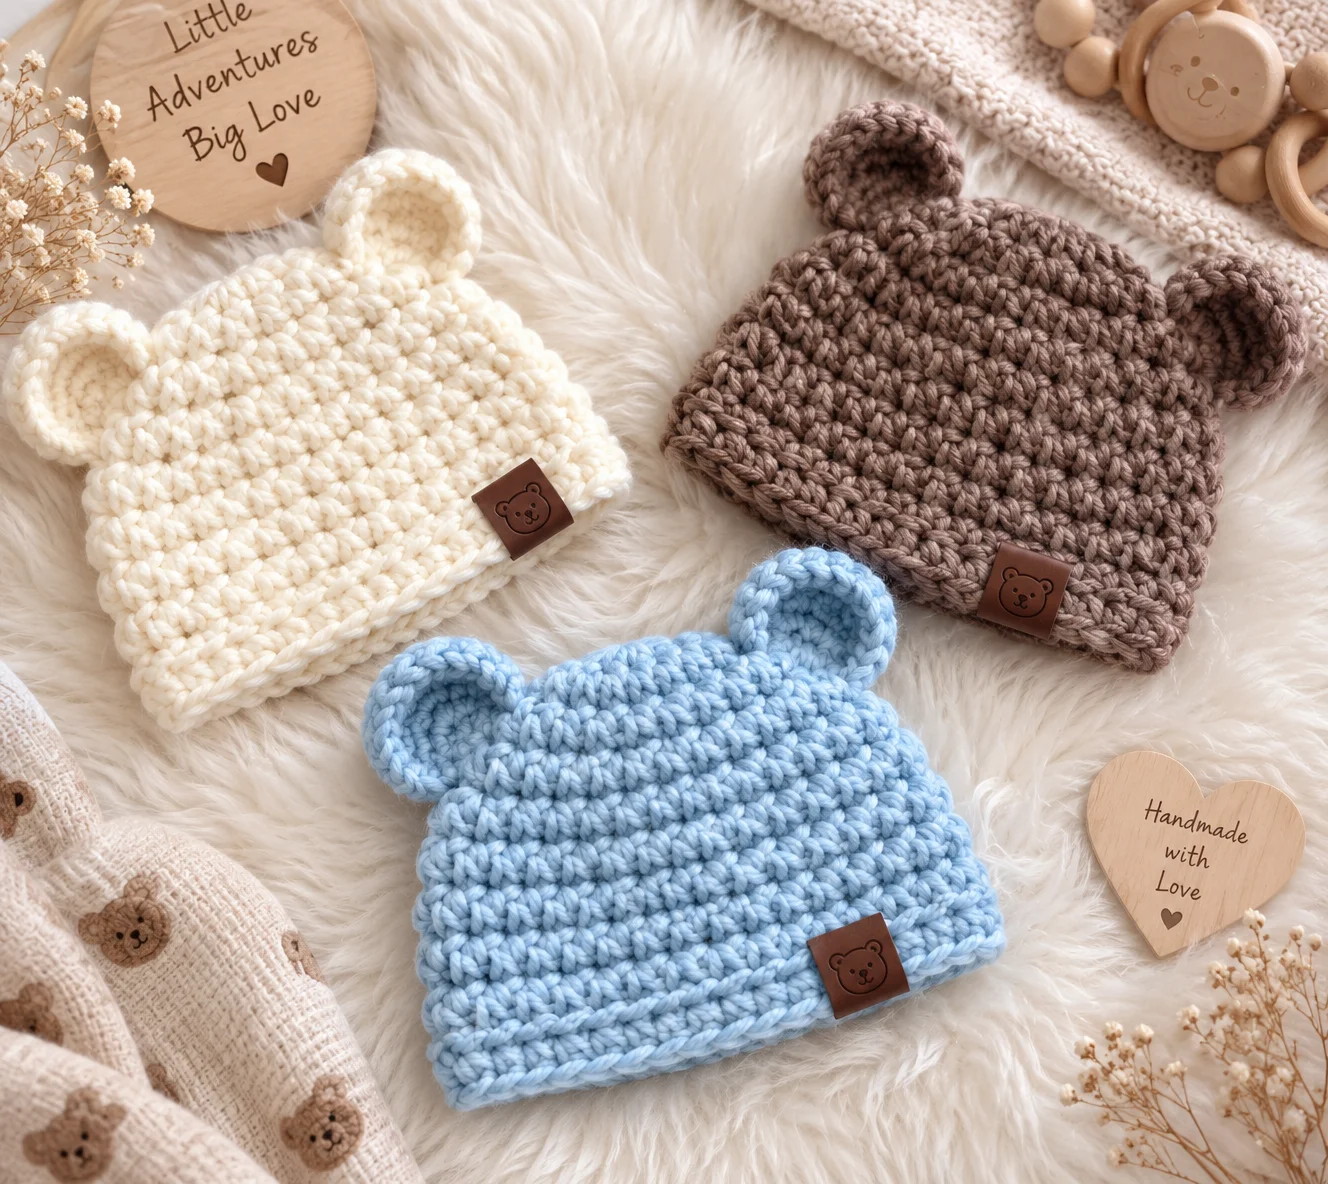
Add a small pom-pom
A small yarn pom-pom can add a playful finishing touch. Make sure any embellishment is securely attached and appropriate for the intended age.
Adjust the height
If the hat needs more coverage, simply add additional rounds of single crochet before finishing the brim.
Care Instructions
Care will depend on the yarn you choose.
For acrylic yarn, follow the washing instructions on the yarn label. Many acrylic yarns can be machine washed, but the manufacturer’s instructions should always take priority.
For cotton, washing and drying instructions vary between yarns.
Avoid high heat unless the yarn label specifically says it is safe.
For baby items, make sure the hat is completely dry before storing it.
Frequently Asked Questions
How long does this crochet baby hat take to make?
The pattern is designed as a quick project that can take around 30 minutes for an experienced crocheter. Beginners may need longer while they become familiar with the rounds and stitch counting.
What size baby does this hat fit?
The pattern is intended as a small baby size, approximately around newborn to young-baby sizing. Because babies have different head measurements, check the actual circumference rather than relying solely on age.
Can a beginner crochet this baby hat?
Yes. If you know how to make a magic ring, single crochet, increases, and slip stitches, the pattern is relatively straightforward.
Can I use a different yarn?
Yes. You can substitute another yarn, but changes in fiber, weight, and tension can change the finished size and texture.
How can I make the hat bigger?
Continue the increase rounds until the crown reaches the circumference you need, then work the sides without increases.
How do I make a smaller baby hat?
Stop the increase rounds sooner and check the crown against the intended head measurement before continuing down the sides.
Can I make this hat without a magic ring?
Yes. You can start with a small chain loop and work your first round into the center. However, a magic ring gives you a more adjustable and tidy center.
Final Thoughts
This 30 minutes crochet baby hat is a simple project to keep on hand when you need a quick handmade baby gift. Once you’re comfortable with the basic rounds, you can easily experiment with colors, yarn fibers, and different brim finishes.
And don’t worry if your first hat isn’t perfectly even. Small differences in tension are completely normal, especially when you’re learning to crochet in rounds.
Grab your yarn and hook, make a few simple rounds, and enjoy creating something handmade for a little one.
If you make one, we’d love to see it! Leave a question or share your finished hat in the comments, tag @BornCrochet on Instagram, and use #BornCrochet so your project can be found by the crochet community.