Baby Romper Free Crochet Patterns
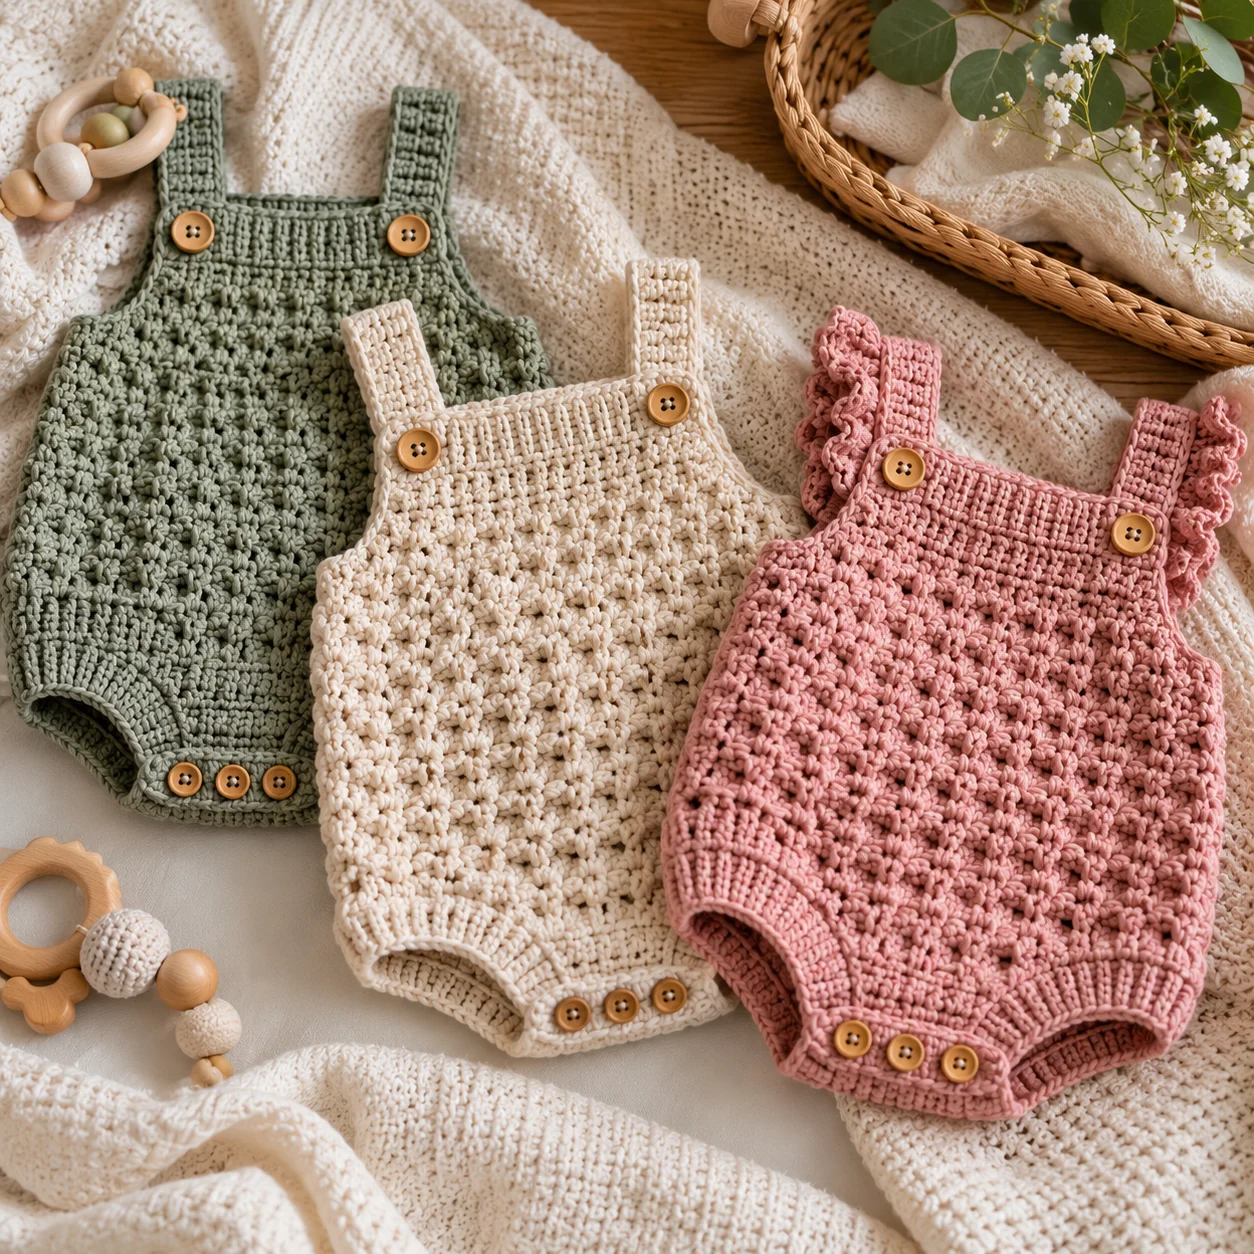
Baby Romper Free Crochet Patterns: Adorable Designs for Little Ones
Baby rompers are one of those crochet projects that are both practical and irresistibly cute. They make wonderful handmade gifts for baby showers, birthdays, newborn photos, and everyday wear.
Whether you’re looking for a simple crochet baby romper, a summer outfit, or a cozy design for cooler weather, there are plenty of styles to explore. Crochet rompers can be made in different yarn weights, colors, and stitch patterns, allowing you to create something truly special for a little one.
In this guide, you’ll find ideas for baby romper free crochet patterns, along with helpful tips for choosing yarn, selecting the right size, understanding construction, and making your finished romper comfortable for a baby.
Why Crochet a Baby Romper?
A handmade baby romper makes a thoughtful gift because it is both useful and personal.
Crochet rompers can be customized with:
- Different colors
- Decorative stitches
- Simple stripes
- Textured patterns
- Ribbed edges
- Buttons or snaps
- Straps or sleeves
- Seasonal details
They can also be made in lightweight cotton for warm weather or a warmer yarn blend for cooler temperatures.
Baby Romper Crochet Pattern Ideas
1. Classic Crochet Baby Romper
A simple baby romper is an excellent project if you want something timeless and easy to customize.
Choose a soft, washable yarn and keep the stitch pattern relatively simple. Single crochet, half double crochet, and double crochet can all create attractive fabric for a romper.
A classic romper can feature:
- A sleeveless design
- Button closures
- Ribbed leg openings
- Adjustable shoulder straps
- A simple solid color
Neutral shades such as cream, beige, gray, dusty blue, and soft green work especially well for handmade baby clothing.
2. Crochet Baby Summer Romper
A lightweight summer romper is perfect for warm-weather babies.
Cotton yarn is a popular choice because it creates breathable fabric and is generally easy to care for. A looser stitch pattern can also help create a lighter garment.
Consider using:
- Cotton or cotton-blend yarn
- Short legs
- Sleeveless construction
- Openwork details
- Light pastel colors
When using openwork stitches, make sure the finished fabric is comfortable and does not create openings that could catch fingers or toes.
3. Crochet Baby Romper With Straps
A romper with shoulder straps is a cute alternative to a traditional sleeved design.
The straps can be crocheted separately and attached to the front and back of the romper. Buttons can be used to create adjustable fastening positions.
This style is especially useful if you want a romper that can accommodate a little growth.
4. Crochet Baby Romper With Sleeves
For cooler weather, consider a romper with short or long sleeves.
A long-sleeved version can be made with a soft yarn that provides warmth without making the garment excessively bulky.
The sleeves can be worked directly from the armholes, which reduces the amount of sewing required during assembly.
5. Crochet Baby Overall Romper
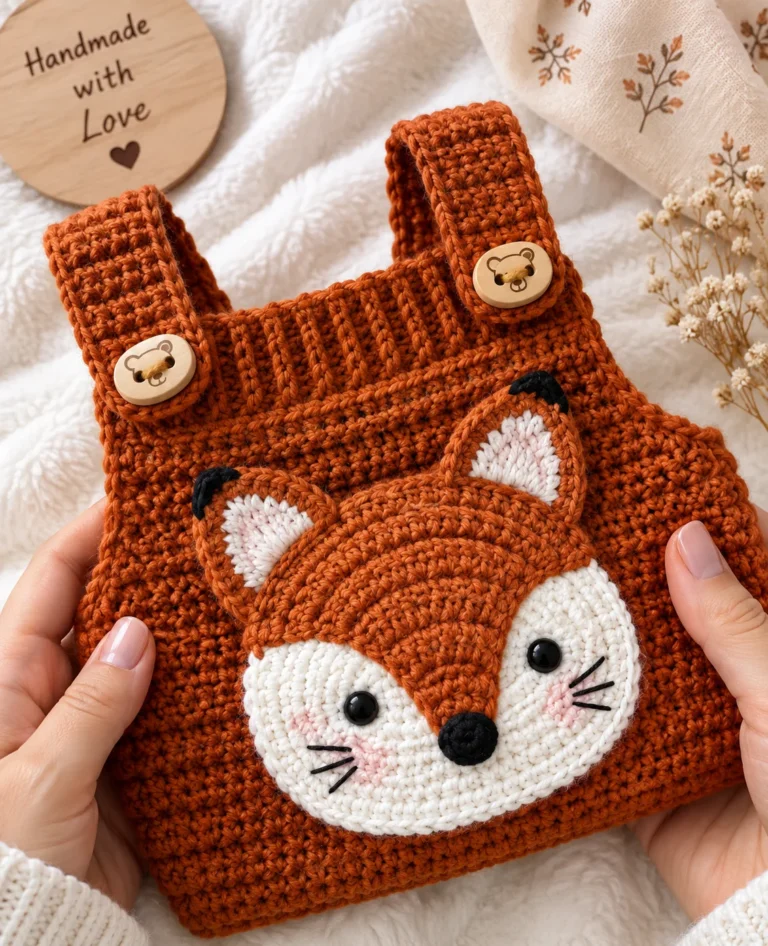
An overall-style romper has a playful, classic appearance.
This design typically features:
- A bib-style front
- Shoulder straps
- Shorts or pants
- Button closures
- A relaxed fit
You can keep the stitch pattern simple or add texture to the bib for extra detail.
Choosing Yarn for a Baby Romper
Yarn selection is especially important when crocheting clothing for babies.
Look for yarn that is:
- Soft against delicate skin
- Comfortable to wear
- Easy to wash
- Appropriate for the intended season
- Suitable for the required gauge
Cotton is often a good choice for warm-weather garments, while acrylic or cotton-acrylic blends can work well for everyday baby clothing.
Avoid choosing yarn based solely on appearance. A yarn that looks beautiful in the skein may not produce comfortable fabric once crocheted.
How Much Yarn Do You Need?
The amount of yarn required depends on several factors, including:
- The baby’s size
- Finished garment dimensions
- Yarn weight
- Hook size
- Stitch pattern
- Romper length
- Sleeve length
- Your individual crochet tension
For that reason, yarn requirements should always be taken from the specific pattern you’re following rather than estimated from another romper.
If you are modifying an existing pattern, purchase enough yarn to account for changes in size or length.
Choosing the Right Crochet Hook
Use the hook size recommended by your chosen pattern.
Your hook size may need to be adjusted to achieve the correct gauge. A larger hook generally creates looser fabric, while a smaller hook creates denser fabric.
Always make a gauge swatch before beginning a baby garment, especially when the finished fit matters.
Crochet Abbreviations
Most baby romper patterns use standard US crochet terminology.
Common abbreviations include:
- ch – chain
- sl st – slip stitch
- sc – single crochet
- hdc – half double crochet
- dc – double crochet
- inc – increase
- dec – decrease
- st/sts – stitch/stitches
- sk – skip
Always check the individual pattern for its specific abbreviations.
How Baby Rompers Are Constructed
Crochet baby rompers can be constructed in several different ways.
Top-Down Construction
A top-down romper begins around the neckline or upper body and works downward.
This method can reduce sewing and may make it easier to adjust the length.
Bottom-Up Construction
A bottom-up romper begins at the legs or lower body and works upward.
The legs are usually created first and then joined together before the body is continued.
Separate Pieces
Some patterns are made from individual pieces that are crocheted separately and sewn together.
This approach can make certain shapes easier to construct, but it usually requires more finishing.
One-Piece Construction
A one-piece romper can be worked largely in one continuous piece.
This can minimize seams, although careful stitch counting is important because mistakes can become harder to correct as the project grows.
Basic Baby Romper Construction
While every pattern is different, many crochet rompers follow a similar overall process.
Step 1: Make a Gauge Swatch
Start by checking your gauge against the pattern.
Adjust your hook size if necessary.
Step 2: Crochet the Upper Section
Begin with the neckline, straps, or upper body depending on the construction.
Follow the pattern’s stitch counts carefully.
Step 3: Shape the Body
Work the increases, decreases, or joining sections required to create the romper’s body.
Step 4: Create the Leg Openings
The lower section needs enough room for comfortable movement.
Follow the pattern’s instructions for dividing the legs or shaping the leg openings.
Step 5: Add Edging
Crochet around the neckline, armholes, legs, or other exposed edges if the pattern includes edging.
A simple single crochet border can provide a neat finished appearance.
Step 6: Add Closures
Buttons, snaps, ties, or other closures may be used depending on the design.
Closures should be attached securely and checked regularly for wear.
Step 7: Weave in the Ends
Securely weave in all yarn tails before washing or wearing the garment.
Baby Romper Size Guide
Baby sizing varies between patterns and manufacturers, so the baby’s measurements are more reliable than age alone.
Common categories include:
- Newborn
- 0–3 months
- 3–6 months
- 6–9 months
- 9–12 months
- 12–18 months
- 18–24 months
When possible, compare the pattern’s finished measurements with the intended baby’s measurements before starting.
Tips for Getting the Right Fit
Measure Before Crocheting
If you are making the romper as a gift, use a standard baby measurement chart or choose a size based on the intended age while remembering that babies grow at different rates.
Don’t Skip Gauge
Gauge determines how large your stitches are. If your gauge differs significantly from the pattern, the finished romper may not fit as expected.
Consider Ease
A baby romper should allow comfortable movement. Avoid making the garment excessively tight around the chest, waist, legs, or armholes.
Think About Diaper Space
A romper designed for babies needs enough room through the lower body to accommodate a diaper comfortably.
Check the Neck Opening
The neckline should be large enough to put the garment on and remove it without unnecessary pulling or stretching.
Cute Color Ideas
Baby rompers look beautiful in both traditional and modern color combinations.
Try:
Neutral
- Cream
- Oatmeal
- Beige
- Taupe
- Soft gray
Classic Baby Colors
- Powder blue
- Blush pink
- Soft yellow
- Mint
- Lavender
Modern Colors
- Sage green
- Terracotta
- Rust
- Mustard
- Dusty blue
Two-Color Combinations
- Cream and sage
- Beige and rust
- Navy and ivory
- Dusty blue and cream
- Blush and oatmeal
Ways to Customize a Crochet Baby Romper
One of the best things about crochet clothing is how easily it can be personalized.
Change the Color
A simple color change can completely transform the look.
Add Stripes
Use two or more colors to create horizontal stripes throughout the body.
Add Texture
Try a textured stitch pattern for the bib, chest, or waistband.
Change the Edging
A scalloped, picot, or simple contrasting border can give the romper a different appearance.
Add Buttons
Decorative buttons can add personality, but they must be securely attached and appropriate for the baby’s age.
Baby Romper Safety
Safety is especially important when crocheting clothing and accessories for babies.
Avoid loose decorations, poorly secured buttons, long cords, or other small components that could become hazards.
Any buttons or other attached pieces should be firmly secured and checked regularly for looseness or damage.
If the romper is intended for a young baby, avoid long ties around the neck or other areas where they could create a strangulation risk.
A handmade garment should always be inspected before each use, particularly after washing and repeated wear.
Common Mistakes When Crocheting Baby Rompers
Using the Wrong Yarn Weight
Substituting a thicker or thinner yarn can significantly change the size and drape of the garment.
Ignoring Gauge
Even if you use the recommended yarn, your personal tension can change the finished dimensions.
Losing Track of Stitch Counts
Write down your stitch count at the end of important rounds or rows.
Making the Leg Openings Too Small
The lower part of the romper needs to provide enough room for comfortable movement and diaper space.
Forgetting to Check Symmetry
If the romper has two straps, sleeves, or leg sections, compare them as you work so they remain consistent.
Frequently Asked Questions
Are crochet baby rompers difficult to make?
It depends on the design. A simple romper using basic stitches can be approachable for an advanced beginner, while fitted or highly structured designs may require intermediate crochet skills.
What is the best yarn for a baby romper?
Soft, washable yarn is generally the most practical choice. Cotton and cotton blends are especially useful for warm-weather garments, while other soft washable fibers can work well for cooler seasons.
How long does it take to crochet a baby romper?
The time varies considerably depending on the size, stitch pattern, yarn weight, construction, and crocheter’s experience. A simple romper can be much quicker than a highly detailed design.
Can I sell baby rompers made from crochet patterns?
This depends on the designer’s terms for the specific pattern. Always check the pattern’s copyright and selling guidelines before producing items for sale.
Can I customize the size?
Many crochet romper designs can be adjusted, but proper sizing requires more than simply adding stitches. The body, armholes, leg openings, straps, and overall length all need to remain proportional.
Can I use a different yarn?
Yes, but yarn substitutions should be made carefully. Choose a similar yarn weight and fiber when possible, then make a gauge swatch before beginning.
Final Thoughts
Crochet baby rompers are a wonderful combination of practicality and handmade charm. Whether you prefer a simple summer romper, a cozy long-sleeved design, or an adorable overall-style outfit, there are countless ways to personalize the finished garment.
Choose soft, washable yarn, check your gauge carefully, and pay close attention to the fit around the neckline, body, legs, and armholes. With the right pattern and a little patience, you can create a beautiful handmade outfit that is perfect for everyday wear or gifting.
A thoughtfully crocheted baby romper can become a treasured handmade piece—and choosing your favorite colors and details makes the project even more special.