Best Free Baby & Toddler Crochet Jacket Pattern
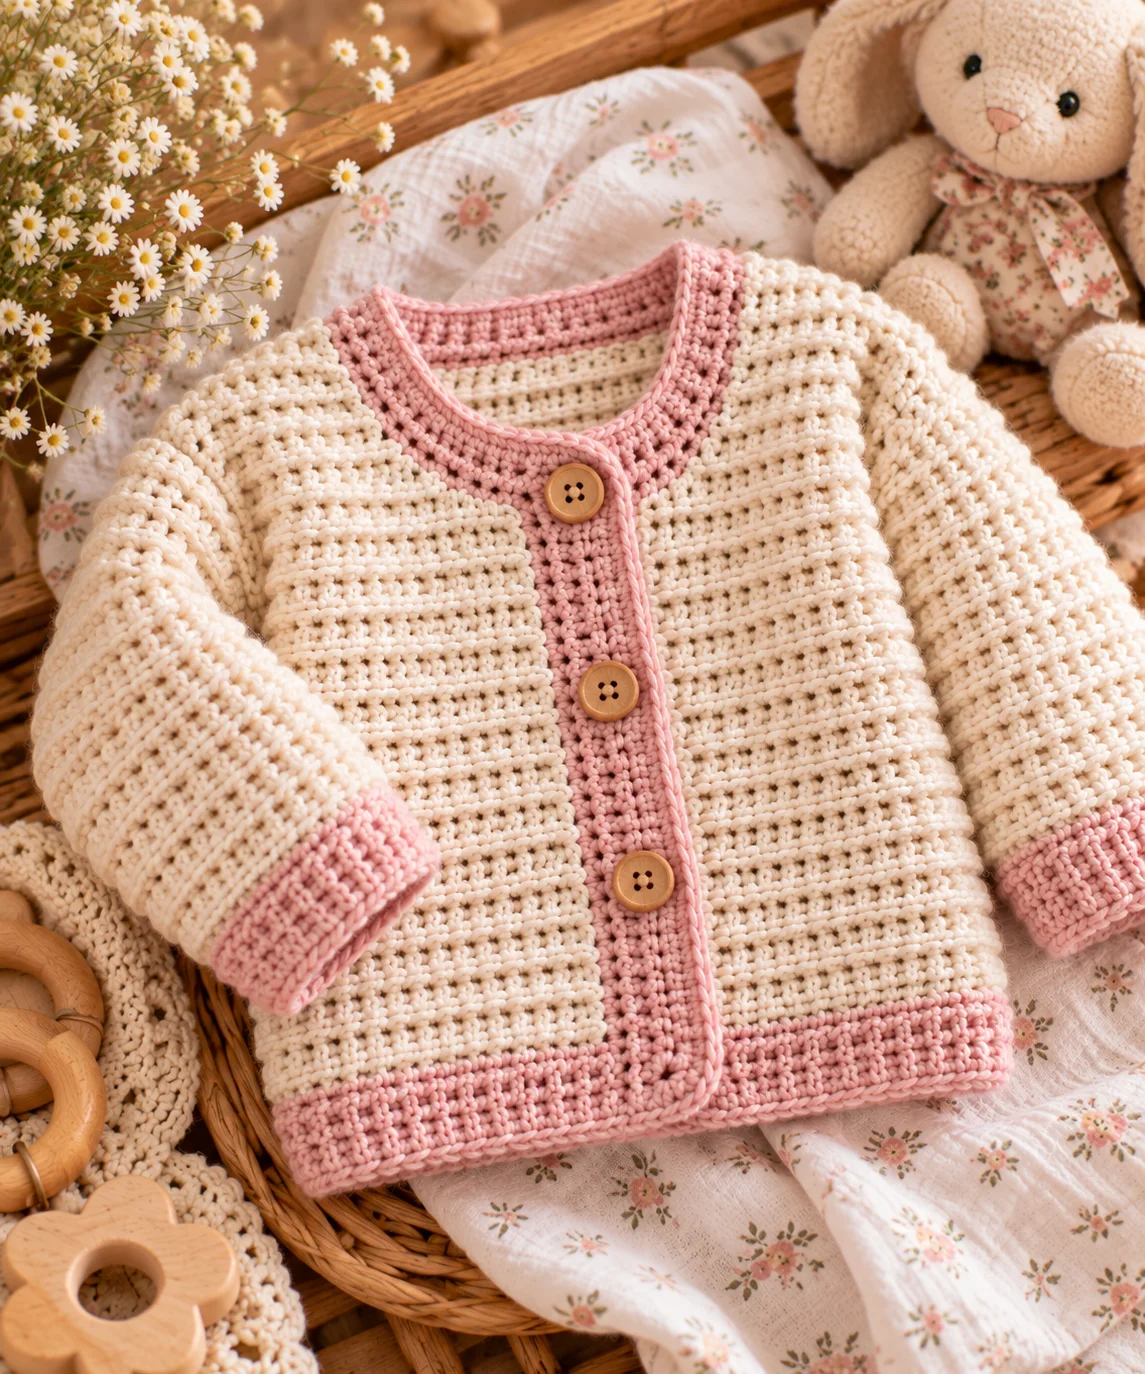
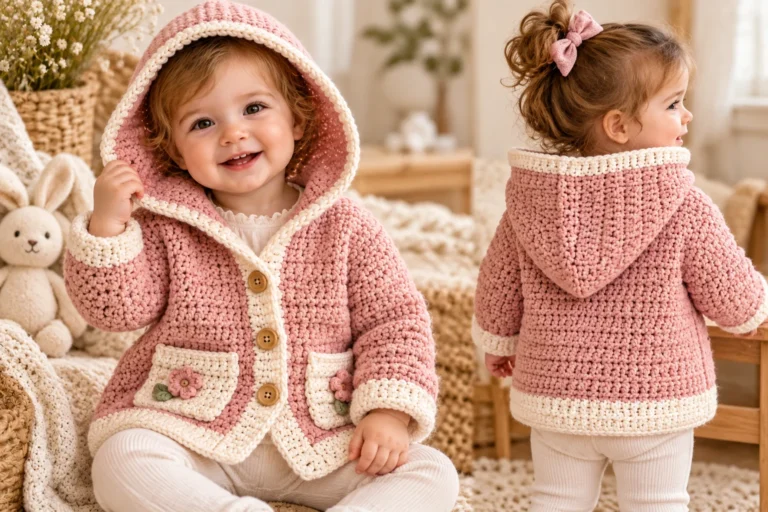
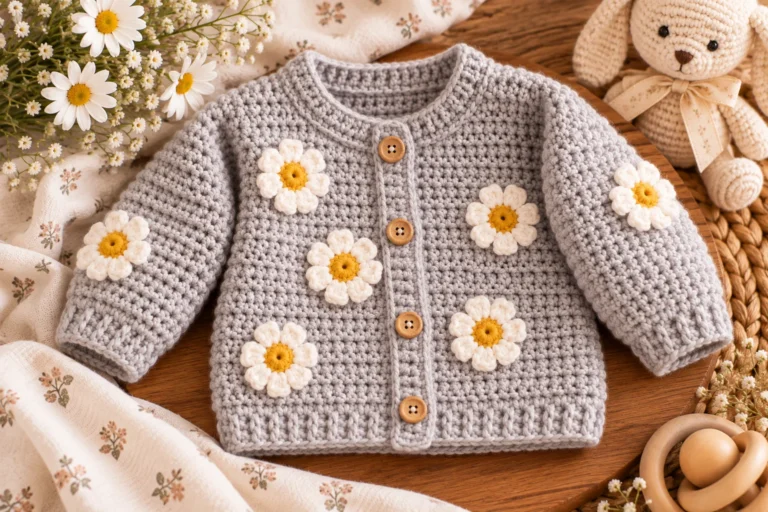
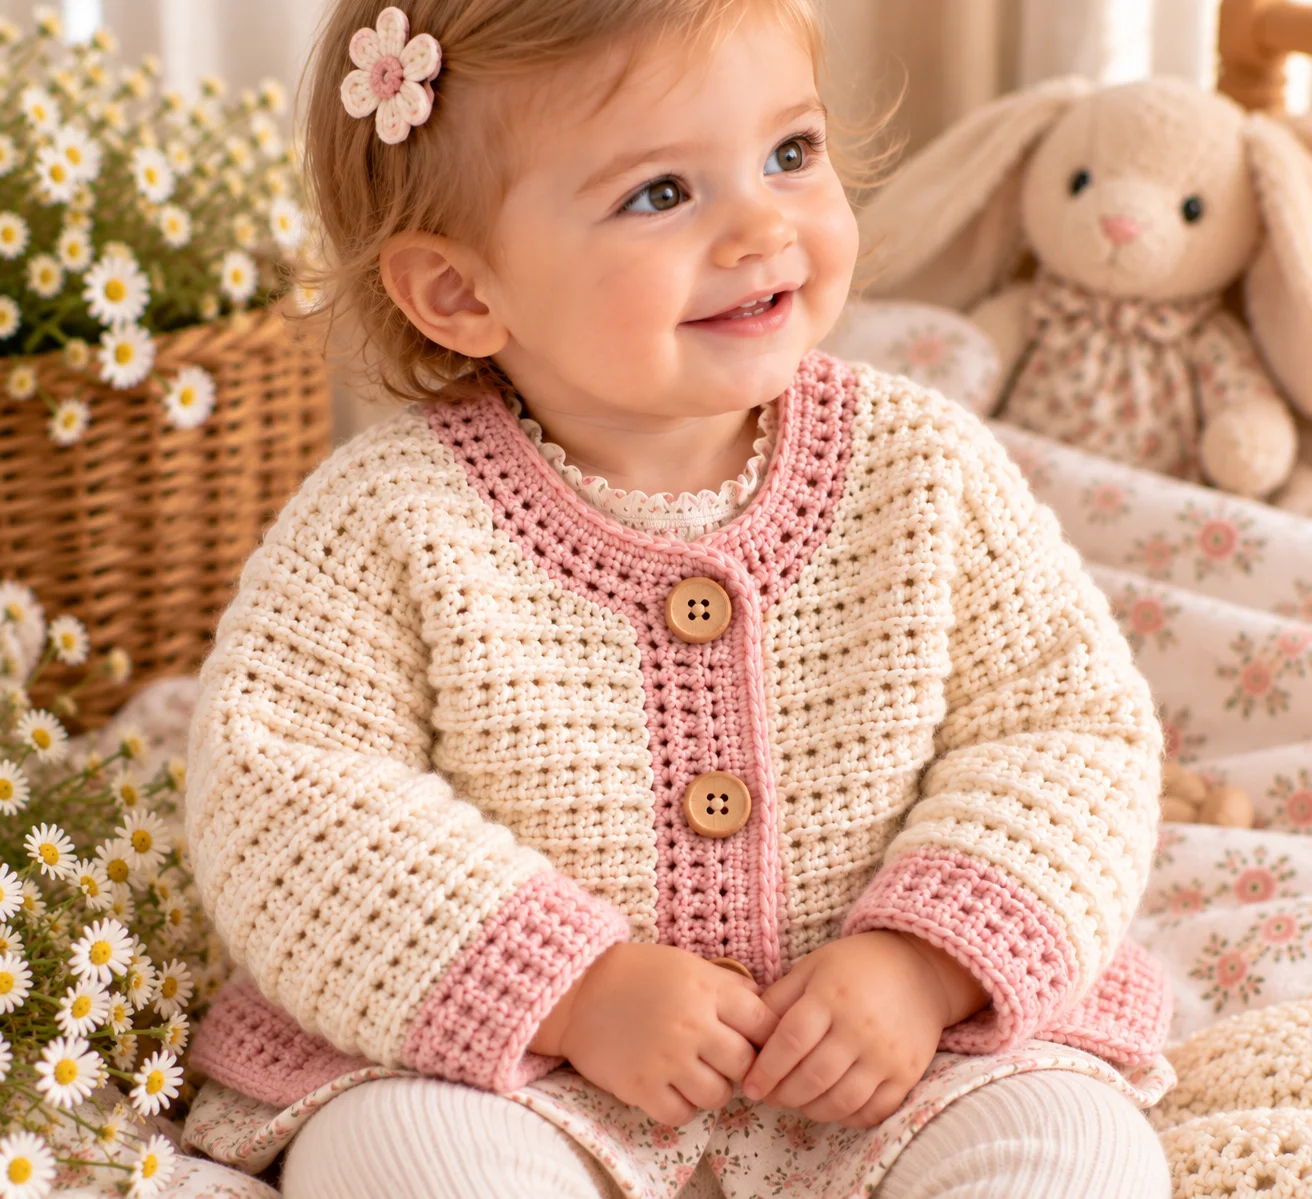
Looking for a cozy handmade layer for little ones? This Baby & Toddler Crochet Jacket is a simple, comfortable design with a classic shape, easy texture, and a button-front opening.
The jacket is crocheted from separate body panels and sleeves, then seamed together. A neat border around the front opening and neckline gives the finished jacket a polished look.
The pattern below is written for approximately 12–18 months, with guidance for adapting the measurements for a younger baby or older toddler.
Project Overview
- Skill level: Intermediate
- Size: Approximately 12–18 months
- Construction: Separate panels and sleeves
- Yarn: Worsted weight (#4)
- Hook: 4.5 mm
- Terminology: US crochet terms
- Closure: 3 buttons
- Style: Classic open-front children’s jacket
The finished garment is designed with a little ease for comfortable layering.
Materials
- Approximately 500–600 yards worsted-weight (#4) yarn
- 4.5 mm crochet hook
- Yarn needle
- Scissors
- Stitch markers
- Measuring tape
- 3 small, securely attachable buttons
Choose a soft, washable yarn intended for children’s clothing.
Crochet Abbreviations
- ch – chain
- sl st – slip stitch
- sc – single crochet
- hdc – half double crochet
- st/sts – stitch/stitches
- BLO – back loop only
- FLO – front loop only
- dec – decrease
- RS – right side
- WS – wrong side
Special Stitch
Ribbed Half Double Crochet
Work half double crochet stitches through the back loop only.
Working into the BLO creates raised horizontal ridges and gives the jacket a soft, slightly stretchy texture.
Finished Measurements
Approximate finished measurements:
- Chest circumference: 21 inches
- Back length: 11 inches
- Sleeve length: 9 inches
- Back width: 10½ inches
For the best fit, compare these measurements with the child’s actual measurements before beginning.
Because babies and toddlers grow at different rates, measuring the child is more reliable than choosing a size based solely on age.
Gauge
Approximately:
14 hdc x 10 rows = 4 inches
Work a small swatch before starting the jacket.
If your swatch is wider than 4 inches, use a smaller hook. If it is narrower, use a larger hook.
Back Panel
Ch 38.
Row 1
Hdc in the 2nd ch from hook and in each ch across.
(37 sts)
Row 2
Ch 1 and turn.
Hdc in BLO across.
(37 sts)
Row 3
Ch 1 and turn.
Hdc in BLO across.
(37 sts)
Rows 4–27
Repeat Row 3.
Keep your tension even so the side edges remain straight.
Fasten off and weave in the starting end.
The back panel should measure approximately 10½ inches wide and 11 inches long.
Set aside.
Left Front Panel
Ch 20.
Row 1
Hdc in the 2nd ch from hook and across.
(19 sts)
Row 2
Ch 1 and turn.
Hdc in BLO across.
(19 sts)
Rows 3–27
Repeat Row 2.
Fasten off, leaving a long tail for sewing.
Right Front Panel
Work the same as the left front panel.
Ch 20.
Row 1
Hdc in the 2nd ch from hook and across.
(19 sts)
Rows 2–27
Ch 1 and turn.
Hdc in BLO across.
(19 sts)
Fasten off, leaving a long sewing tail.
You should now have:
- 1 back panel
- 2 front panels
Shoulder Assembly
Lay the back panel flat with the right side facing upward.
Place the two front panels on top, with their right sides facing upward.
The outer edges of the front panels should align with the outer edges of the back panel.
Leave the center front open.
Sew the shoulders together, matching the outer stitches.
Each shoulder seam should connect approximately 8 stitches of the front panel to the corresponding stitches of the back panel.
Leave the remaining stitches around the neckline open.
Secure the yarn and weave in the ends.
Side Seams
Starting at the bottom edge, sew each front panel to the corresponding side of the back panel.
Leave the upper section open for the armhole.
For this size, leave approximately 5 inches open at each side for the sleeves.
Repeat on the opposite side.
Do not sew the sleeves into place yet.
Sleeves
Make 2.
The sleeves are worked from the cuff upward.
Ch 18.
Row 1
Hdc in the 2nd ch from hook and across.
(17 sts)
Row 2
Ch 1 and turn.
Hdc in BLO across.
(17 sts)
Rows 3–18
Repeat Row 2.
At this point, the sleeve cuff and lower sleeve should be approximately 7 inches long.
Row 19 — First Increase
Ch 1 and turn.
Hdc in the first st, 2 hdc in the next st, hdc across until 2 sts remain, 2 hdc in the next st, hdc in the final st.
(19 sts)
Row 20
Ch 1 and turn.
Hdc in BLO across.
(19 sts)
Row 21 — Second Increase
Ch 1 and turn.
Hdc in the first st, 2 hdc in the next st, hdc across until 2 sts remain, 2 hdc in the next st, hdc in the final st.
(21 sts)
Rows 22–25
Ch 1 and turn.
Hdc in BLO across.
(21 sts)
Fasten off, leaving a long tail.
Repeat for the second sleeve.
Sleeve Assembly
Fold each sleeve in half lengthwise with the wrong side facing outward.
Line up the long edges.
Using a yarn needle and matching yarn, sew the sleeve seam from the cuff to the upper edge.
Turn the sleeve right side out.
Repeat with the second sleeve.
Attaching the Sleeves
Insert one sleeve into the armhole.
The sleeve seam should sit toward the underside of the arm.
Match the top edge of the sleeve with the armhole opening.
Pin or clip the sleeve evenly around the armhole before sewing.
Sew the sleeve securely to the body.
Repeat for the second sleeve.
Turn the jacket right side out and check that both sleeves hang evenly.
Front and Neckline Border
The border gives the jacket a finished appearance and helps stabilize the front opening.
Join yarn at the lower corner of the left front.
Border Round 1
Ch 1.
Work sc evenly up the front edge.
When you reach the neckline, continue working sc around the neckline and down the opposite front edge.
At the lower corner, work 2 sc into the corner space.
Sl st to the starting point.
Do not pull the stitches tightly.
Button Band
The button band is worked directly onto one front edge.
Choose which side will carry the buttons.
Join yarn near the lower corner.
Row 1
Ch 1.
Sc evenly along the front edge.
Turn.
Row 2
Ch 1.
Sc across.
Fasten off.
The additional row creates a slightly firmer edge for the buttons.
Buttonhole Band
Work the same two-row border on the opposite front edge.
On the second row, create three buttonholes.
Space them approximately evenly from top to bottom.
For each buttonhole:
Sc to the marked position, ch 2, skip 2 sts, sc in the next stitch.
Continue across.
On the following row, work 2 sc into each chain-2 space.
Fasten off.
Adding the Buttons
Place the jacket flat and close the front.
Mark the position of each button opposite its corresponding buttonhole.
Sew the buttons on securely using strong matching thread or yarn.
Test every buttonhole before giving the jacket to a child.
Buttons should be firmly attached and should not come loose when gently tugged.
Finishing
Weave all remaining yarn tails securely into the wrong side of the fabric.
Trim the excess yarn.
Gently shape the jacket with your hands.
If desired, lightly block the finished garment according to the care requirements of your yarn.
Allow it to dry completely before dressing the child in it.
Making the Jacket Smaller
For a younger baby, reduce the width and length of the back and front panels.
The most reliable method is to measure the child’s chest and desired jacket length.
Because the jacket is constructed from separate panels, adjust the back and front widths proportionally while keeping the two front panels the same size.
Shorten the sleeves to match the child’s arm measurement.
Making the Jacket Larger
For an older toddler, add stitches to the foundation chains of the back and front panels.
Add rows to increase the jacket length.
For wider sleeves, add additional stitches to the sleeve foundation chain and increase the sleeve gradually toward the upper arm.
Always make a gauge swatch before changing sizes so your measurements remain predictable.
Color Ideas
This jacket looks beautiful in both neutral and colorful yarn.
Try:
- Oatmeal with cream buttons
- Sage green with wooden-style buttons
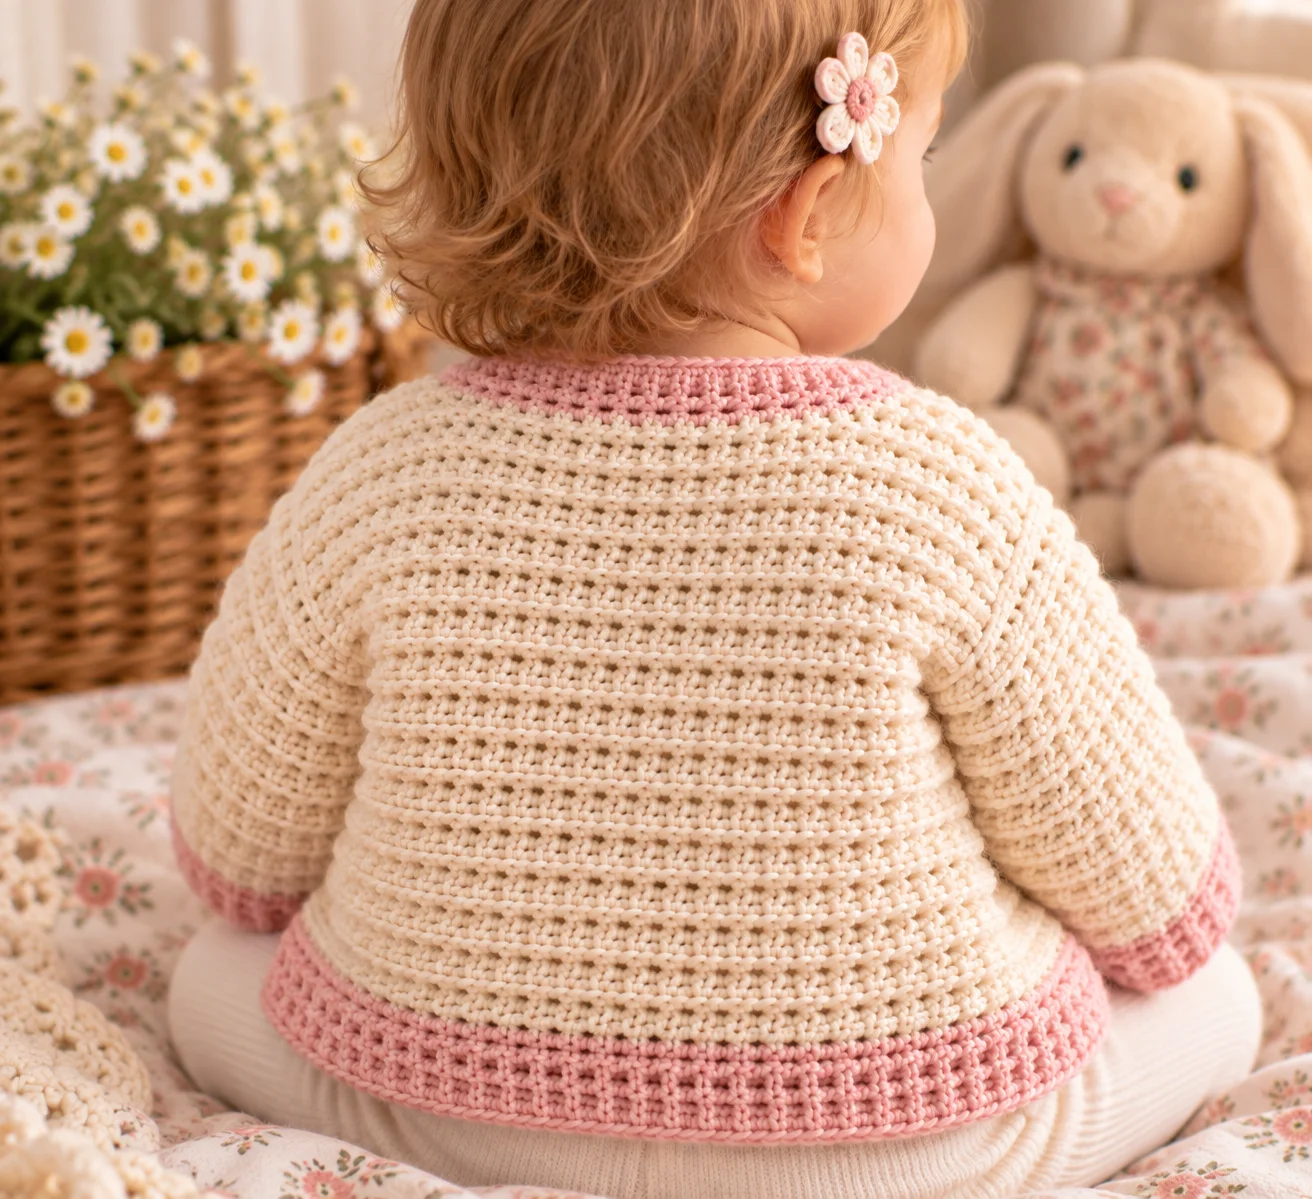
- Dusty pink with ivory trim
- Mustard yellow with brown buttons
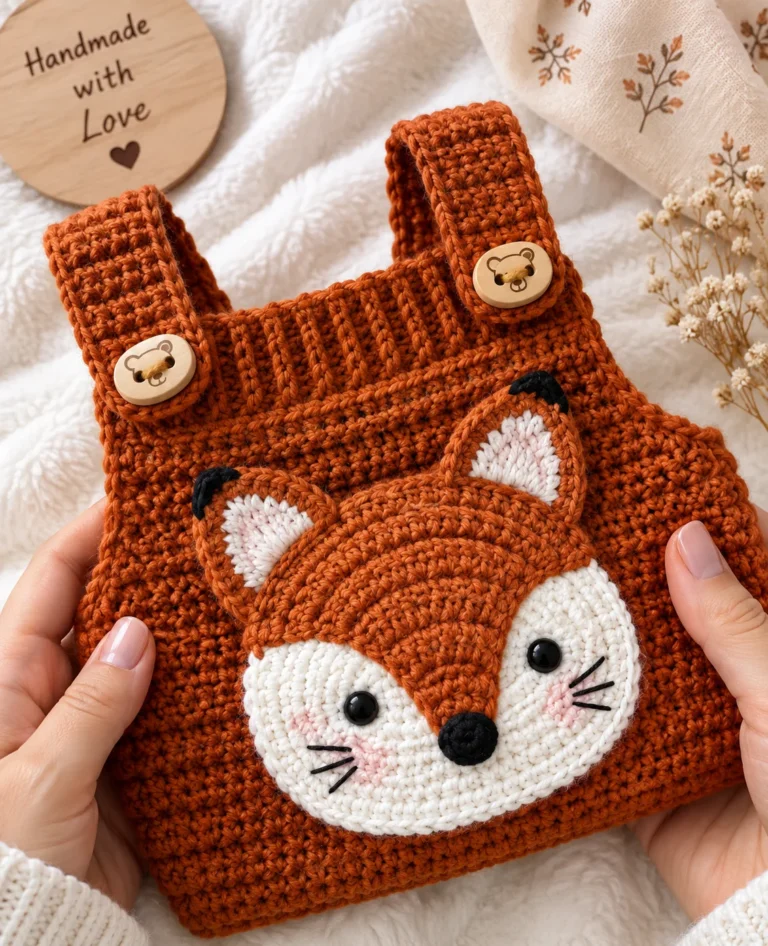
- Terracotta with cream edging
- Denim blue with natural buttons
- Soft lavender with white trim
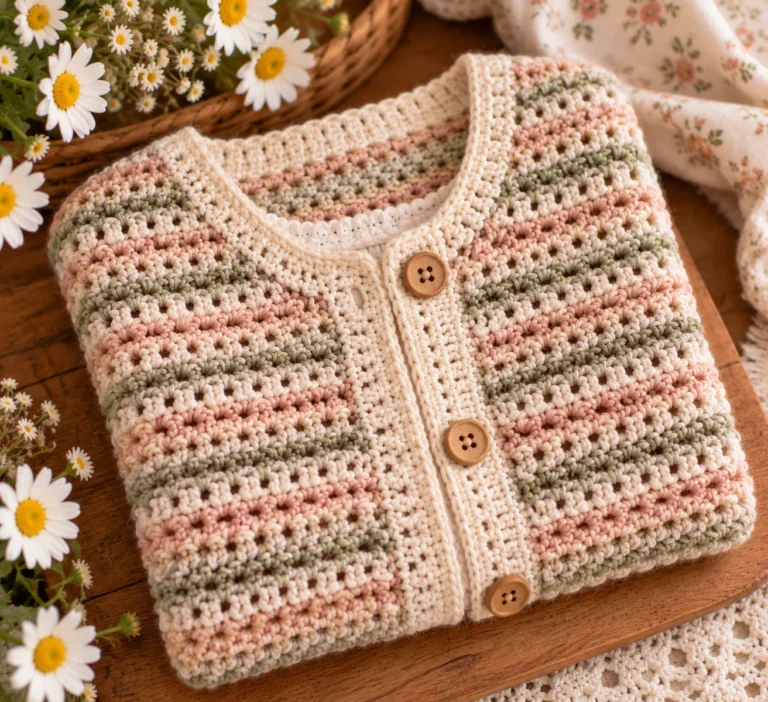
For a striped jacket, change colors every 4–6 rows while keeping the stitch pattern the same.
Optional Decorative Border
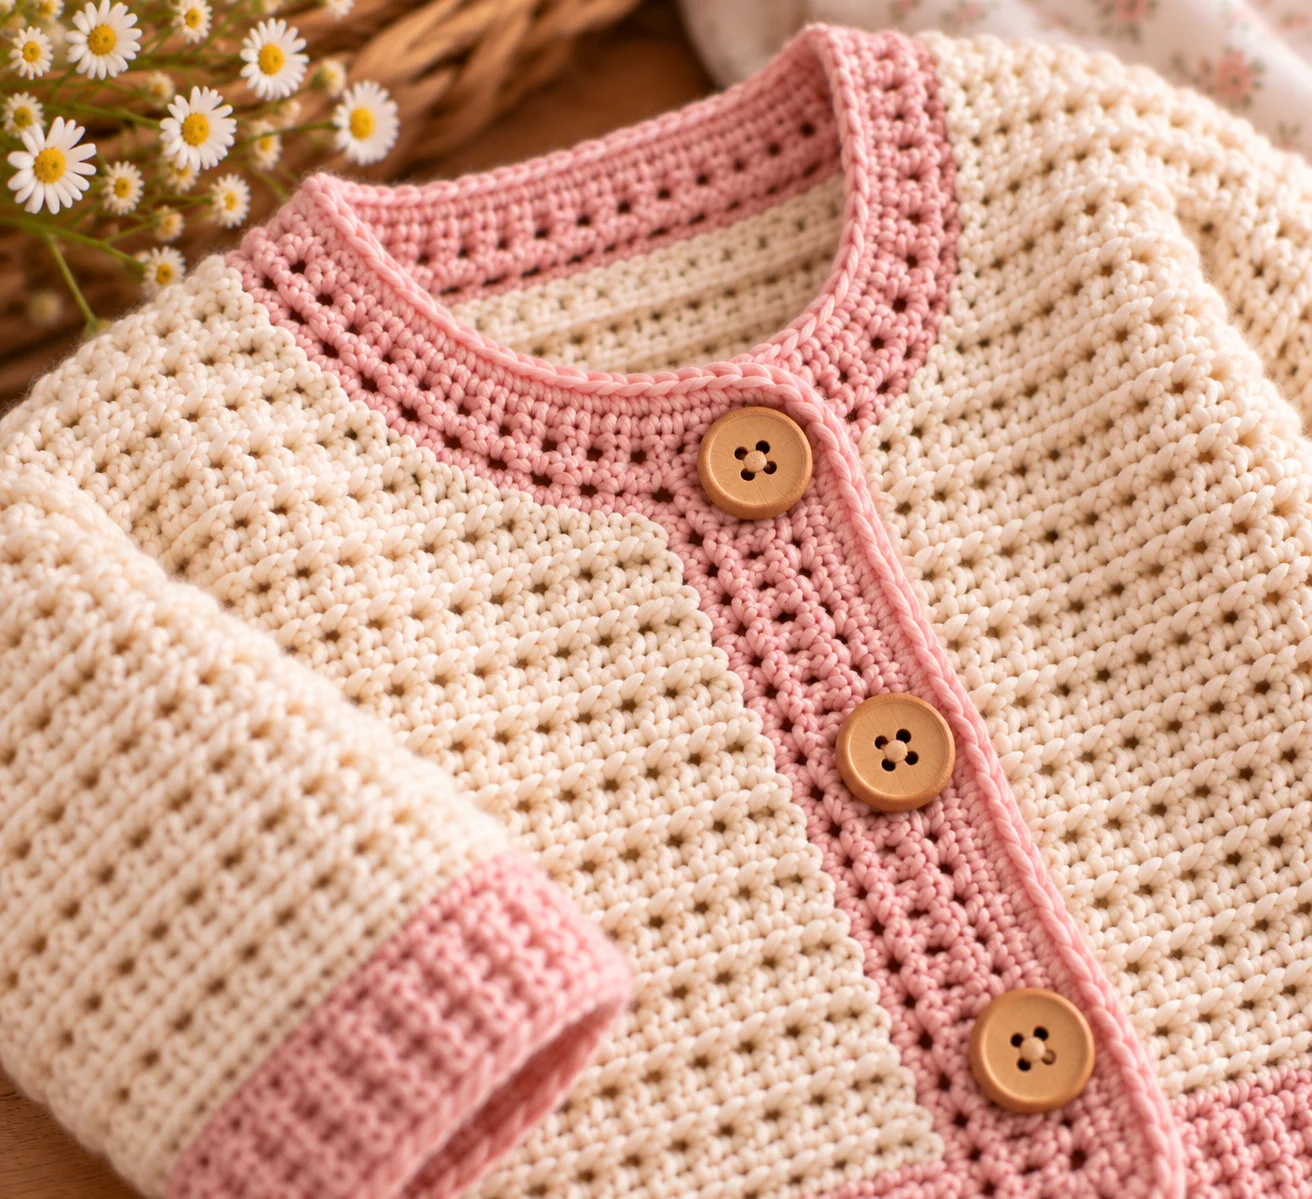
For a more feminine or playful finish, add a second border round in a contrasting color.
Work one round of sc around the front opening and neckline.
A contrasting border can make a simple jacket look completely different without changing the construction.
Tips for a Successful Crochet Jacket
Measure before starting
Age ranges are only a guide. Measure the child’s chest, arm length, and desired jacket length whenever possible.
Keep both front panels identical
Unequal front panels will make the finished jacket sit unevenly.
Check the armholes
Before attaching the sleeves, make sure both armholes are approximately the same size.
Don’t make the border too tight
A tight border can cause the front edges to curl inward.
Sew buttons securely
Buttons need extra attention on children’s clothing. Check them regularly for looseness.
Common Mistakes
The jacket is too wide
Your gauge may be looser than the stated gauge. Measure the back panel before completing all the pieces.
The jacket is too short
Add rows to the body panels before beginning assembly.
The sleeves feel tight
Check the child’s upper-arm measurement and increase the sleeve width if necessary.
The front edges curl
Try a slightly looser tension on the edging or add another border round.
The seams look bulky
Use a neat mattress stitch or small whip stitches and avoid pulling the yarn excessively tight.
Safety
This jacket is intended for babies and toddlers, so inspect it carefully before use.
Pay particular attention to buttons, sewn-on decorations, and seams. Small detachable components can present a choking hazard.
Avoid long cords, ties, or dangling decorations around the neck or hood area.
Check the garment regularly for loose buttons, damaged stitching, or yarn ends. Remove the jacket from the child if any part becomes damaged.
Frequently Asked Questions
Is this crochet jacket beginner-friendly?
The individual pieces use basic stitches, but assembling a garment and attaching sleeves requires some experience. A confident beginner can tackle the project with careful measuring.
Can I use DK-weight yarn?
Yes, but the finished jacket will be smaller and the fabric will be lighter. You would need to adjust the stitch count and work to measurements rather than following the worsted-weight stitch counts exactly.
Can I make the jacket without buttons?
Absolutely. You can leave it open for a cardigan-style jacket or use a different child-appropriate closure.
How do I make the jacket warmer?
Choose a warm worsted-weight yarn and make sure the fabric is dense enough to provide comfortable coverage. You can also make the body slightly longer.
Can I make matching jackets for siblings?
Yes. Once you understand the panel construction, it is easy to adapt the measurements for different sizes while keeping the same color palette and stitch pattern.
Final Thoughts
This Baby & Toddler Crochet Jacket is a practical handmade layer that can be customized with different colors, buttons, lengths, and edging. The straightforward panel construction also makes it a useful pattern for learning how crocheted garments are assembled.
For the best fit, always compare the finished measurements with the child who will wear the jacket rather than relying on age alone. With a soft yarn and a few thoughtful color choices, this little jacket makes a lovely handmade gift for cooler days.