Crochet Newborn Bonnet Free Pattern
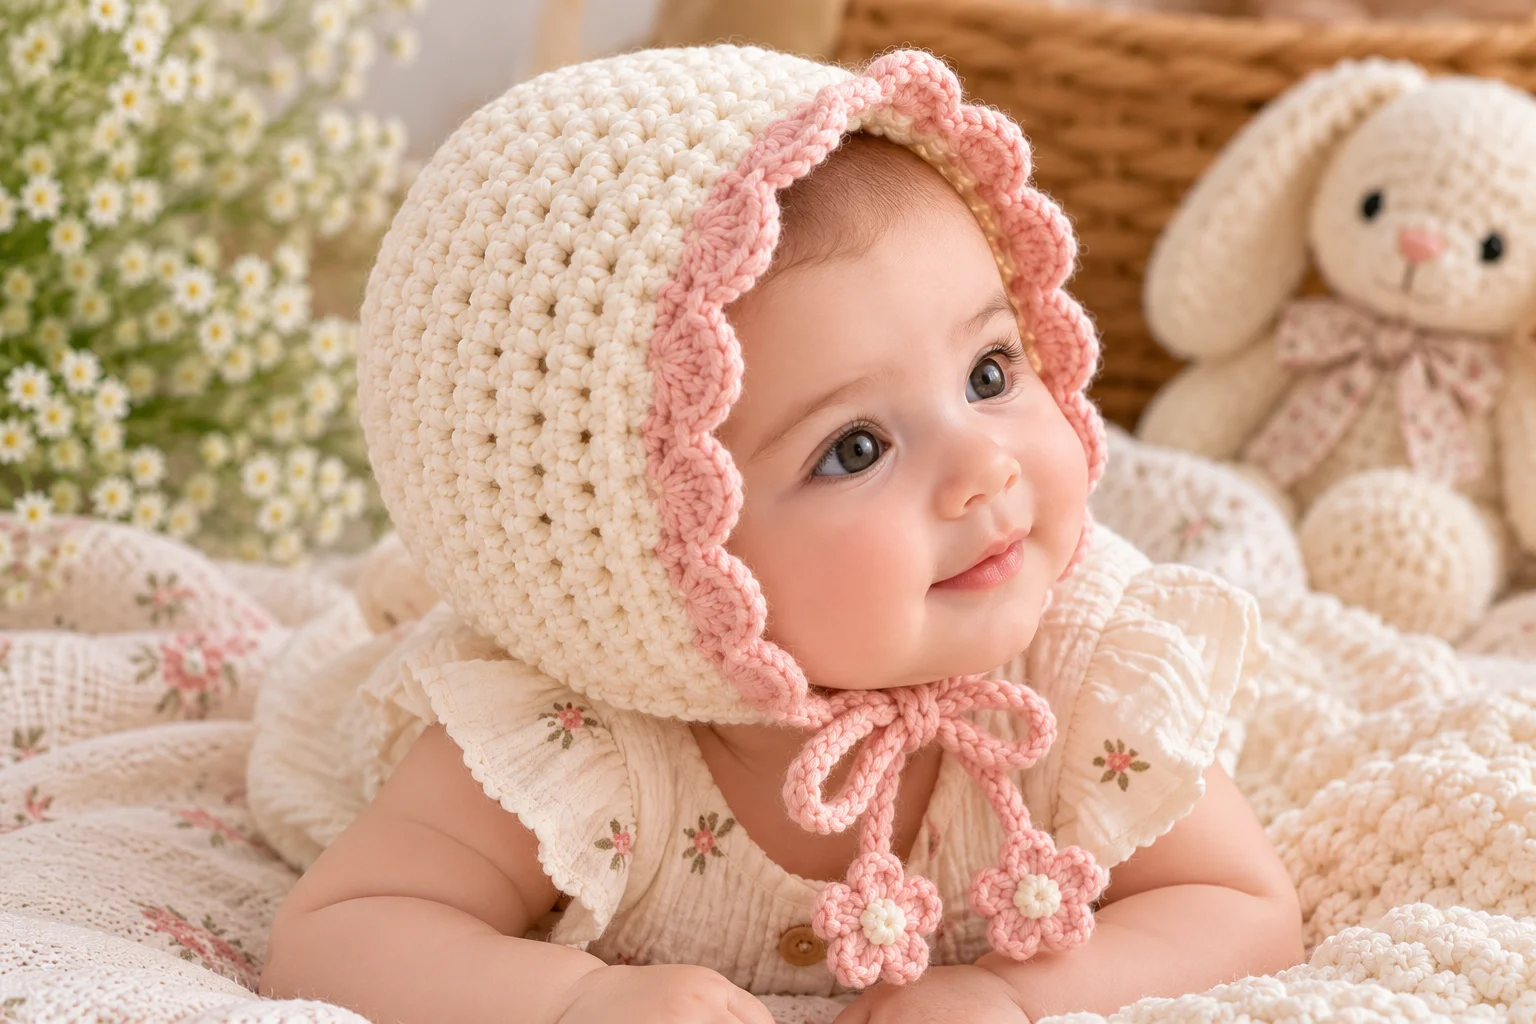
A handmade crochet newborn bonnet is one of those tiny projects that feels extra special. Soft, simple, and wonderfully photogenic, a crochet bonnet makes a lovely baby shower gift, newborn photo accessory, or handmade addition to a baby’s wardrobe.
This beginner-friendly pattern creates a classic bonnet shape with a rounded back, a comfortable opening around the face, and simple ties at the chin. The bonnet is worked in rows, making it an approachable project even if you’re still gaining confidence with crochet shaping.
Choose a soft neutral for a timeless look, or use a pastel shade for a sweet handmade baby gift.
Crochet Newborn Bonnet Details
- Skill level: Easy
- Crochet terminology: US terms
- Construction: Worked flat and seamed
- Yarn weight: DK/light worsted
- Hook size: 3.5 mm (E-4)
- Approximate finished head circumference: 13–14 inches
- Approximate bonnet height: 5.5 inches
- Main stitches: Single crochet and half double crochet
- Best for: Newborns
Because newborn head sizes vary, always compare the finished measurements with the baby’s actual head measurement whenever possible.
Materials
You will need:
- Approximately 80–100 yards of soft DK or light worsted-weight yarn
- 3.5 mm (E-4) crochet hook
- Tapestry needle
- Scissors
- Stitch markers, optional
A smooth, washable yarn is a practical choice for a newborn bonnet.
Crochet Abbreviations
This pattern uses standard US crochet terms.
- ch — chain
- sc — single crochet
- hdc — half double crochet
- sl st — slip stitch
- st/sts — stitch/stitches
- rep — repeat
Gauge
Approximately 18 hdc x 14 rows = 4 inches.
Gauge is important because a small difference in tension can noticeably change the size of a newborn garment.
Finished Measurements
The completed bonnet is approximately:
- 13–14 inches around the head opening
- 5.5 inches from crown to lower edge
The bonnet is designed with a little ease but should not fit tightly around a baby’s head.
Crochet Newborn Bonnet Pattern
The bonnet is made in two simple sections: the rounded back and the lower front/face opening.
Back of Bonnet
Begin with the yarn color of your choice.
Row 1
Ch 2.
Work 8 hdc into the second chain from the hook.
(8 sts)
Row 2
Ch 1 and turn.
Work 2 hdc in each stitch across.
(16 sts)
Row 3
Ch 1 and turn.
Hdc in the next stitch, 2 hdc in the next stitch.
Repeat across.
(24 sts)
Row 4
Ch 1 and turn.
Hdc in the next 2 stitches, 2 hdc in the next stitch.
Repeat across.
(32 sts)
Row 5
Ch 1 and turn.
Hdc in the next 3 stitches, 2 hdc in the next stitch.
Repeat across.
(40 sts)
Row 6
Ch 1 and turn.
Hdc in the next 4 stitches, 2 hdc in the next stitch.
Repeat across.
(48 sts)
The work should now form a gently rounded crown.
Shape the Bonnet
From this point onward, work without increases.
Rows 7–14
Ch 1 and turn.
Hdc in each stitch across.
(48 sts)
Fasten off after Row 14, leaving a long yarn tail for sewing.
The resulting piece forms the back and sides of the bonnet.
Sew the Bonnet
Fold the crocheted piece so the lower corners meet.
The center of the curved section becomes the back of the baby’s head.
Using the yarn tail and a tapestry needle, sew the two straight lower edges together to form the back seam.
Work neatly through the stitches so the seam is secure but not bulky.
Turn the bonnet right side out.
Face Opening
Attach yarn near one side of the face opening.
Round 1
Ch 1.
Work sc evenly around the face opening.
When you reach the opposite side, join with a sl st.
Do not pull the edging tightly.
Fasten off and weave in the end.
This simple edging gives the bonnet a clean finish and helps stabilize the opening.
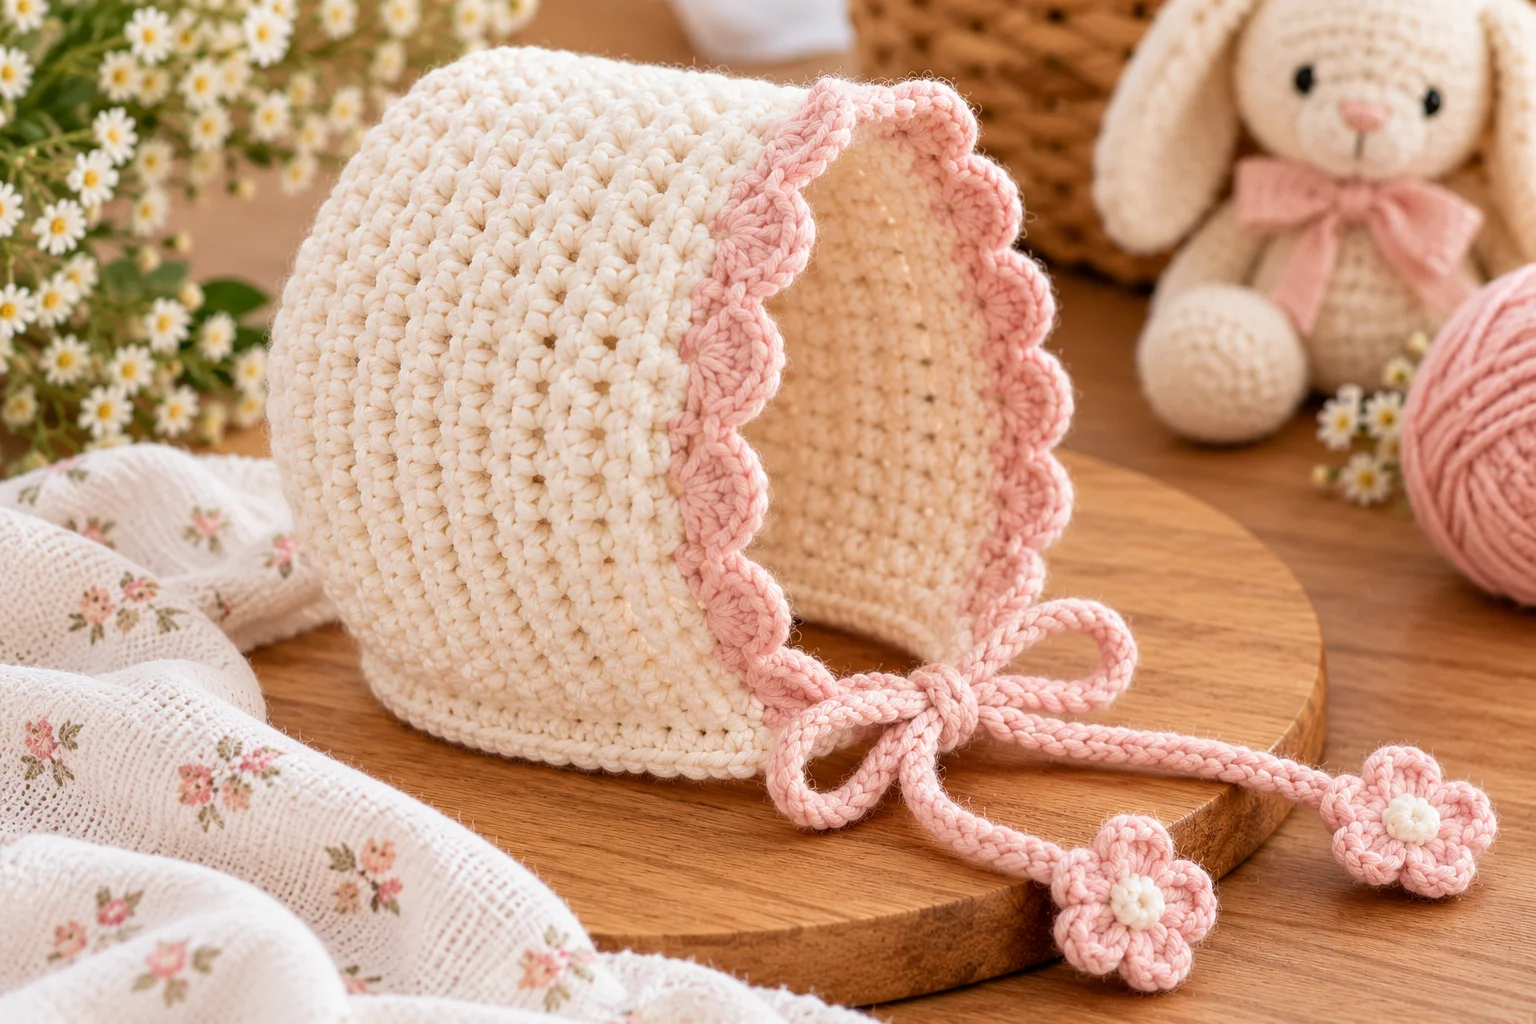
Optional Decorative Edge
For a slightly more decorative bonnet, add a second round.
Round 2
Join yarn anywhere along the face opening.
Ch 1.
Sc in the first stitch.
Skip the next stitch, 3 dc in the next stitch, skip the next stitch, sc in the next stitch.
Repeat around the opening.
Join with a sl st.
Fasten off.
This creates a small scalloped edge.
If you’re making the bonnet for a newborn, keep the edging soft and flexible rather than overly tight or stiff.
Crochet Bonnet Ties
The bonnet needs two ties so it can sit comfortably under the baby’s chin.
Make two identical ties.
Tie 1
Attach yarn to one lower corner of the bonnet.
Chain approximately 25–30 stitches.
Fasten off.
Tie 2
Attach yarn to the opposite lower corner.
Chain approximately 25–30 stitches.
Fasten off.
Weave the yarn ends securely into the bonnet.
The ties can be adjusted slightly depending on the desired fit.
Optional Crochet Flower
For a decorative bonnet intended for photography or supervised use, you can add a tiny crocheted flower.
However, for newborn clothing, simple is often best. If you add an embellishment, make sure it is securely attached and cannot easily become detached.
Easy Ways to Customize the Bonnet
Classic White Bonnet
White, ivory, and cream create a timeless newborn look and pair beautifully with almost any baby outfit.
Soft Pastels
Try:
- Dusty pink
- Powder blue
- Sage green
- Pale lavender
- Butter yellow
- Soft peach
Add a Contrasting Edge
Crochet the bonnet in cream and use a contrasting color for the face edging and ties.
This creates a simple two-color design without changing the construction.
Make a Larger Bonnet
To make a larger size, continue the crown increases for additional rows before working the straight section.
Because newborn sizing is particularly sensitive to tension, measure the crown rather than adding a fixed number of rows without checking the fit.
Tips for Crocheting a Newborn Bonnet
Keep Your Tension Consistent
A bonnet is small, so changes in tension can have a surprisingly large effect on the final size.
Try to keep your stitches relaxed and consistent.
Don’t Make the Face Opening Too Tight
The opening should frame the baby’s face comfortably.
Avoid pulling the edging tight while working around the opening.
Check the Crown Measurement
Before finishing the bonnet, compare it with the intended baby’s head measurement whenever possible.
Keep the Seams Flat
A bulky seam at the back can make a bonnet less comfortable.
Sew through the stitches neatly and avoid creating a thick ridge.
Weave in Ends Thoroughly
Newborn items are frequently washed, so secure all yarn ends well before the bonnet is used.
Common Problems
My Bonnet Is Too Small
If the bonnet is too small, check your gauge first.
A smaller hook or tighter tension will produce a smaller fabric.
For a larger bonnet, use a slightly larger hook or continue the crown increases for another round before working the straight rows.
The Crown Looks Too Pointed
If the crown isn’t rounding smoothly, check the placement of your increases.
The increases should be distributed evenly across each row.
The Face Opening Is Too Loose
If the opening is larger than expected, your edging may be too loose.
Try using a smaller hook for the edging only.
The Bonnet Doesn’t Cover Enough of the Head
Add additional straight rows before sewing the bonnet together.
Measure the bonnet against the baby’s head to determine the appropriate depth.
Safety Notes for Newborn Crochet
Newborn clothing requires particular attention to construction and fit.
- Use soft yarn without rough or irritating fibers.
- Avoid loose buttons, beads, beads, charms, or other small detachable decorations.
- Secure all yarn ends carefully.
- Make sure the bonnet is not tight around the baby’s head or neck.
- Never leave a baby unattended while wearing a bonnet.
- Remove the bonnet during sleep unless specifically advised otherwise by a qualified professional.
For newborn photography, use the bonnet only under close adult supervision and never position a baby in an unsafe pose simply for a photograph.
Frequently Asked Questions
Is this crochet newborn bonnet suitable for beginners?
Yes. The pattern uses basic stitches and simple increases. The bonnet is constructed in a straightforward way, making it a good project for crocheters who are comfortable with basic crochet stitches.
How much yarn does a newborn bonnet require?
This pattern uses approximately 80–100 yards of DK or light worsted-weight yarn, although the actual amount can vary with tension and yarn choice.
What yarn is best for a newborn bonnet?
Choose a soft, washable yarn that feels comfortable against delicate skin. Avoid scratchy fibers and overly bulky yarn.
Can I make this bonnet in a different size?
Yes. Adjust the number of crown increase rows and the number of straight rows to change the circumference and depth.
Always measure rather than relying solely on age-based sizing.
Can I sell the finished bonnets?
Yes, finished handmade items can generally be sold. If you’re publishing the pattern yourself, make sure your written instructions and photographs are your own.
Final Thoughts
This crochet newborn bonnet is a simple project with a timeless handmade look. Its rounded shape, soft edging, and little chin ties make it especially sweet for newborn photography, baby showers, and thoughtful handmade gifts.
Once you’ve made the basic version, experiment with pastel colors, contrasting trims, or a delicate scalloped edge to create a bonnet that feels completely your own.
Because newborns grow quickly, a handmade bonnet is also a lovely keepsake—a tiny crochet project that can become part of those first precious memories.