Free Easy Crochet Baby Booties Pattern – 4 Sizes
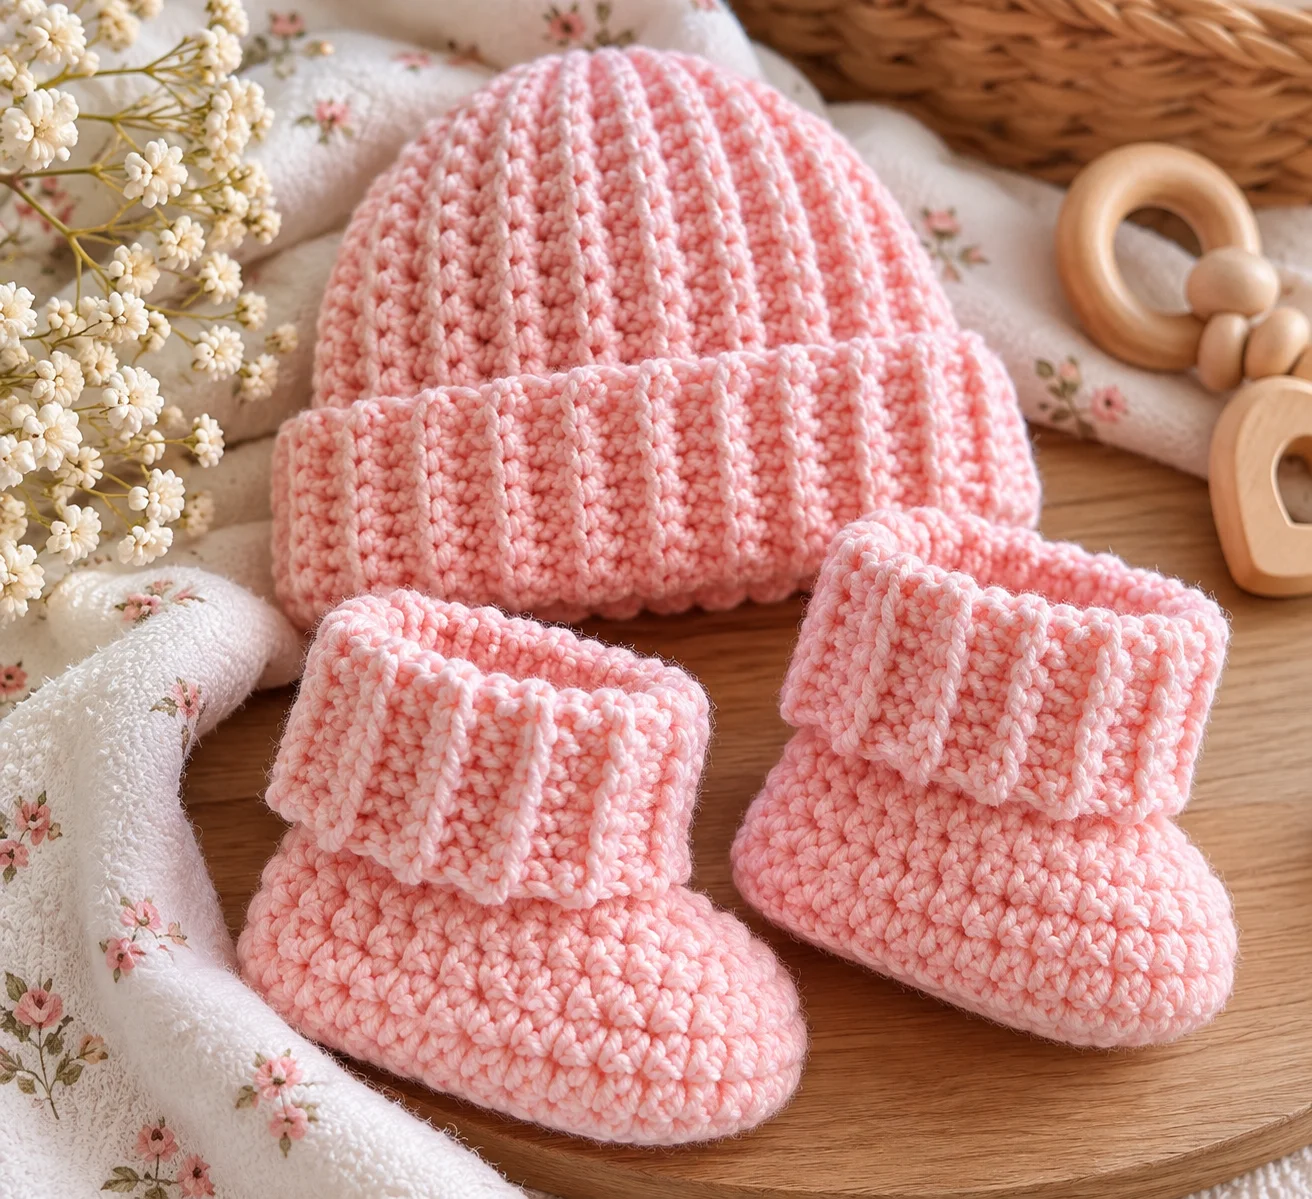
Easy Crochet Baby Booties in 4 Sizes – Cozy Ribbed Cuff Pattern
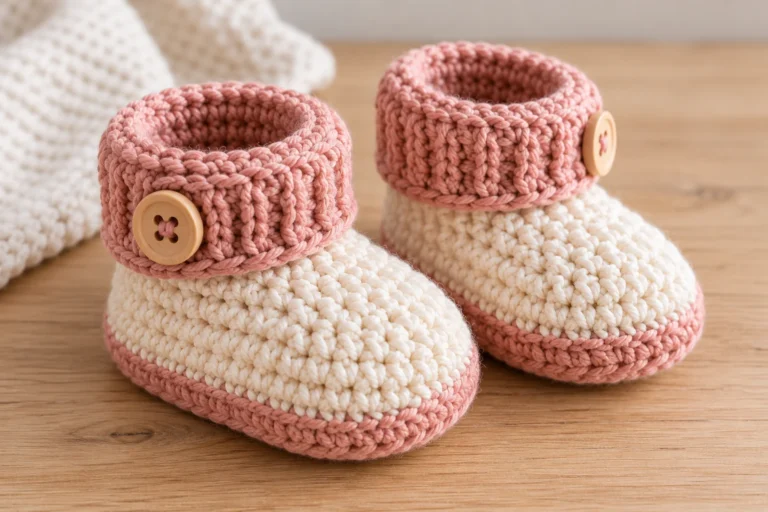
Looking for a sweet handmade gift for a new baby? These easy crochet baby booties are a quick and practical project featuring a soft sole and stretchy ribbed cuff.
The simple construction makes these booties approachable for beginners who are comfortable crocheting in rounds, increasing, decreasing, and working single crochet through the back loop. Four sizes are included, covering newborn babies through approximately 6–12 months.
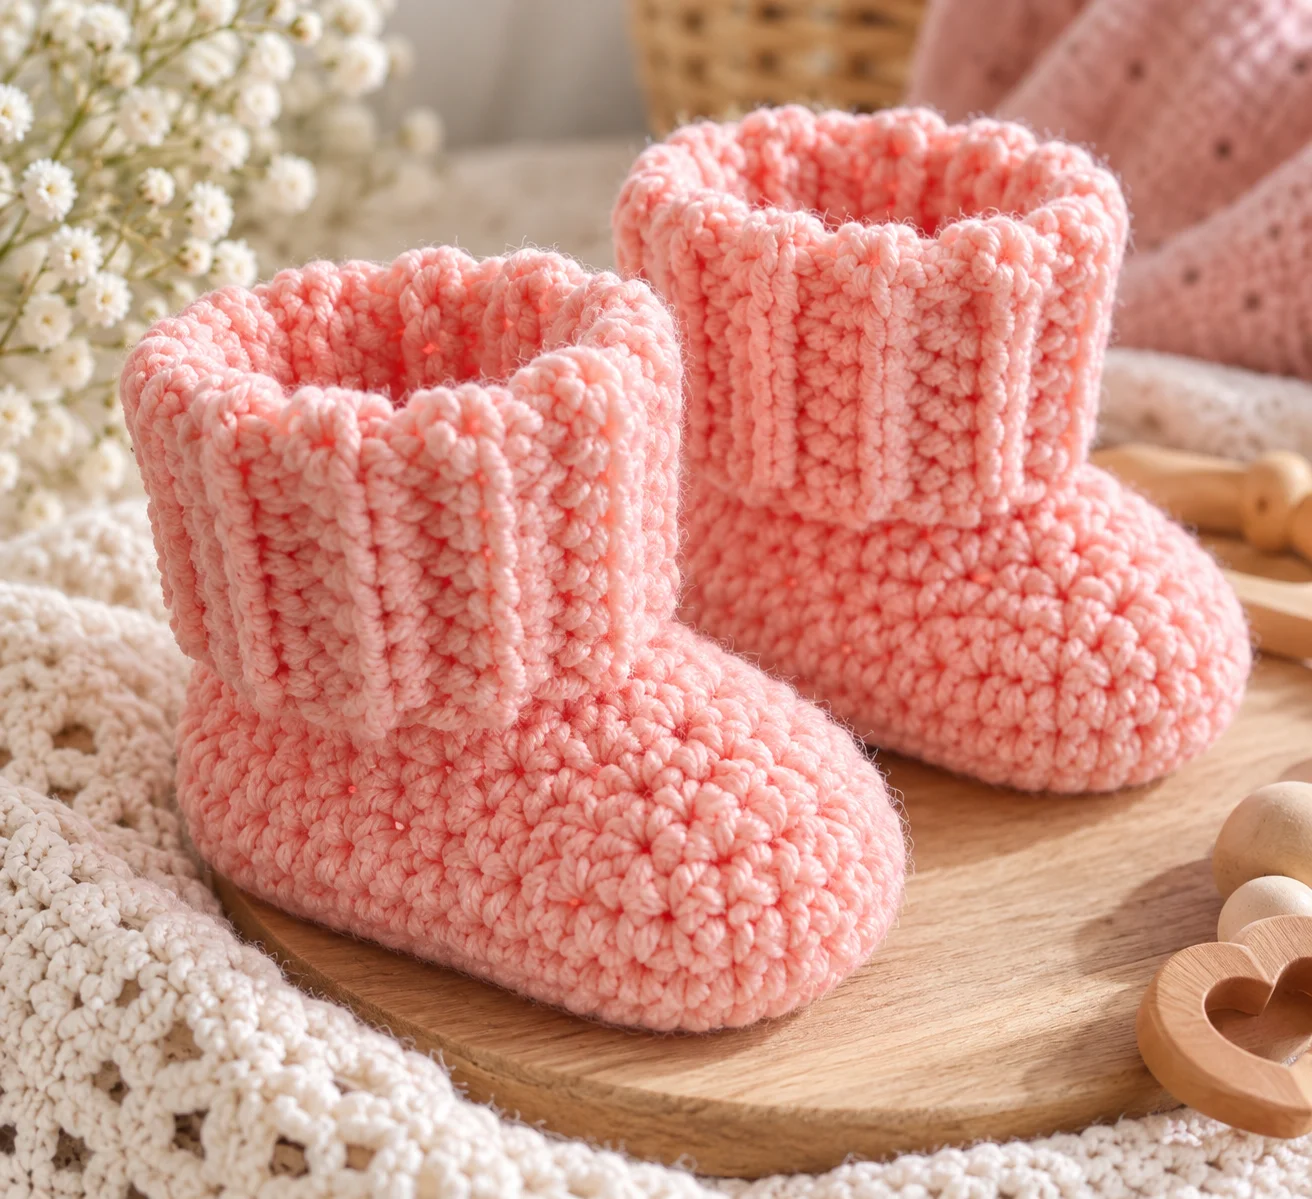
The ribbed cuff gives the booties a snug fit around the ankle while adding a pretty textured finish.
Crochet Baby Booties at a Glance
- Skill level: Beginner
- Crochet terminology: US terms
- Sizes: Newborn, 0–3 months, 3–6 months, and 6–12 months
- Yarn: DK/light worsted baby yarn
- Main hook: 4 mm
- Main stitches: Single crochet, half double crochet, double crochet
- Special technique: Back-loop crochet for the ribbed cuff
- Construction: Crocheted sole and upper with a ribbed ankle cuff
Because babies grow quickly, use the baby’s actual foot measurement whenever possible rather than relying only on age ranges.
Baby Bootie Size Chart
The four sizes are designed around the following approximate sole lengths:
| Size | Approximate Sole Length |
|---|---|
| Newborn | 3.5 in / 9 cm |
| 0–3 months | 3.75 in / 9.5 cm |
| 3–6 months | 4.25 in / 10.5 cm |
| 6–12 months | 4.75 in / 12 cm |
The recommended hook size changes with the size to help achieve the intended dimensions. The original pattern lists 3.5 mm for newborn, 4 mm for 0–3 months, 4.5 mm for 3–6 months, and 5 mm for 6–12 months.
Materials
You will need:
- DK or light worsted-weight baby yarn
- Crochet hook appropriate for your chosen size
- Yarn needle
- Scissors
- Stitch marker
- Measuring tape
A soft acrylic or cotton blend can work well for baby booties. Choose a yarn that is comfortable, washable, and appropriate for the intended use.
Crochet Abbreviations
This pattern uses US crochet terminology.
- ch — chain
- sc — single crochet
- hdc — half double crochet
- dc — double crochet
- sl st — slip stitch
- BLO — back loop only
- dec — decrease
- st/sts — stitch/stitches
Gauge
The original pattern gives a gauge of approximately 5 double crochet stitches per inch.
Gauge is particularly useful if you want the booties to match the stated measurements. If your stitches are much larger or smaller, adjust your hook size before beginning the full pair.
Choosing the Right Size
Baby clothing sizes can vary between manufacturers, so the age ranges should be treated as a general guide.
Whenever possible, measure the baby’s foot from heel to longest toe.
The finished sole should have enough room for comfortable movement without being excessively loose.
How These Crochet Baby Booties Are Made
The booties begin with an oval-shaped sole.
The sole is created by crocheting along both sides of a foundation chain and increasing around the rounded toe and heel.
Once the sole reaches the required size, the sides are built upward.
The upper portion is shaped by working decreases toward the toe area. This creates the familiar shoe-like form.
Finally, the ankle is finished with a flexible ribbed cuff.
Step 1: Crochet the Sole
Begin by making a foundation chain appropriate for your selected size.
Work crochet stitches along one side of the chain, then increase around the end and continue along the opposite side.
The result should be an oval sole.
As you complete each round, place a stitch marker or carefully note where the round begins.
Check Your Measurement
The sole should be measured before moving on to the upper section.
For example, the target length is approximately:
- Newborn: 3.5 inches
- 0–3 months: 3.75 inches
- 3–6 months: 4.25 inches
- 6–12 months: 4.75 inches
Checking the measurement at this stage can prevent you from finishing an entire bootie only to discover that it is the wrong size.
Step 2: Build the Sides
Once the sole is the correct length, begin working upward rather than continuing to increase the sole.
This creates the vertical sides of the bootie.
Depending on the size, the pattern uses half double crochet and single crochet sections to create the base of the upper.
Keep your tension consistent so both booties will match.
Step 3: Shape the Toe
The toe is shaped by strategically decreasing stitches.
Decreases bring the sides toward the center of the shoe and create the rounded toe area.
Work the decreases evenly and pay close attention to stitch placement.
If the toe looks too pointed or unusually wide, check your stitch count before continuing.
Step 4: Create the Ankle
After shaping the toe, continue working around the upper section until the bootie reaches the desired ankle height.
The upper should comfortably surround the foot without being excessively tight.
This is where the ribbed cuff will eventually be attached.
Step 5: Crochet the Ribbed Cuff
The ribbed cuff is one of the most attractive features of these booties.
Rather than using complicated post stitches, the cuff is made with simple single crochet worked through the back loop only.
This produces horizontal ridges that give the cuff a stretchy, knitted-like appearance.
The cuff is worked back and forth while being joined to the ankle edge as you go.
This technique creates a flexible cuff that can gently stretch around the baby’s ankle.
Understanding Back-Loop-Only Crochet
When working a normal crochet stitch, the hook typically goes under both loops at the top of the stitch.
For BLO, insert the hook under only the back loop.
Working several rows this way creates the characteristic ribbed texture.
The key is to consistently use the back loop throughout the cuff.
Finishing the Cuff
Continue working the ribbing around the entire ankle.
Once you reach the starting point, the first and final edges of the cuff are joined together.
Fasten off and weave in the yarn securely.
The finished cuff should stretch gently without feeling overly loose.
Make the Second Bootie
Repeat the same process for the second bootie.
Try to keep your tension consistent between both pieces.
If the first bootie fits well but the second one is noticeably different, compare your stitch counts and measurements before finishing.
Tips for Matching a Pair
Count your stitches
Small differences in stitch count can change the shape of a tiny bootie.
Measure the soles
Place both soles next to each other before continuing.
They should be approximately the same length and width.
Keep your tension steady
Crocheting one bootie tightly and the other loosely can result in two noticeably different shoes.
Make notes
If you plan to make several pairs, record the yarn, hook, and size you used.
Color Ideas
Baby booties are perfect for experimenting with color.
Try:
Classic Neutrals
- Cream
- Beige
- Soft gray
Pretty Pastels
- Blush
- Mint
- Lavender
- Baby blue
Two-Tone Booties
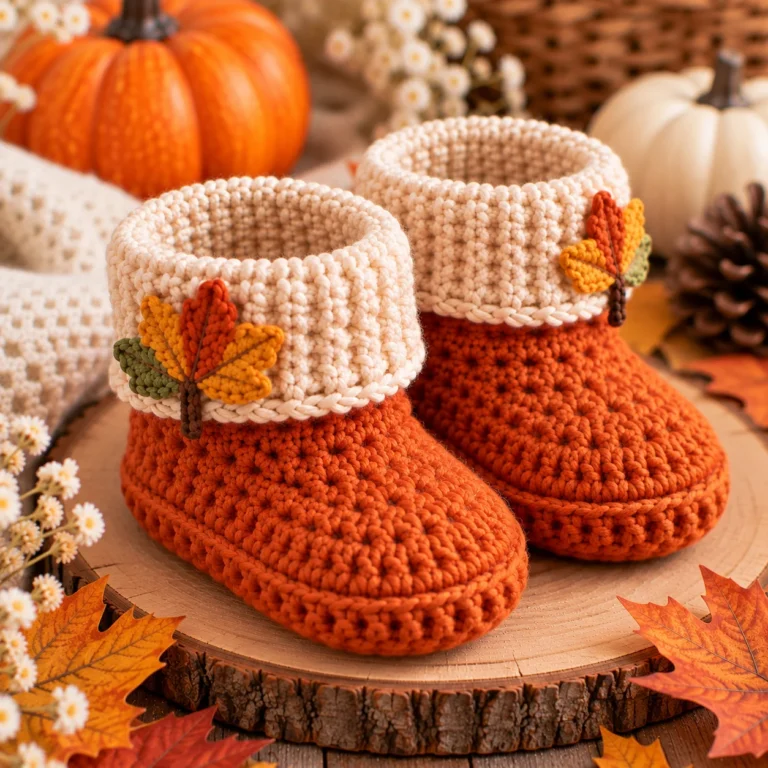
Use one color for the sole and upper and another for the cuff.
Gender-Neutral Colors
- Sage
- Mustard
- Terracotta
- Oatmeal
- Dusty blue
A contrasting cuff can make the ribbed texture stand out beautifully.
Easy Ways to Customize the Booties
You can personalize the basic design without changing the construction.
Add a simple crocheted flower to the outside for an older baby, or use contrasting yarn around the cuff.
You can also make the cuff slightly taller for a different look, provided the finished bootie remains comfortable and appropriately fitted.
Avoid adding small detachable decorations to booties intended for babies.
Common Mistakes
The sole is too small
Your crochet tension may be tighter than the pattern gauge. Try the next larger hook size and check the measurement again.
The sole is too large
Use a smaller hook if your stitches are significantly larger than the recommended gauge.
The toe looks uneven
Check that your decreases are positioned correctly and that you haven’t accidentally skipped or added stitches.
The cuff doesn’t stretch
Make sure you are consistently working through the back loop only and not accidentally crocheting through both loops.
The two booties don’t match
Compare stitch counts and measurements before sewing in your ends.
How to Make the Booties Stay On
The ribbed cuff helps the booties fit snugly around the ankle.
Make sure the cuff is comfortable rather than excessively tight.
A bootie that is too loose may fall off, while one that is too tight can be uncomfortable.
Always check the fit on the intended wearer.
Safety Considerations
These booties are intended for babies who are not walking.
Crochet baby booties can become slippery on smooth floors once a baby begins standing or walking. They should not be treated as a substitute for properly designed non-slip footwear.
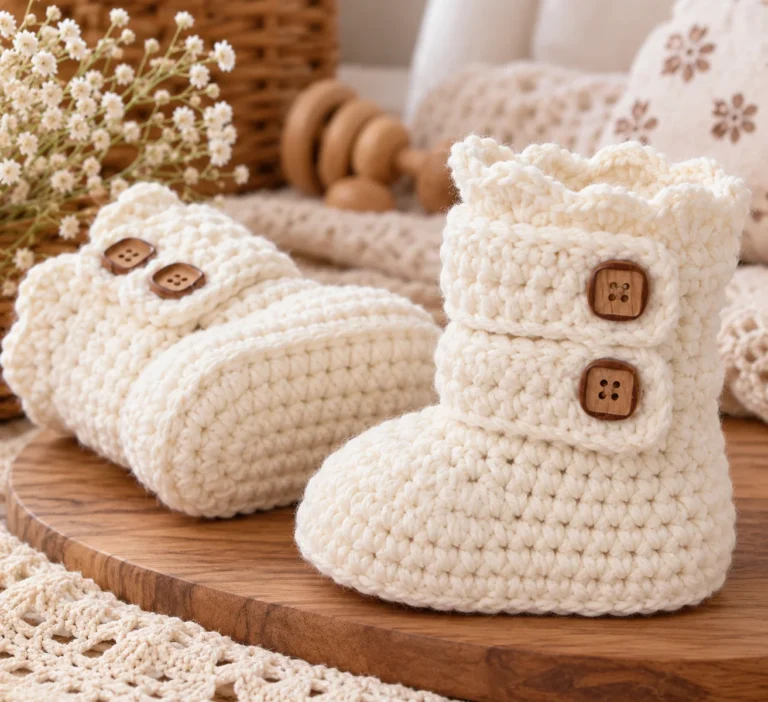
Avoid loose buttons, beads, charms, or other small decorations that could detach and become choking hazards.
Inspect the booties regularly for loose yarn ends, damaged stitches, or detached embellishments.
If you plan to sell baby footwear, check the applicable safety and product requirements in your market.
Care Instructions
Follow the washing instructions for the yarn you select.
Baby items generally benefit from easy-care, washable yarn.
After washing, reshape the booties while they are damp if necessary and allow them to dry according to the yarn manufacturer’s instructions.
Inspect the finished pair after washing to make sure the stitches and seams remain secure.
Frequently Asked Questions
What sizes are included?
The design includes four sizes: newborn, 0–3 months, 3–6 months, and 6–12 months.
What yarn should I use?
DK or light worsted-weight baby yarn is suitable for this style of bootie.
What hook size do I need?
The hook size depends on the desired size. The original size guide uses hooks ranging from 3.5 mm to 5 mm.
Are these crochet baby booties beginner-friendly?
Yes. The basic construction uses familiar crochet stitches. Beginners should be comfortable with working in rounds, increases, decreases, and back-loop-only stitches.
How do I know which size to make?
Measure the baby’s foot whenever possible. Use the age ranges only as a general starting point because babies’ feet vary considerably.
Can I make the booties larger?
You can adjust the hook size or modify the sole, but changing the construction can alter the proportions. For a larger size, it is best to measure the foot and make sure the finished sole provides an appropriate amount of room.
Can I add a non-slip sole?
For babies who are beginning to walk, a properly designed non-slip sole may be appropriate. The original pattern notes options such as leather, suede, or suitable grip treatments for walking babies.
Final Thoughts
These easy crochet baby booties are a lovely project for beginners and experienced crocheters alike. The simple sole and shaped upper create a classic little shoe, while the ribbed cuff adds stretch, texture, and a polished finish.
With four sizes available, you can make a pair for a newborn or a growing baby. Choose soft yarn in your favorite colors, check the sole measurements carefully, and take your time with the cuff for the best fit.
They make thoughtful baby shower gifts, newborn photography accessories, and handmade additions to a baby’s wardrobe.
Pattern note: The technical details in this article are based on the published four-size ribbed-cuff design by Lisa Auch Crochet. This article uses original wording and does not reproduce the designer’s complete stitch-by-stitch pattern.