Crochet Simple Stripe Pullover for Beginners
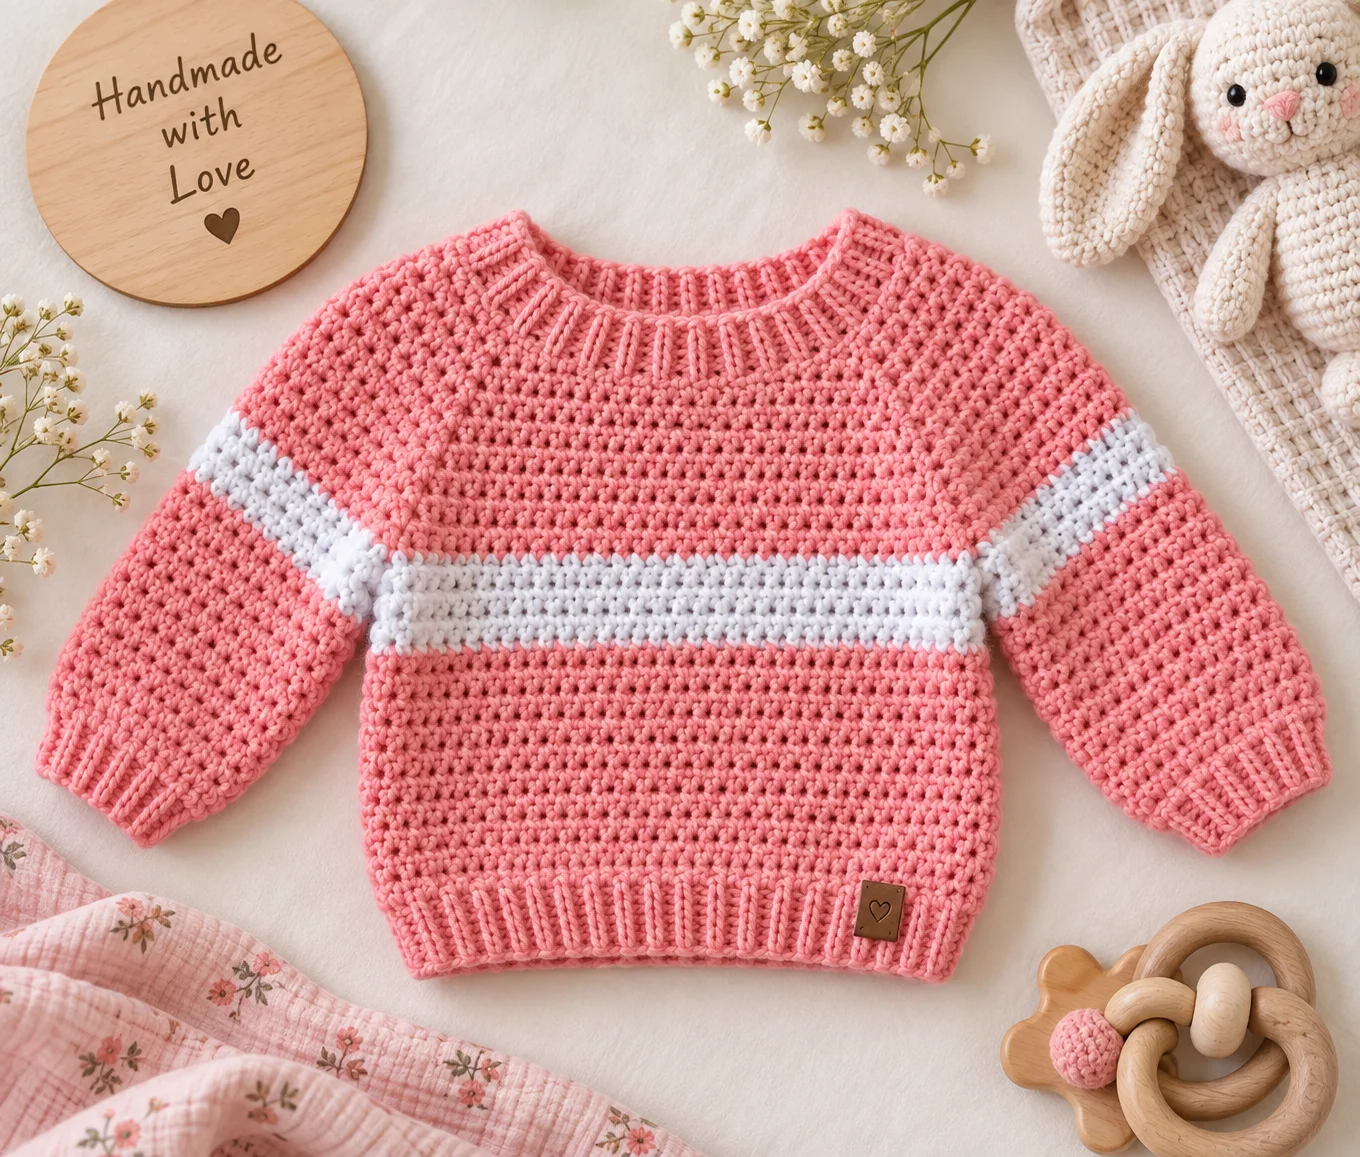
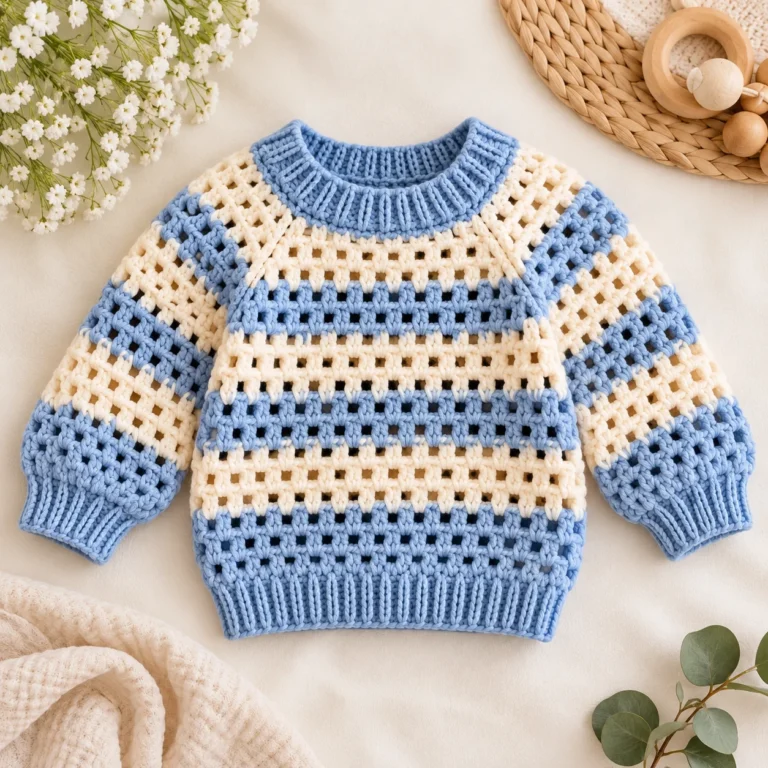
A simple striped pullover is one of those crochet projects that is easy to wear and fun to customize. With basic stitches, straightforward shaping, and a few well-placed color changes, you can create a cozy handmade sweater without complicated stitch patterns.
This Crochet Simple Stripe Pullover is worked in separate front and back panels and then seamed together. The sleeves are added afterward, making it easier to adjust the body and sleeve length as you work.
The stripe pattern can be kept subtle with two neutral colors or made more playful with several shades.
This tutorial uses US crochet terminology and is designed for beginner to intermediate crocheters.
Pattern note: The measurements and stitch counts below are an original draft rather than a professionally tested graded garment pattern. Always make a gauge swatch and compare the finished measurements with the intended wearer before completing the garment.
Materials You’ll Need
- Worsted-weight yarn in Color A
- Worsted-weight yarn in Color B
- 5.0 mm (H-8) crochet hook
- Scissors
- Tapestry needle
- Stitch markers
- Measuring tape
Optional
- 4.5 mm crochet hook for the neckline and cuffs
- Blocking mats and pins
Choose a soft yarn with good drape. For a sweater, avoid yarn that feels scratchy against the skin.
Yarn & Hook Information
Recommended Yarn
A soft worsted-weight yarn works well for this pullover.
Acrylic, wool, cotton blends, and acrylic blends can all produce different results.
Acrylic
Acrylic is easy to find, comes in many colors, and is generally simple to care for.
Wool or wool blends
Wool can create a warm, springy fabric with excellent stitch definition.
Cotton blends
Cotton blends can make a lighter sweater, although they may stretch differently from acrylic or wool.
Hook Size
Start with a 5.0 mm (H-8) hook.
Your hook size may need to change depending on your tension.
Gauge
Approximately:
14 hdc × 12 rows = 4 inches
Gauge is especially important for garments. If your swatch is too large, use a smaller hook. If it is too small, use a larger hook.
Finished Size
This draft is designed around a small/medium adult size.
Approximate measurements:
- Bust circumference: 38–40 inches
- Body length: 22 inches
- Sleeve length: 17 inches
For a different size, measure the intended wearer and adjust the starting chain and number of rows.
Crochet Terms & Abbreviations
US crochet terminology is used.
- ch — chain
- sc — single crochet
- hdc — half double crochet
- sl st — slip stitch
- st — stitch
- sts — stitches
- BLO — back loop only
- FO — fasten off
Before You Start
This pullover is constructed from:
- A front panel
- A back panel
- Two sleeves
- A neckline
- Side and shoulder seams
The body is worked in rows of half double crochet.
The stripes are created by changing colors every few rows.
Choosing your stripe width
For a classic look, try:
- 4 rows Color A
- 4 rows Color B
- Repeat
For narrower stripes:
- 2 rows Color A
- 2 rows Color B
For a bolder design:
- 6 rows Color A
- 6 rows Color B
Remember that every color change adds a few yarn ends, so wider stripes can make finishing a little quicker.
How to Crochet the Simple Stripe Pullover
Step 1: Make the Front Panel
With Color A, chain 70.
Row 1: Hdc in the 2nd chain from hook and across.
69 sts
Rows 2–4: Ch 1, turn, hdc across.
At the end of Row 4, change to Color B.
Stripe 2
Rows 5–8: Ch 1, turn, hdc across with Color B.
Change back to Color A.
Continue the stripes
Repeat:
- 4 rows Color A
- 4 rows Color B
Continue until the front panel measures approximately 22 inches from the bottom edge.
Fasten off.
Tip
Rather than cutting the yarn after every stripe, you can carry the unused color loosely up the side if the edge will be covered by a seam.
Don’t carry it too tightly or the edge may pucker.
Step 2: Make the Back Panel
Repeat the same process for the back panel.
With Color A, chain 70.
Work rows of hdc using the same four-row stripe sequence.
Continue until the back is the same length as the front.
Lay the two pieces together and check that the stripes line up.
Step 3: Create the Neckline
Fold the front panel in half to find the center.
Mark approximately 20 stitches in the center.
You can adjust this opening depending on how wide you want the neckline.
Work each shoulder section separately.
Left shoulder
Attach yarn at the outside edge of the left shoulder.
Work hdc across to the neckline marker.
Continue for approximately 2–3 rows.
Fasten off.
Right shoulder
Repeat on the opposite side.
The back panel can have a slightly smaller neckline opening if you prefer more coverage.
For a simple pullover, however, you can also leave the back panel straight and create the neckline after the shoulders have been joined.
Step 4: Join the Shoulders
Place the front and back panels together.
Align the shoulder edges.
Using a tapestry needle and yarn, sew the shoulders together.
For a little extra stretch, use a loose mattress stitch or whip stitch.
Leave the neckline open.
Try the pullover on or compare it with a favorite sweater to check the neckline before sewing permanently.
Step 5: Join the Sides
Starting at the bottom edge, sew the front and back panels together.
Stop approximately 7–8 inches below the shoulder to create the armhole.
Repeat on the other side.
The exact armhole depth can be adjusted based on the desired fit.
Fit tip
A slightly wider armhole can make a pullover feel more relaxed.
A smaller armhole gives a closer fit but may restrict movement.
Step 6: Crochet the Sleeves
Each sleeve is worked from the armhole downward.
Attach Color A around the armhole.
Work evenly around the opening using hdc.
Join with a slip stitch.
Sleeve Round 1
Ch 1, hdc evenly around the armhole. Sl st to the first hdc.
Sleeve Round 2
Ch 1, hdc in each stitch around. Sl st to the first hdc.
Continue alternating four-round stripes.
Work until the sleeve reaches approximately 17 inches, or your preferred length.
Step 7: Shape the Sleeve
If the sleeve feels too wide, work occasional decrease rounds.
For example:
Decrease round: Ch 1, *hdc in the next 5 sts, hdc2tog; repeat from * around.
Continue with regular rounds between decrease rounds.
Avoid decreasing too quickly. Try the sleeve on as you work if possible.
A gradual taper usually produces a more comfortable sleeve.
Step 8: Add the Cuff
Switch to a slightly smaller hook if desired.
Using Color A:
Round 1: Ch 1, sc around. Sl st to first sc.
Round 2: Ch 1, sc BLO around. Sl st to first sc.
Repeat Round 2 for another 2–3 rounds.
Fasten off.
Repeat for the second sleeve.
The back-loop-only stitches create a subtle ribbed texture.
Step 9: Finish the Neckline
Attach yarn around the neckline.
Work one round of single crochet.
If you want a more finished neckline, add another round of sc BLO.
Keep the neckline edging relaxed.
A tight neckline can make a sweater uncomfortable to pull over the head.
Step 10: Weave in the Ends
Use a tapestry needle to weave in all loose yarn ends.
Because this sweater has stripes, there may be quite a few ends.
Weave each end securely through several stitches, then trim the excess.
For extra security, change direction through the stitches before trimming.
Step 11: Block the Pullover
Blocking can help straighten the panels and even out the stitches.
Place the sweater on a flat blocking surface.
Gently shape the body and sleeves to the intended measurements.
Allow it to dry completely according to the yarn manufacturer’s instructions.
Do not stretch the sweater aggressively.
Tips & Troubleshooting
Why doesn’t my pullover fit the measurements?
The most common reason is gauge.
Even a small difference in stitch size can make a garment several inches wider or narrower.
Always measure your gauge before starting.
Why are my stripes uneven?
If some rows are tighter than others, the stripe sections may appear slightly different in width.
Try to maintain a consistent tension throughout.
Blocking can also help even out minor differences.
Why is my sweater stiff?
Crocheting too tightly can create a dense fabric.
Try a larger hook and make another gauge swatch.
Your yarn choice also matters. Some fibers naturally create a firmer fabric than others.
Why are my sleeves too wide?
If the armhole is large or the sleeve is worked without enough shaping, the sleeve can become oversized.
Add gradual decrease rounds toward the wrist.
Why is the neckline too tight?
The neckline opening may be too small or the edging may have been crocheted too tightly.
Remove the edging if necessary and use a larger hook.
My side seams don’t match. What happened?
Lay the panels flat before sewing.
Check that both panels have the same number of rows and that the stripe changes occur at the same points.
Yarn Substitutions
This pattern is flexible enough to work with different worsted-weight yarns.
Acrylic
Acrylic creates an easy-care sweater and is available in many colors.
It can also be a good option for colorful stripes.
Wool
Wool adds warmth and elasticity.
Keep in mind that wool may require more careful washing.
Cotton
Cotton can make a breathable pullover, but it may stretch more or behave differently after washing.
Different brands
Different worsted-weight yarns are not necessarily identical.
Check:
- Yardage
- Fiber content
- Recommended hook
- Gauge
- Washing instructions
Make a swatch whenever you change yarn.
Customization Ideas
Change the stripe width
The simplest customization is changing how often you switch colors.
Try:
- 2-row stripes for a modern look
- 4-row stripes for a classic sweater
- 6-row stripes for bold color blocks
Use three colors
Instead of alternating two shades, rotate three colors.
For example:
Cream → sage → rust → cream → sage → rust
Make a cropped pullover
Stop the body several inches earlier for a shorter silhouette.
Make it oversized
Add stitches to the starting chain and work additional rows.
Leave the sleeves slightly wider for a relaxed fit.
Add a ribbed hem
Instead of finishing immediately after the body, add several rounds of sc BLO.
Make matching accessories
Use leftover yarn to make a matching hat, scarf, or simple crochet bag.
Care Instructions
Always follow the care instructions printed on your yarn label.
For acrylic yarn, gentle machine washing may be possible.
Wool often requires gentler washing and should not automatically be placed in a washing machine.
Cotton may shrink or stretch depending on the yarn.
When in doubt, wash a small swatch first.
Lay the finished pullover flat to dry if you want to preserve its shape.
Frequently Asked Questions
Is this Crochet Simple Stripe Pullover beginner-friendly?
Yes. The main body uses half double crochet, and the construction relies on simple rectangles and basic seaming. Familiarity with basic crochet stitches and garment assembly is helpful.
Can I make this pullover in a different size?
Yes. The easiest approach is to measure the intended wearer and adjust the starting chain to achieve the desired chest width.
Remember to adjust both front and back panels equally.
Can I use DK yarn instead of worsted weight?
Yes, but the finished fabric will be thinner and the measurements will change.
You’ll need to adjust your hook size and stitch count based on your gauge.
How many colors do I need?
The basic design uses two colors, but you can use three or more.
A small amount of each color is useful for the neckline and cuffs if you want contrasting details.
How do I stop my sweater from looking boxy?
Pay attention to sleeve shaping and body measurements.
You can also make the body slightly longer or add gradual sleeve decreases for a more fitted silhouette.
Do I have to seam the pullover?
This version uses seaming because it makes the construction straightforward.
You can adapt the design to be worked in the round, but that requires changing the construction and stripe placement.
How do I make the sleeves longer?
Continue working additional sleeve rounds until you reach the desired length.
Final Thoughts
This Crochet Simple Stripe Pullover is a great project when you want a wearable sweater without complicated stitch patterns.
The basic construction gives you plenty of room to experiment. Change the stripe colors, make the sleeves longer, adjust the neckline, or create a completely different color combination.
Most importantly, take your measurements as you go. A few minutes spent checking your gauge and comparing the panels with the intended measurements can save a lot of frustration later.
And if your first sweater isn’t perfectly symmetrical, don’t worry. Handmade clothing often has little differences that make it unique.
If you make your own striped pullover, we’d love to see it! Leave a question in the comments, share your finished project, tag @BornCrochet on Instagram, and use #BornCrochet.