Cozy Crochet Sleep Sack Doll – Easy Waldorf-Inspired Baby
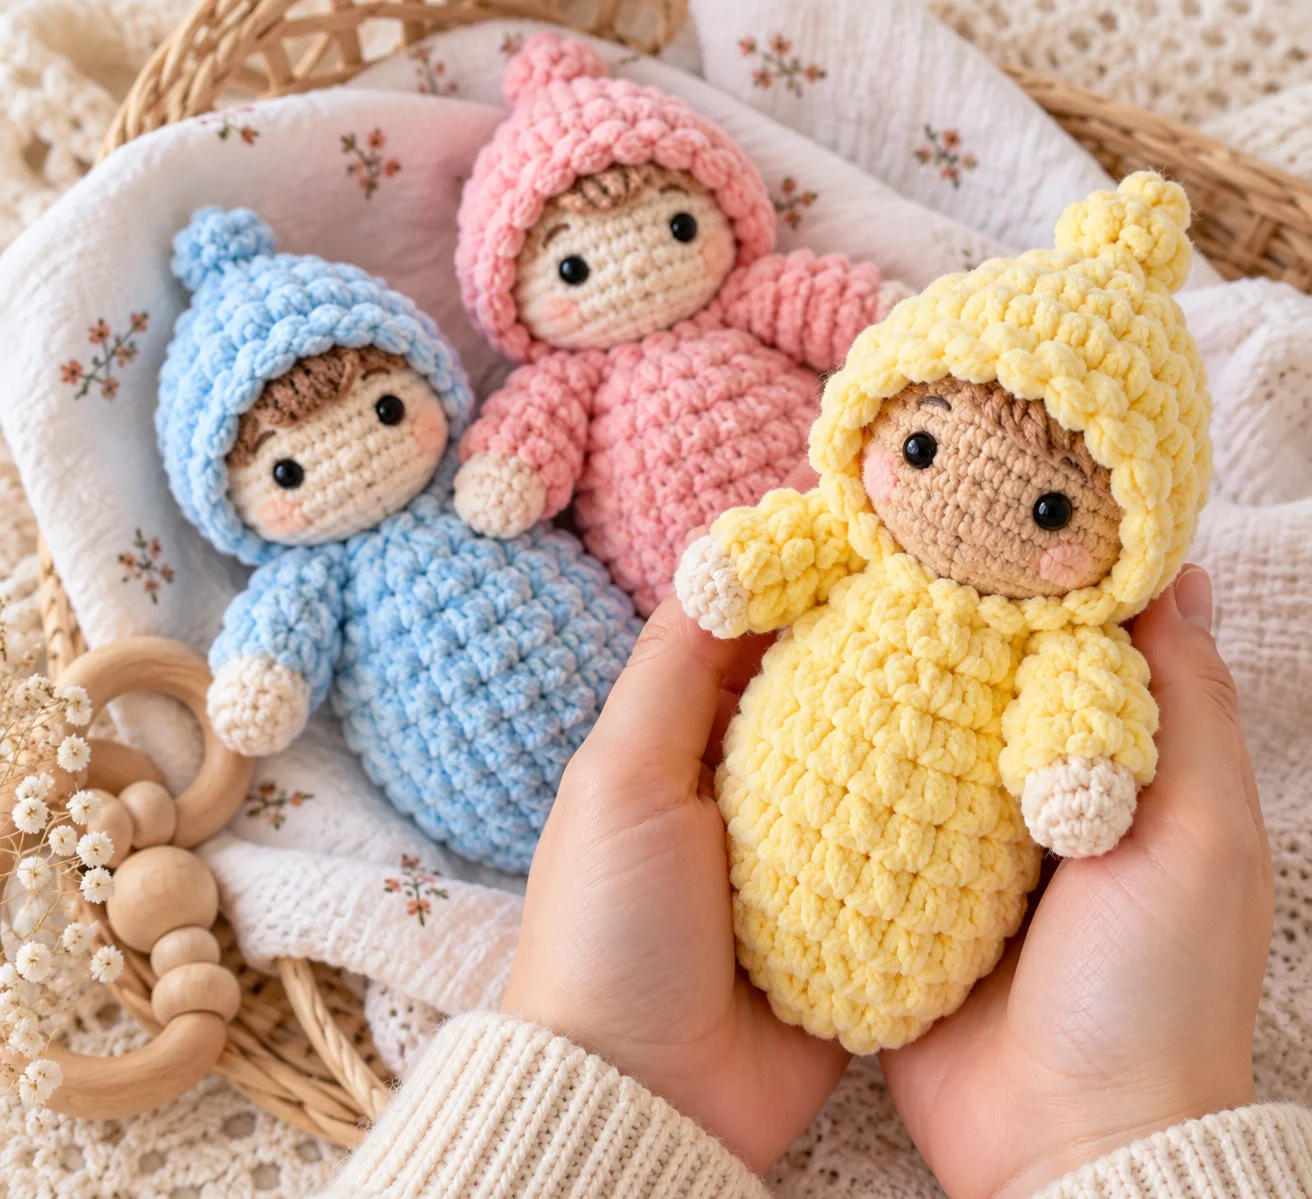
Cozy Crochet Sleep Sack Doll: A Sweet Waldorf-Inspired Baby
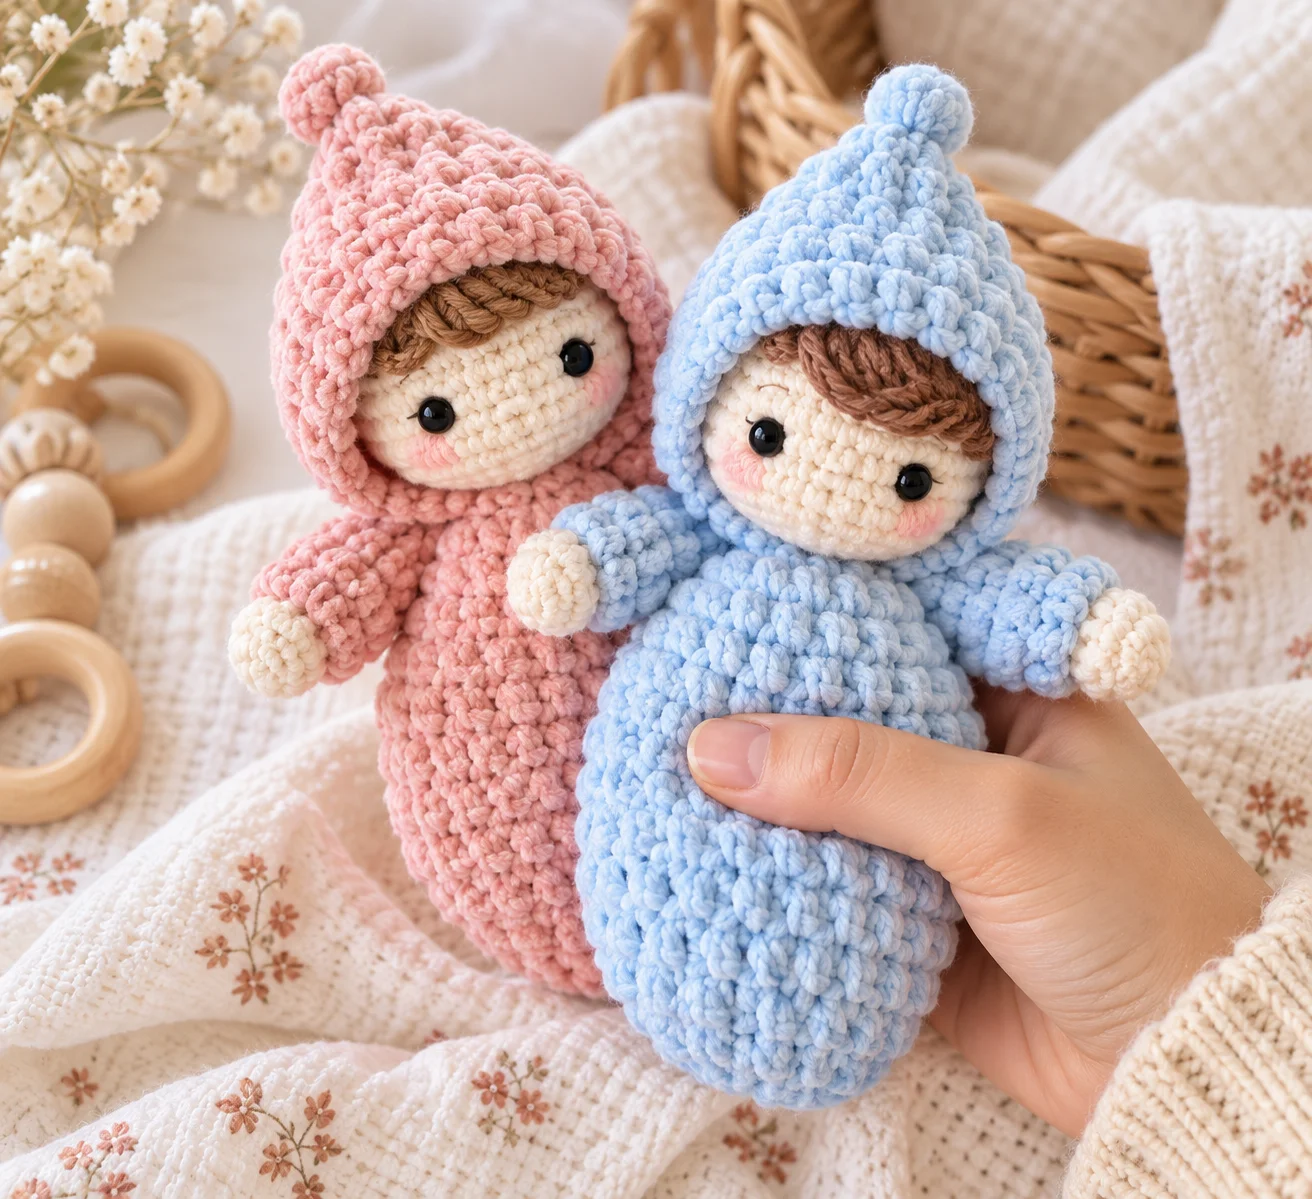
This adorable crochet sleep sack doll is a charming little project for anyone who enjoys making soft amigurumi with a simple, cozy design. With a rounded baby shape, a snug sleep sack, and a whimsical pointed hat, this doll has a sweet Waldorf-inspired appearance.
The compact size makes it a lovely handmade gift for a nursery, baby shower, birthday, or child’s pretend-play collection. It is also a fun project for crocheters who want to experiment with plush yarn and simple amigurumi shaping.
The original Sack Baby design is approximately 7.5 inches tall and combines the baby, sleep sack, and hat into a relatively low-sew construction.
Crochet Sleep Sack Doll at a Glance
- Skill level: Familiar beginner to intermediate
- Crochet terminology: US terms
- Finished height: Approximately 7.5 inches
- Yarn: Bulky #5 plush or chenille yarn
- Main hook: 5 mm
- Additional hook: 7 mm
- Main techniques: Single crochet, increases, decreases, and continuous rounds
- Style: Waldorf-inspired crochet doll
Your finished size may vary depending on your yarn, hook, and crochet tension.
Materials
Before beginning, gather:
- Bulky #5 chenille or plush yarn
- 5 mm crochet hook
- 7 mm crochet hook
- Polyester fiberfill
- Yarn needle
- Scissors
- Stitch marker
- Embroidery floss
You can use several colors if you want the sleep sack and hat to contrast with the baby’s head and body.
Choosing Yarn
Plush chenille yarn is especially suitable for this project because it creates a soft, cuddly surface.
For a different look, you can substitute cotton or acrylic yarn. Keep in mind that changing yarn weight will also change the size and proportions of the finished doll.
Soft shades such as cream, blush, sage, dusty blue, lavender, and beige are particularly pretty for a nursery-inspired design.
Crochet Abbreviations
The following US crochet abbreviations are useful for this project:
- ch — chain
- sc — single crochet
- sl st — slip stitch
- inc — increase
- dec — decrease
- st — stitch
- sts — stitches
- FO — fasten off
Understanding the Construction
This doll uses basic amigurumi shaping to create a rounded head and soft body.
Instead of making a traditional doll with many separate limbs, the design has a simple, streamlined construction. The sleep sack forms the lower portion of the doll, while the little hat completes the character.
This makes it a good option if you enjoy crochet dolls but prefer projects with minimal sewing.
Starting the Doll
The head begins with a magic ring.
Work single crochet stitches into the ring and gradually increase the number of stitches to create a rounded shape.
When crocheting amigurumi, keep your stitches fairly tight. This helps prevent the fiberfill from showing through the fabric.
A stitch marker is useful for keeping track of the first stitch when working in continuous rounds.
Shaping the Head
The head is formed by increasing to create the widest section and then decreasing to close the shape.
Add small amounts of fiberfill as the head takes shape.
Rather than filling the entire head at once, add stuffing gradually and distribute it with your fingers.
The goal is a softly rounded head that holds its shape without becoming overly firm.
Creating the Body
After the head is shaped, continue working downward to form the body.
The torso is created with rounds of single crochet.
Work evenly through the middle portion before beginning the lower shaping.
The body should remain soft and comfortable rather than being packed tightly with stuffing.
The Cozy Sleep Sack
The sleep sack is the feature that gives this crochet doll its distinctive appearance.
Instead of separate crocheted legs, the lower portion is enclosed in a soft sack-like shape.
This construction also gives the finished doll a cuddly, bundled-up appearance.
Choose a contrasting yarn color for the sack or use the same color throughout the doll for a simple monochromatic design.
Color Combinations
Here are some combinations to try:
Soft Nursery
- Ivory
- Dusty pink
- Cream
Woodland
- Sage
- Oatmeal
- Warm brown
Classic Baby Blue
- Cream
- Pale blue
- White
Lavender Dream
- Ivory
- Lavender
- Soft gray
Modern Neutral
- Beige
- Taupe
- Cream
The color possibilities are almost endless, so you can easily create dolls for different seasons or occasions.
Adding the Face
A simple face works particularly well with a Waldorf-inspired doll.
Use embroidery floss to create small eyes.
You can add a tiny embroidered nose and a subtle smile, or leave the face extremely simple.
Minimal facial features give the doll a gentle handmade appearance.
Embroidered Eyes
For a baby or toddler toy, embroidered eyes are a practical alternative to plastic safety eyes.
Use dark embroidery floss and make small, secure stitches.
Try to keep the eyes approximately level and evenly spaced.
Adding a Tiny Smile
A small curved line beneath the eyes can create a gentle smile.
You don’t need many facial details. A simple expression can give the doll plenty of character.
Making the Pixie-Style Hat
The pointed hat is one of the most recognizable details of this style of doll.
Crochet the hat from the bottom upward, gradually reducing the width toward the top to create the pointed shape.
The hat can match the sleep sack or use a contrasting color.
For example, a cream doll with a dusty pink hat creates a soft nursery look, while a green hat gives the doll a woodland-inspired feel.
Optional Hair
The doll can be left bald for a classic baby appearance.
If you want to add hair, use a suitable yarn and attach it securely to the head.
You can create:
- Short baby hair
- A tiny fringe
- Soft curls
- Longer strands
- A simple cap of crochet hair
For a young child’s toy, make sure the hair cannot easily be pulled loose.
Stuffing Tips
The amount of stuffing can change the entire appearance of an amigurumi doll.
Add fiberfill gradually as you crochet.
Use your fingers or the blunt end of your crochet hook to gently distribute the filling.
Avoid stuffing so firmly that the stitches stretch apart.
A soft, evenly filled head and body will give the finished doll a more cuddly appearance.
Working With Chenille Yarn
Plush yarn can be slightly challenging because its fuzzy surface can hide individual stitches.
Here are some useful tips:
Use a stitch marker
Mark the beginning of every round.
Work slowly
If you lose a stitch, it can be difficult to find it again in plush yarn.
Use bright lighting
Good lighting makes the stitch tops easier to identify.
Count frequently
Don’t depend entirely on how the fabric looks. Check your stitch count regularly.
Keep your tension steady
Consistent tension will make the doll’s shape more even.
Customization Ideas
Make Different Skin Tones
Choose different yarn shades to create dolls with a variety of skin tones.
Change the Hat
Make several hats in different colors to create completely different characters.
Add a Striped Sleep Sack
Alternate two colors to create horizontal stripes.
Create Seasonal Colors
Try warm orange and cream for autumn, red and green for winter, or pastel shades for spring.
Make a Doll Collection
Create several dolls with different hair, hats, and sleep sacks. They can become a sweet handmade nursery collection.
Safety Considerations
If this doll is intended for a baby or young child, safety should be considered throughout the project.
Avoid detachable buttons, beads, charms, bells, and other small components that could become choking hazards.
For young children, embroidered facial features are preferable to detachable plastic eyes.
Secure all yarn ends thoroughly.
If you add hair or decorative elements, make sure they are firmly attached.
Inspect the finished doll regularly for loose stitches, damaged areas, or detached components.
If you intend to sell the finished doll as a children’s toy, check the applicable toy-safety requirements in your country.
Washing and Care
Always follow the care instructions for the yarn you choose.
If you use plush yarn, gentle washing is generally preferable to rough handling or high heat.
Allow the doll to dry completely before returning it to a child.
After washing, inspect the facial embroidery, seams, and other attached features.
Frequently Asked Questions
How tall is the sleep sack doll?
The original design is approximately 7.5 inches tall, although your finished size may vary depending on yarn and tension.
What yarn is best for this crochet doll?
Bulky #5 chenille or plush yarn produces a particularly soft finish. Cotton and acrylic can also be used if you prefer a different texture.
What crochet hook sizes are used?
A 5 mm hook and a 7 mm hook are used for the original design.
Is this doll suitable for beginners?
It is best suited to a crocheter who already understands basic amigurumi techniques, including single crochet, increases, decreases, and working in continuous rounds.
Can I make a larger version?
Yes. Using a larger yarn weight and corresponding hook will generally create a larger doll, although the proportions and finished texture will change.
Does the doll need hair?
No. Hair is completely optional. A bald baby-style doll looks adorable and is particularly simple to finish.
Can I use embroidered eyes?
Yes. Embroidery is a good choice when making a doll for a young child because there are no plastic eye components that can detach.
Final Thoughts
This cozy crochet sleep sack doll is a wonderful project for creating a soft, handmade character with plenty of room for personalization.
The rounded baby shape, comfortable sleep sack, and pointed hat give the doll a whimsical Waldorf-inspired look, while the simple construction keeps the project approachable for crocheters familiar with amigurumi.
Experiment with different yarn colors, embroidered expressions, and hat combinations to create a doll that feels completely unique. Whether you make it as a baby shower gift, nursery keepsake, or handmade toy, this little crochet baby is sure to make a charming addition to a handmade collection.