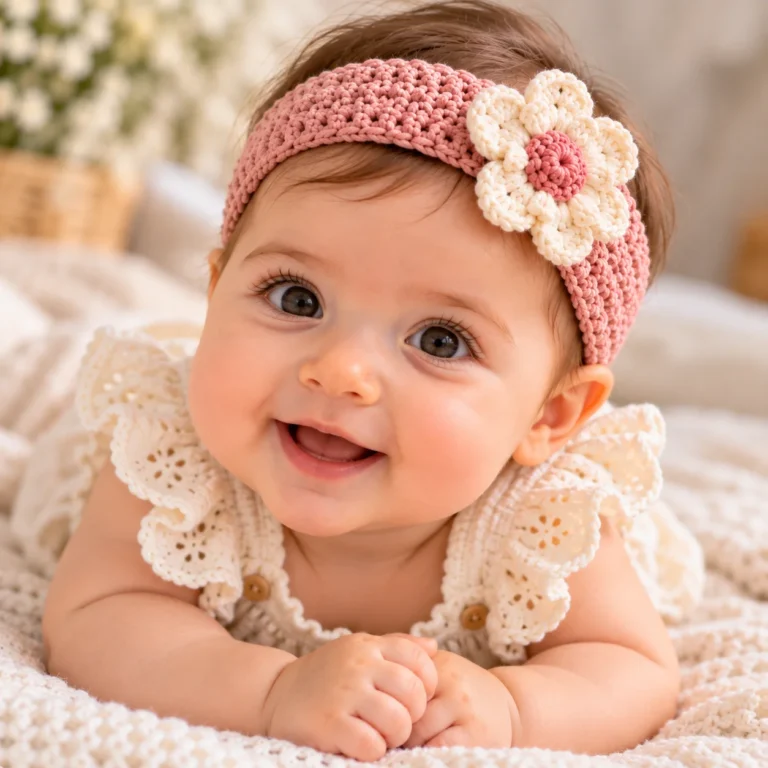
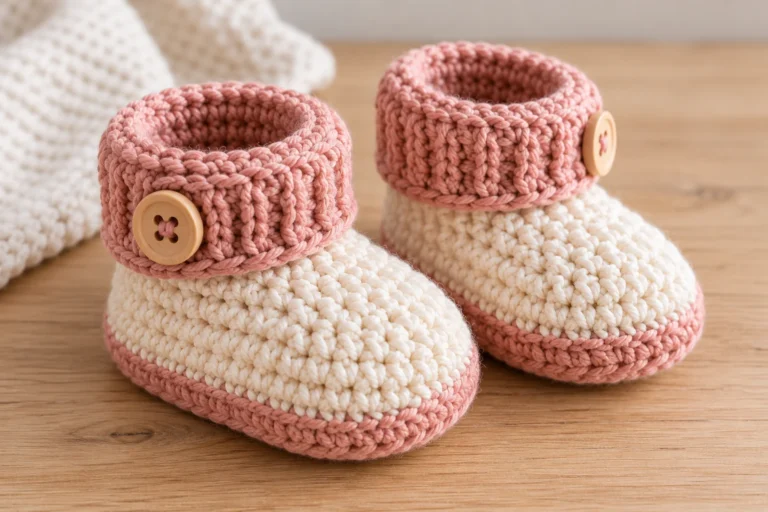
Crochet Baby Hat – Easy Pattern for Beginners
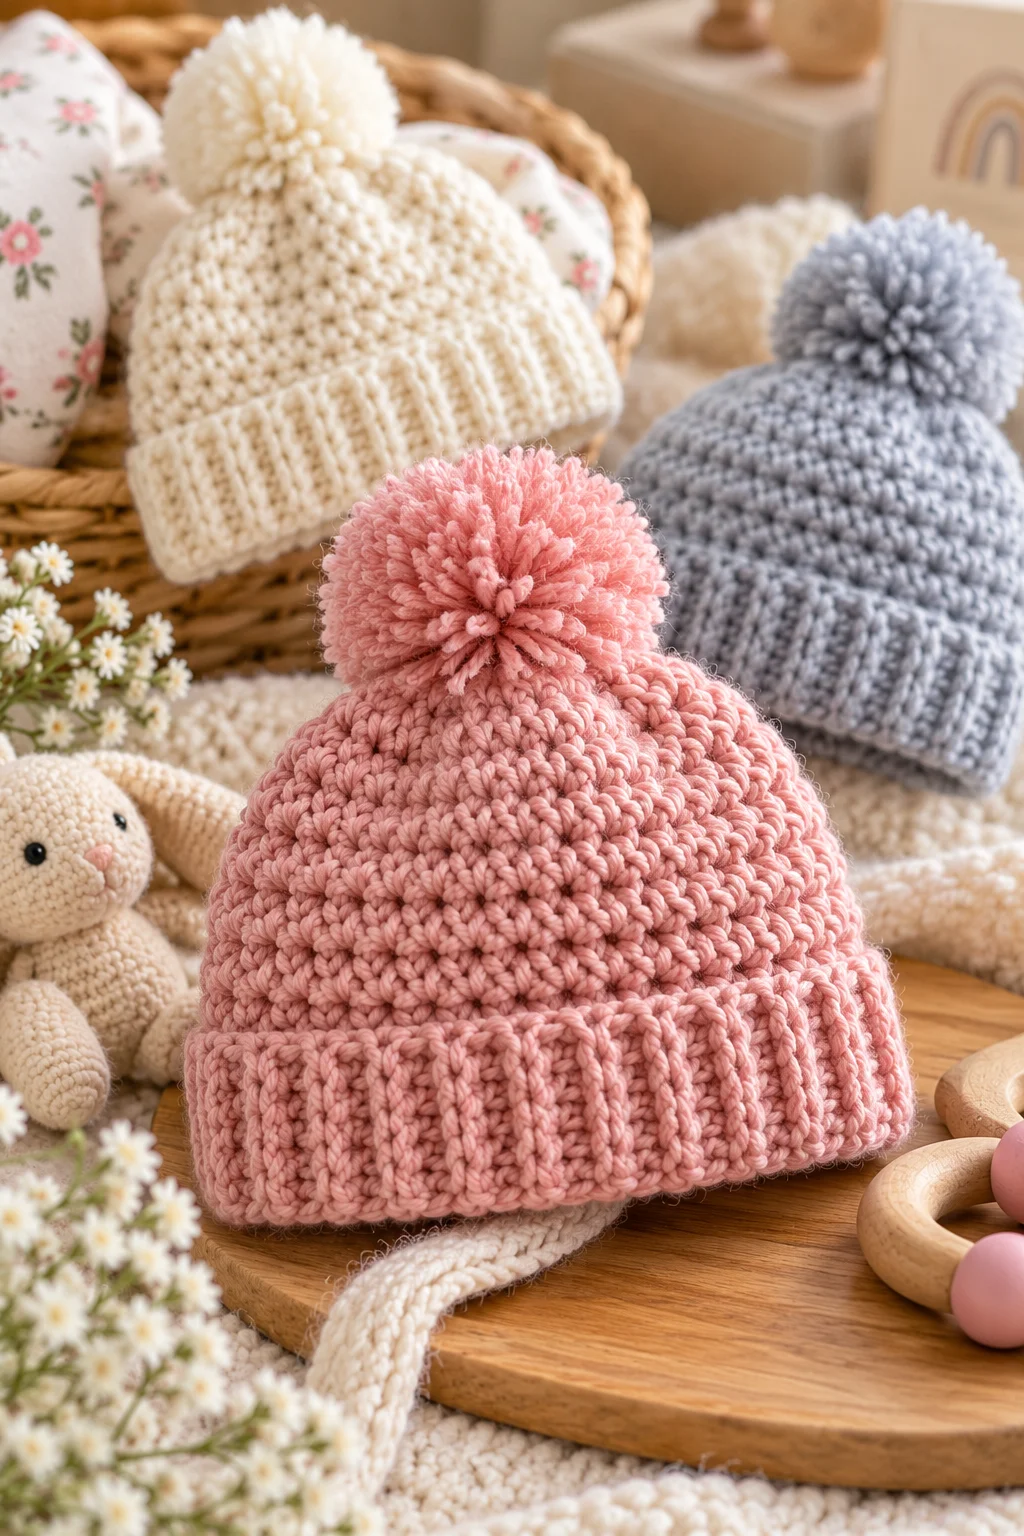
Looking for a simple crochet baby hat pattern? This easy beginner-friendly design uses basic crochet stitches and a straightforward top-down construction, making it a great first hat project.
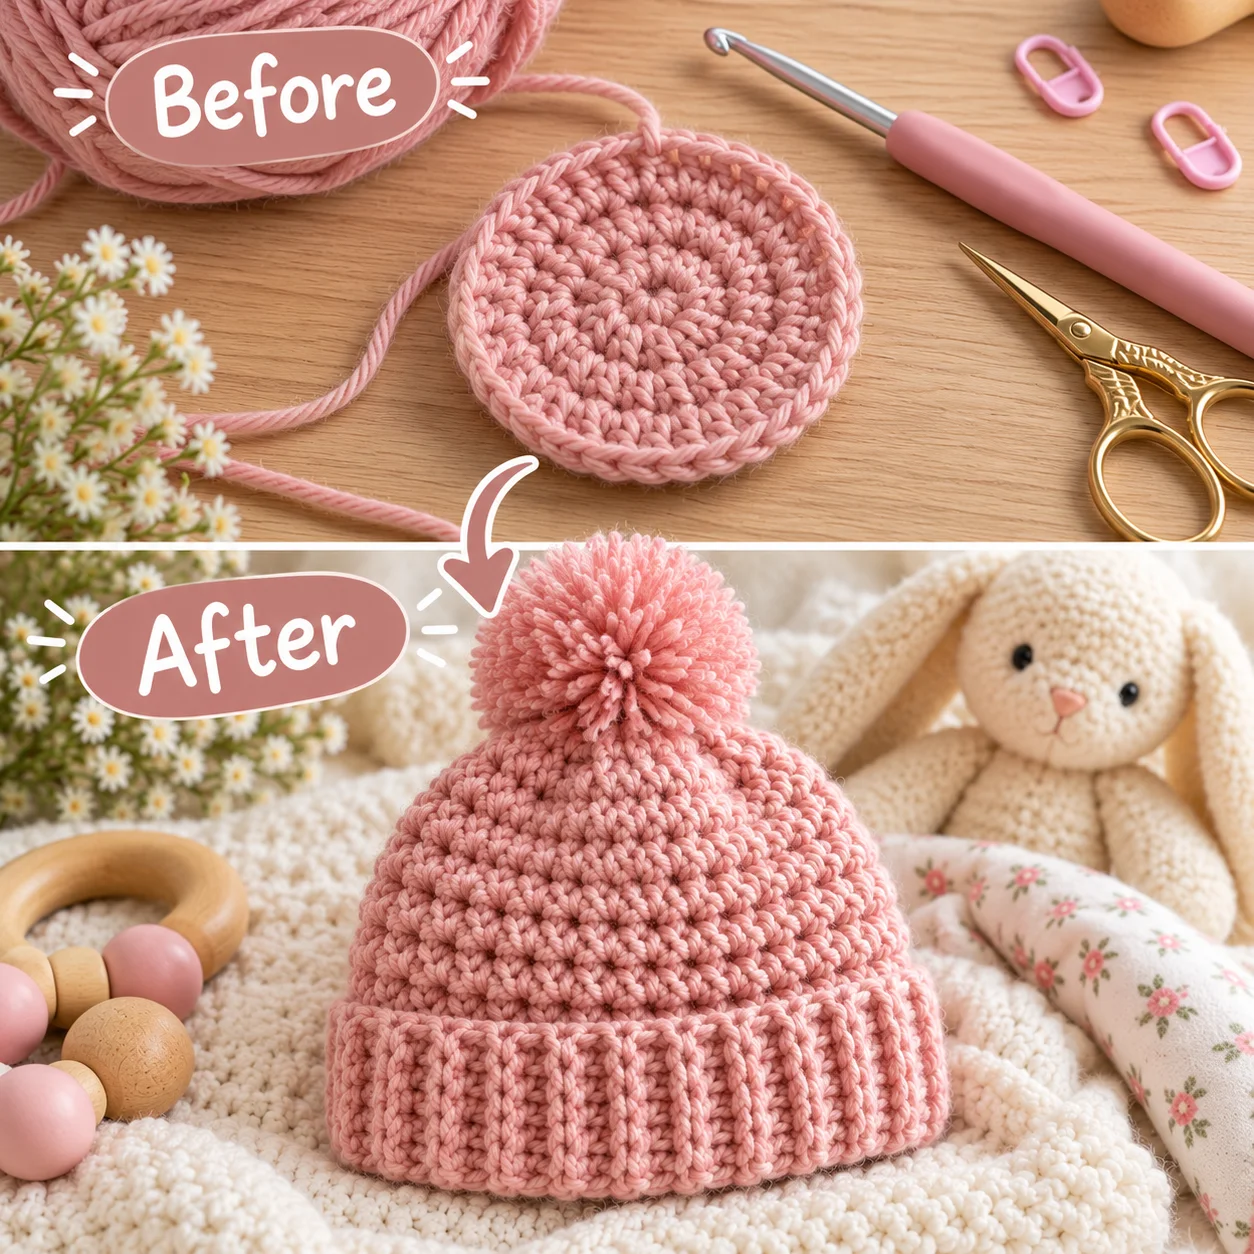
The hat is worked from the crown downward in joined rounds. Once the crown reaches the desired width, you continue crocheting evenly to create the sides. A simple ribbed edging gives the finished hat a neat, comfortable look.
Because babies grow at different rates, the most reliable way to choose a size is to measure the baby’s head circumference rather than relying only on age.
Introduction
A crochet baby hat is a practical project that doesn’t require complicated shaping or advanced techniques. This pattern is designed with beginners in mind, using basic stitches and easy-to-follow rounds.
The hat is crocheted from the top down, so you can check the circumference as you work. This makes it easier to adjust the fit if your gauge differs slightly from the sample.
For a classic baby look, choose a soft worsted-weight or light worsted-weight yarn in a washable fiber. A solid neutral shade works beautifully, but this pattern is also easy to customize with stripes or a contrasting brim.
Project Overview
- Skill level: Beginner
- Crochet terminology: US terms
- Construction: Top-down, worked in joined rounds
- Main stitch: Half double crochet
- Yarn: Worsted-weight (#4)
- Hook: 5 mm (H/8)
- Style: Simple beanie with a folded-style ribbed edge
The pattern below is an original beginner-friendly design. Measurements should be treated as targets rather than guarantees because yarn, hook size, and individual tension all affect the finished hat.
Materials
- Worsted-weight (#4) yarn, approximately 50–75 yards
- 5 mm (H/8) crochet hook
- Yarn needle
- Scissors
- Stitch marker
- Measuring tape
Choose a soft yarn suitable for baby clothing. Washable acrylic or a soft cotton/acrylic blend can be practical choices.
Crochet Abbreviations
| Abbreviation | Meaning |
|---|---|
| ch | chain |
| hdc | half double crochet |
| sl st | slip stitch |
| st/sts | stitch/stitches |
| BLO | back loop only |
| inc | increase |
US crochet terminology is used throughout.
Gauge
Gauge is not the only factor that determines whether a baby hat fits, so measure the finished circumference as you work.
As a starting point, aim for approximately 14 hdc per 4 inches.
If your fabric is much tighter than this, try a larger hook. If your fabric is considerably looser, try a smaller hook.
Finished Size
This sample is designed as a small baby hat, approximately suitable for a head circumference of about 14–15 inches.
The finished hat should have some negative ease so that it sits comfortably rather than hanging loosely.
For the best fit, measure around the baby’s head at the widest point, keeping the measuring tape comfortably snug.
How to Crochet the Baby Hat
Round 1 – Make the Crown
Make a magic ring.
Ch 1, then work 8 hdc into the ring.
Pull the ring closed.
Join with a sl st to the first hdc.
8 sts
Beginner alternative: If you are not comfortable with a magic ring, ch 3 and join with a sl st to form a ring. Work the 8 hdc into the center of that ring.
Round 2
Ch 1.
Work 2 hdc in every stitch around.
Join with a sl st.
16 sts
Round 3
Ch 1.
*Hdc in the next stitch, 2 hdc in the next stitch; repeat from * around.
Join with a sl st.
24 sts
Round 4
Ch 1.
*Hdc in the next 2 stitches, 2 hdc in the next stitch; repeat from * around.
Join with a sl st.
32 sts
Round 5
Ch 1.
*Hdc in the next 3 stitches, 2 hdc in the next stitch; repeat from * around.
Join with a sl st.
40 sts
At this point, measure across the crown.
The crown should be approaching the diameter needed for the baby’s head. If the crown is still noticeably too small, another increase round may be needed before working the sides.
Work the Sides
Once the crown reaches the appropriate diameter, stop increasing.
Round 6
Ch 1.
Hdc in every stitch around.
Join with a sl st.
40 sts
Rounds 7–12
Repeat Round 6.
Continue working one hdc in every stitch until the hat reaches the desired depth.
For the sample size, approximately 7 rounds of even stitching after the final increase round should produce a small baby hat, but always check the actual measurement rather than relying solely on the number of rounds.
Ribbed Bottom Edge
A simple ribbed border gives the hat a little extra stretch and a finished appearance.
Row 1
Ch 8.
Sc in the second chain from the hook and in each chain across.
7 sts
Slip stitch into the next two stitches along the bottom edge of the hat.
Turn.
Row 2
Skip the two slip stitches.
Sc in the back loop only across the 7-stitch ribbing strip.
Turn.
Row 3
Ch 1.
Sc-blo across.
Slip stitch into the next two stitches along the hat edge.
Turn.
Repeat
Repeat Rows 2 and 3 around the entire bottom edge of the hat.
When the ribbing reaches the starting point, bring the two short ends together and sew or slip stitch them together.
Fasten off and weave in the ends.
Fold the ribbed edge upward slightly to create a neat finished brim.
How to Check the Fit
Before finishing the hat, measure the circumference.
The hat should stretch gently around the head without being excessively tight.
A good fitting baby hat should:
- Sit securely without squeezing the head
- Cover the ears appropriately for the intended use
- Have enough stretch to put on and remove comfortably
- Not have loose or dangling yarn ends
Because baby head sizes vary, the measurements are more important than the age label.
Beginner Tips
1. Keep your tension consistent
If your first rounds are very tight and later rounds are loose, the crown may become uneven.
Try to maintain the same relaxed tension throughout the project.
2. Count your increases
The crown depends on regular increases. If you accidentally miss an increase, the hat may begin to curve too quickly.
If you add too many increases, the crown may become wavy instead of lying relatively flat.
3. Check the crown before making the sides
Don’t wait until the hat is finished to discover that the circumference is wrong.
After the increase rounds, measure the crown and compare it with the baby’s head measurement.
4. Use a stitch marker
Place a marker in the first stitch of each round. This makes it much easier to see where each joined round begins.
5. Don’t crochet the brim too tightly
The ribbed edge needs to stretch. If you tend to crochet tightly, consider using a slightly larger hook for the ribbing.
Easy Variations
Striped Baby Hat
Change colors every one or two rounds to create simple horizontal stripes.
For clean color changes, finish the final yarn-over of the last stitch in the old color with the new color.
Two-Color Ribbing
Make the entire hat in one color and use a contrasting shade for the ribbed edge.
Add a Pom-Pom
A small yarn pom-pom can add a playful finish, but for baby items, make sure any decoration is firmly secured and inspect it regularly.
Make a Simple Fold-Over Brim
Work additional ribbing rows so the edge can be folded upward for a thicker-looking brim.
Common Mistakes
The crown is curling
A small amount of cupping can happen as the crown develops, but excessive curling may indicate that you need additional increases.
Check your stitch count before continuing.
The crown is wavy
Too many increases can cause the crown to ripple.
Make sure you are following the increase sequence consistently.
The hat is too small
If the crown diameter is too small, the finished hat will usually be too tight even if you add many extra rounds.
For a larger hat, increase the crown farther before switching to even rounds.
The hat is too loose
Try using a smaller hook or reducing the crown size.
Do not compensate for a very loose circumference simply by making the hat shorter.
Safety
Baby hats should be checked regularly for loose yarn, stretched stitches, and damaged areas.
Avoid long ties, cords, loose embellishments, or small detachable decorations that could present a hazard.
A baby should never be left unattended while wearing a crocheted item if there is any concern about fit, loose components, or overheating.
Frequently Asked Questions
What is the easiest crochet stitch for a baby hat?
Half double crochet is a good beginner-friendly choice because it works up faster than single crochet while creating a relatively dense fabric.
How long does it take to crochet a baby hat?
A simple baby hat can be a relatively quick crochet project, but the actual time depends on your experience, yarn, hook, and tension. Beginners may need more time while learning the stitch pattern.
Can I use chunky yarn?
You can, but chunky yarn will significantly change the size and fabric. The stitch counts in this pattern are designed around worsted-weight yarn, so a chunky-yarn version should be treated as a separate sizing project.
Can I use cotton yarn?
Yes, provided the yarn is soft and comfortable for the intended use. Cotton generally creates a different drape and stretch from acrylic, so check the finished measurements carefully.
How do I make the hat bigger?
Continue the crown increase sequence for additional rounds until the crown reaches the diameter you need. Then stop increasing and work the sides evenly.
How do I make a smaller baby hat?
Use a smaller hook and stop the crown increases at a smaller diameter. Always measure the baby’s head when possible instead of relying on age alone.
Why does my crochet hat look like a bowl?
If the crown is cupping strongly, it may need more increases. If it is becoming ruffled or wavy, you may have too many increases.
The goal is a crown that gradually curves into the sides of the hat.
Conclusion
This easy crochet baby hat is a useful beginner project because the construction is simple and the fit can be adjusted as you work. Once you understand the crown increases and even rounds, you can easily create different sizes, colors, and brim styles.
For the best results, use a soft baby-friendly yarn, check the crown diameter before moving on to the sides, and measure the finished hat rather than relying entirely on age-based sizing.
With a simple color change or contrasting ribbed brim, this basic pattern can become a personalized handmade gift for a new baby.