Classic Crochet Baby Booties with Folded Cuff – Free Pattern
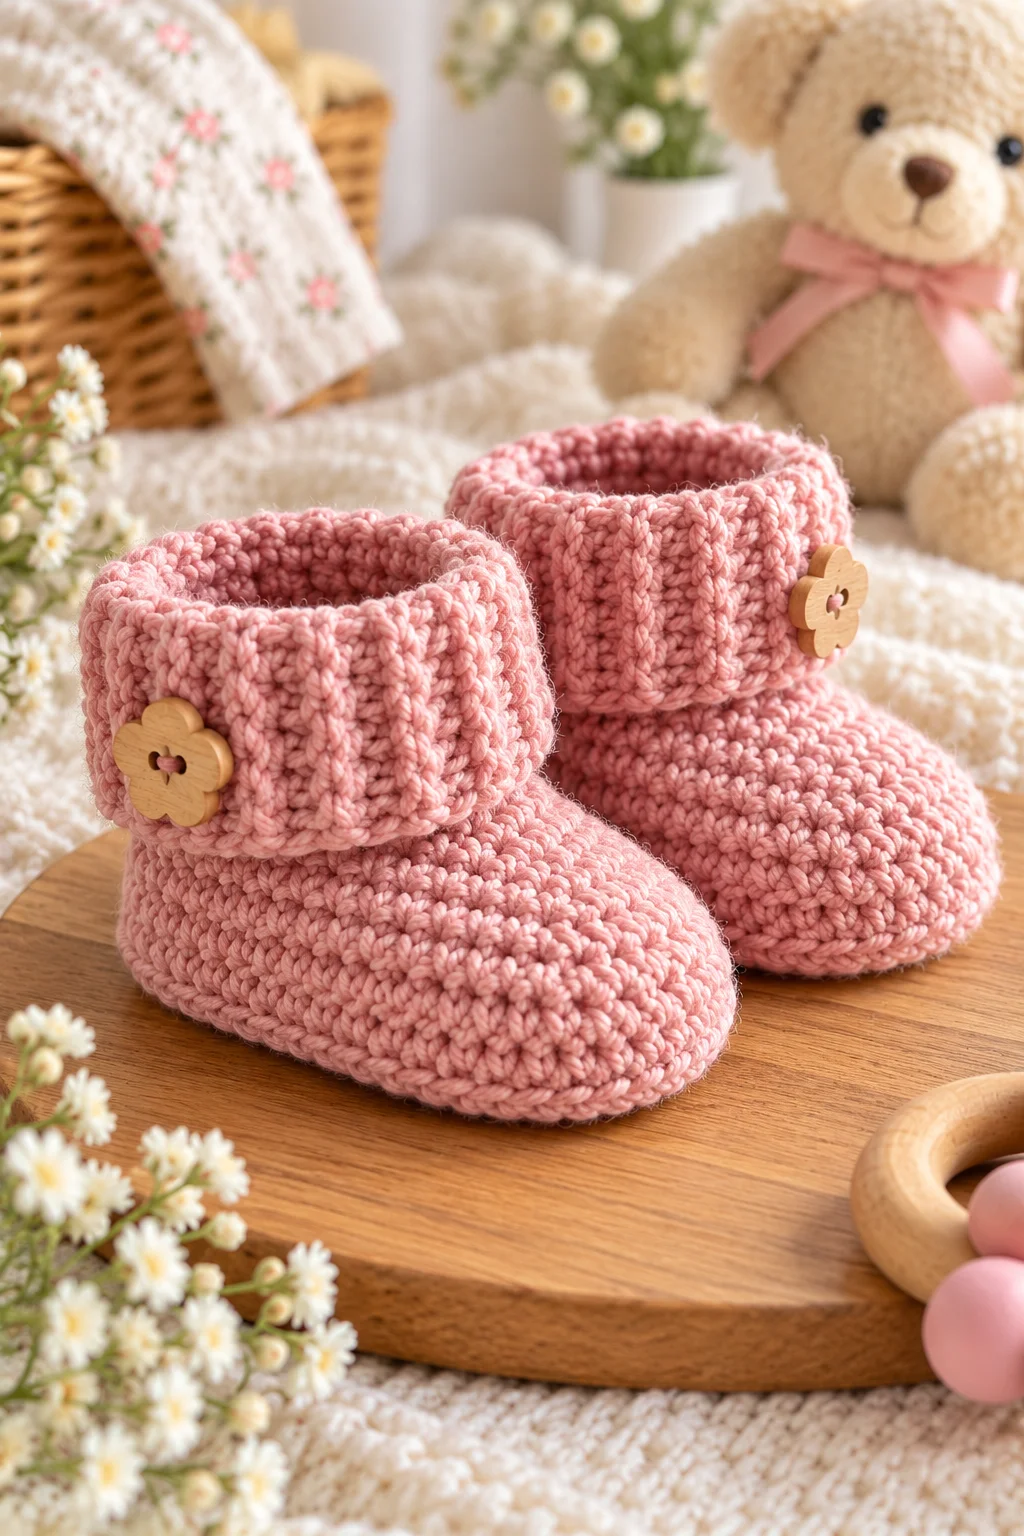
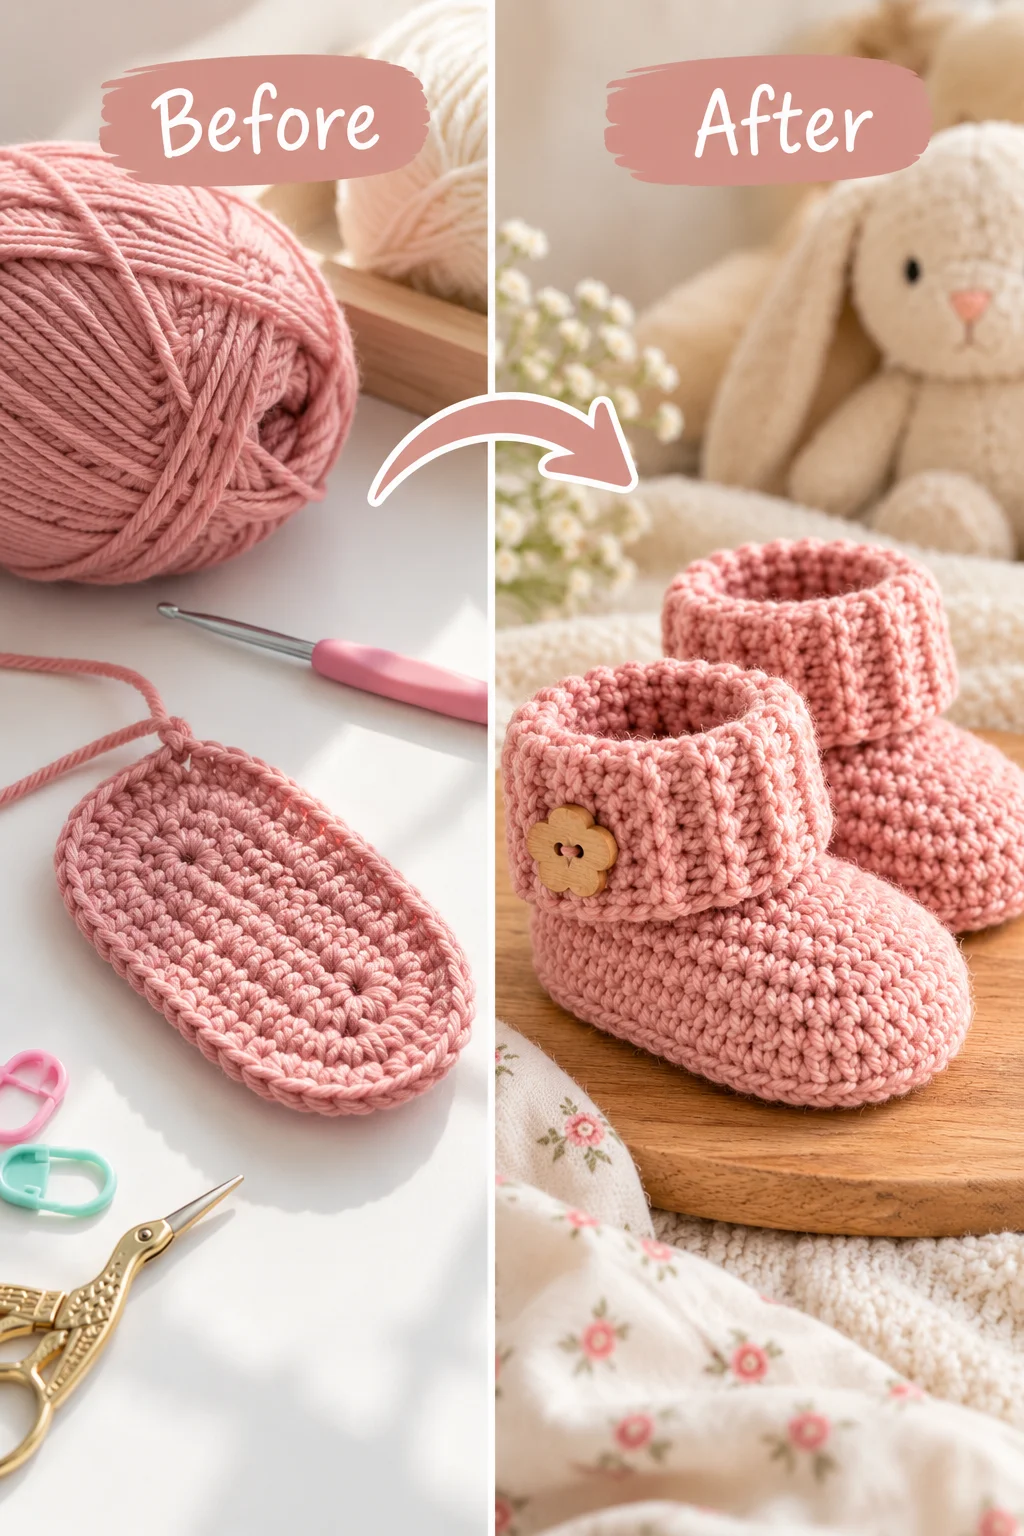
These classic crochet baby booties have a simple, timeless shape and a cozy fold-down cuff. They make a sweet baby-shower gift and are a useful project for crocheters who want to practice shaping, decreases, joined rounds, and crochet ribbing.
The pattern below is an original, independently written pattern inspired by the classic cuffed baby-bootie style. It is not a reproduction of another designer’s pattern.
Important: Baby foot sizes vary considerably. Always measure the baby’s foot when possible rather than relying only on age ranges.
Project Overview
- Skill level: Beginner to advanced beginner
- Terminology: US crochet terms
- Construction: Sole worked in rounds, upper shaped with decreases, cuff worked separately in rows
- Style: Classic bootie with fold-down ribbed cuff
- Main stitches: Single crochet, half double crochet, double crochet, and decreases
- Best for: Baby showers, newborn gifts, and small handmade projects
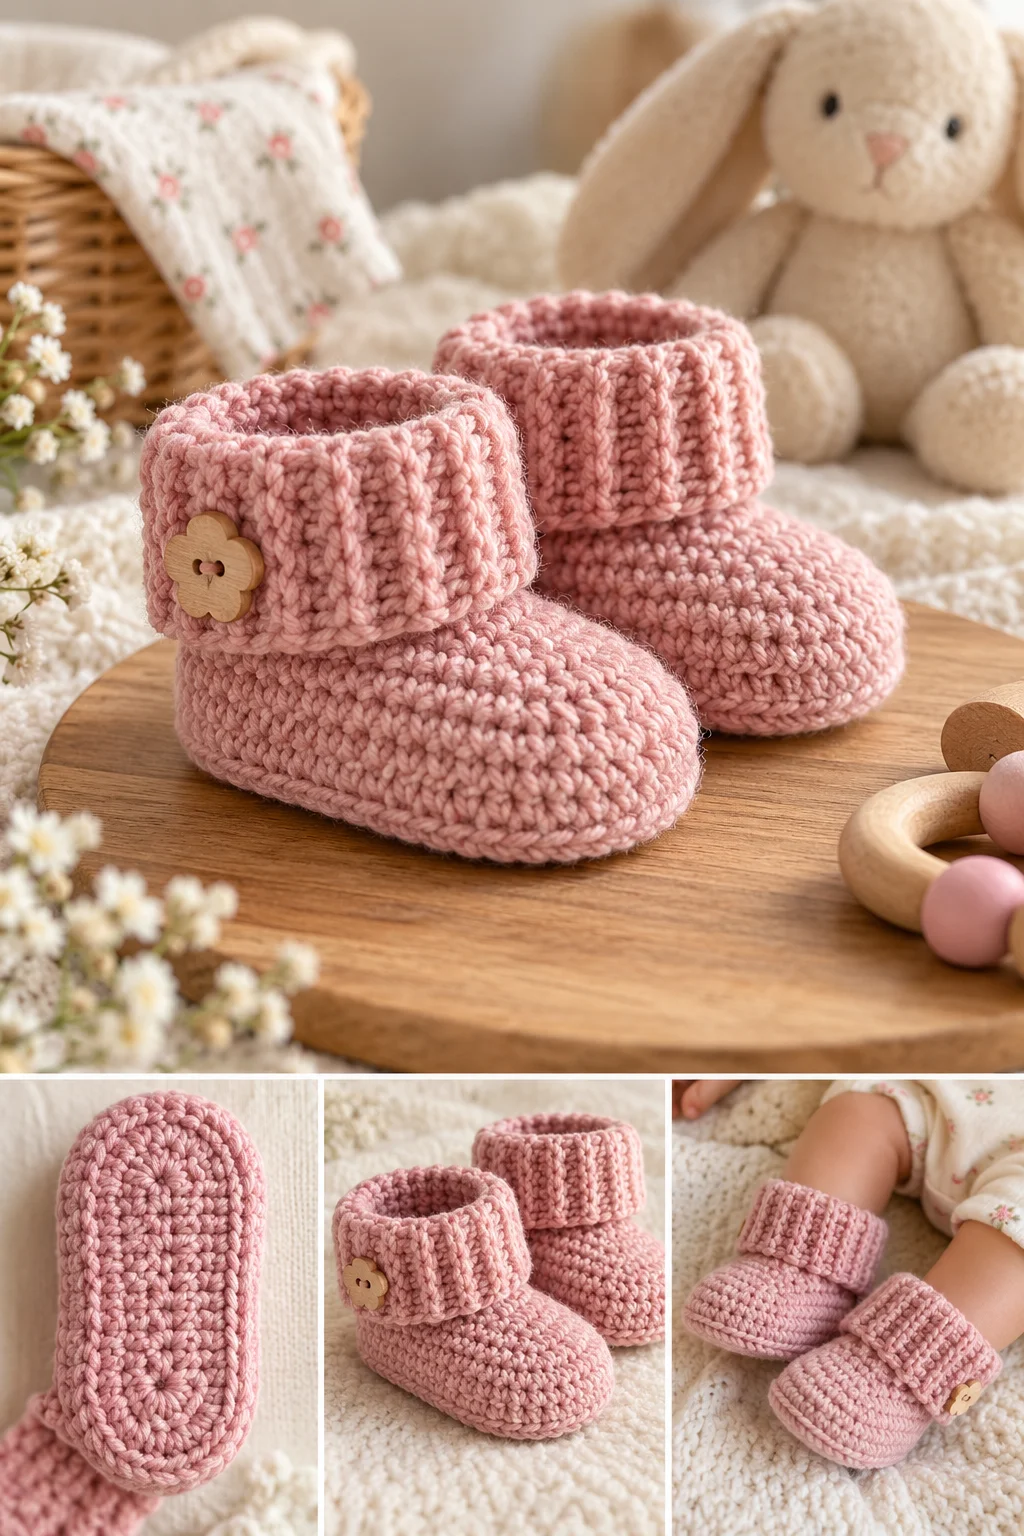
The folded cuff is more than a decorative detail. Ribbing gives the ankle section some flexibility while the doubled-over fabric creates a cozy finished edge.
Similar classic baby-bootie designs commonly use a shaped oval sole followed by a decrease section at the toe and a separate ribbed cuff.
Materials
For one pair, you will need:
- Worsted-weight (#4) soft, washable yarn
- G/6 (4 mm) crochet hook
- Yarn needle
- Scissors
- Stitch marker
- Measuring tape
For baby items, choose a smooth yarn that is comfortable against delicate skin. Washable acrylic is a practical choice; avoid scratchy fibers.
The original classic folded-cuff design that inspired the style uses worsted-weight yarn and a 4 mm hook for its approximately 3.75-inch sole size.
Crochet Abbreviations
| Abbreviation | Meaning |
|---|---|
| ch | chain |
| sc | single crochet |
| hdc | half double crochet |
| dc | double crochet |
| sl st | slip stitch |
| st/sts | stitch/stitches |
| inc | increase |
| dec | decrease |
| BLO | back loop only |
US crochet terminology is used throughout.
Gauge and Finished Size
For baby booties, finished sole length is more useful than stitch gauge alone because a small difference in gauge can noticeably change the fit.
For the sample size, aim for a sole approximately 3¾ inches long.
If your finished sole is too large or too small, change your hook size rather than trying to force the stitch count to fit.
A useful general rule is to allow some growing room, but avoid making baby booties excessively large because an oversized bootie can slip off easily. The reference design recommends checking the actual foot and allowing up to about ½ inch of extra room.
Step-by-Step Crochet Instructions
Sole
The sole begins as an oval worked around a foundation chain.
Round 1
Ch 10.
Work 2 hdc in the 2nd ch from the hook, then hdc in each of the next 7 chains.
Work 5 hdc in the last chain.
Continue along the opposite side of the foundation chain with 7 hdc.
Work 2 hdc in the remaining end of the chain.
Join with a sl st to the first hdc.
Stitch count: 23 hdc
Round 2
Ch 1.
Work 2 sc in the first stitch, 2 sc in the next stitch, sc in the next 4 stitches, then hdc in the next 3 stitches.
Work 2 hdc in each of the next 5 stitches.
Hdc in the next 3 stitches, then sc in the next 4 stitches.
Work 2 sc in each of the final 2 stitches.
Join with a sl st.
Stitch count: 32 stitches
Round 3
Ch 1.
Starting in the first stitch, work:
[hdc in next stitch, 2 hdc in next stitch] twice, hdc in next 7 stitches, [hdc in next stitch, 2 hdc in next stitch] twice, 2 hdc in each of next 2 stitches, [hdc in next stitch, 2 hdc in next stitch] twice, hdc in next 7 stitches, [hdc in next stitch, 2 hdc in next stitch] twice.
Join with a sl st.
Stitch count: 42 stitches
At this point, check the sole length before continuing. The sole should lie flat rather than curling significantly upward.
Upper Section
The upper is worked in joined rounds. Keep a stitch marker in the first stitch so you can easily identify where each round begins.
Round 4
Ch 1.
Working in the back loops only, hdc in every stitch around.
Join with a sl st.
42 stitches
Working this round through the back loops creates a subtle ridge separating the sole from the upper.
Round 5
Ch 1.
Sc in every stitch around.
Join with a sl st.
42 stitches
Round 6
This round begins shaping the toe.
Ch 1.
Work:
- sc in the next 11 stitches
- hdc in the next stitch
- hdc2tog
- hdc in the next stitch
- hdc2tog
- dc2tog
- dc in the next stitch
- dc2tog
- dc in the next stitch
- dc2tog
- hdc in the next stitch
- hdc2tog
- hdc in the next stitch
- hdc2tog
- sc in the final 6 stitches
Join with a sl st.
34 stitches
Round 7
Ch 1.
Sc in the next 12 stitches, hdc in the next stitch, hdc2tog, work 4 dc2tog decreases, hdc2tog, hdc in the next stitch, then sc in the final 7 stitches.
Join with a sl st.
28 stitches
Round 8
Ch 1.
Sc in the next 11 stitches, hdc in the next stitch, work 4 dc2tog decreases, hdc in the next stitch, then sc in the final 6 stitches.
Join with a sl st.
24 stitches
Fasten off and weave in the end.
A Note About Decreases
The toe shaping is the part of the pattern where accuracy matters most.
A dc2tog is a decrease worked across two stitches. It reduces the stitch count by one.
A hdc2tog likewise turns two stitches into one.
Do not accidentally interpret “4 dc2tog” as four stitches worked together. It means to make four separate double-crochet decreases, with each decrease worked across two stitches.
For a neater appearance, keep your tension consistent throughout the decrease section.
Making the Folded Cuff
The cuff is worked back and forth rather than around the bootie.
This produces vertical ribbing that can later be folded over.
Row 1
Ch 9.
Starting in the second chain from the hook, sc across.
8 stitches
Slip stitch into the next stitch of the bootie opening to anchor the cuff.
Make another sl st into the following stitch.
Row 2
Do not make a separate turning chain because the second anchoring slip stitch functions as the turning movement.
Turn the work.
Work 8 sc in the back loops only.
Slip stitch into the next two stitches of the bootie opening.
Row 3
Ch 1 and turn.
Work 8 sc-blo.
Slip stitch into the next two stitches of the bootie opening.
Rows 4–24
Repeat Rows 2 and 3.
Each ribbing row should contain 8 sc-blo.
Continue until you have made 24 rows total.
The cuff should now extend around the entire opening.
Joining the Cuff
Cut the yarn, leaving a long tail.
Bring the two ends of the ribbing together.
Use the yarn needle to sew the first and final rows together securely.
Weave in the remaining end.
Turn the cuff downward to create the classic folded appearance.
Repeat the entire process to make the second bootie.
Special Technique: Single Crochet in the Back Loop Only
For the cuff, insert your hook underneath only the back loop of the stitch rather than through both loops.
This creates the horizontal ridges characteristic of crochet ribbing.
The resulting fabric has more stretch than ordinary single crochet, making it particularly useful for an ankle cuff.
Finishing
Before giving the booties as a gift:
- Check that all yarn tails are securely woven in.
- Make sure there are no loose loops or protruding ends.
- Check the sole length against the baby’s foot if possible.
- Fold the cuff evenly on both booties.
- Gently wash according to the yarn manufacturer’s care instructions if appropriate.
Avoid adding buttons, beads, bows, or other small detachable decorations to baby booties.
Customization Ideas
Change the cuff color
Work the sole and upper in one shade, then join a contrasting color for the ribbed cuff.
Classic combinations include:
- Cream and dusty blue
- White and blush
- Oatmeal and sage
- Gray and ivory
- Navy and white
Make a solid-color pair
For a minimalist look, use one soft neutral throughout.
Leave the cuff unfolded
The ribbed section can also be worn extended rather than folded down, giving the bootie a taller ankle.
Add a simple color stripe
A narrow stripe near the top of the upper can give the booties a traditional baby-shoe appearance without adding loose embellishments.
Tips and Common Mistakes
Check the sole before continuing
If the sole is already the wrong size after Round 3, fix the gauge before making the upper. Continuing with an incorrectly sized sole usually results in a bootie that does not fit properly.
Count the toe decreases
The decrease rounds change the stitch count quickly. If the toe looks unusually wide or narrow, recount the stitches before moving on.
Keep the cuff flexible
Avoid crocheting the cuff extremely tightly. The ribbing needs enough elasticity to stretch around the ankle.
Watch your starting stitch
When working joined rounds, place the first stitch in the correct stitch rather than accidentally working into the joining slip stitch.
Make both booties at the same time
If you struggle with consistent tension, complete the sole of one bootie and then make the second sole immediately. This makes it easier to match your tension and finished dimensions.
Safety for Baby Booties
These booties are intended as clothing, but handmade baby items should always be inspected before use.
Do not add small detachable parts that could become choking hazards. Avoid long cords, loose ties, beads, buttons, or poorly secured embellishments.
Check the booties regularly for stretched stitches, loose yarn, or damaged areas and discontinue use if they become unsafe.
Never rely on crochet booties to keep a baby from slipping or to provide support for walking.
Frequently Asked Questions
What yarn is best for crochet baby booties?
Choose a soft, washable yarn that feels comfortable against sensitive skin. Smooth acrylic is a practical option because it is generally easy to wash and maintain.
What crochet hook size should I use?
A 4 mm (G/6) hook is a useful starting point for the sample size with worsted-weight yarn. However, your tension determines the finished dimensions, so use the sole measurement as your primary fit check.
Can I use DK-weight yarn?
Yes, but changing yarn weight changes the dimensions and fabric. You should make a gauge sample or work the sole and measure it before completing the bootie.
How do I make the booties smaller?
For a smaller version, a smaller hook can reduce the finished dimensions. If a significantly smaller size is needed, the sole construction itself may need to be redesigned rather than simply tightening your tension.
How do I make larger booties?
A larger hook may increase the finished size, but this also creates a looser fabric. For substantially larger sizes, increasing the sole stitch count is generally more reliable than simply using a much larger hook.
Why is the cuff crocheted in rows?
Working the cuff in rows creates vertical ribbing with a good amount of stretch. The ribbing is then joined into a tube and folded over the bootie opening.
Are crochet baby booties suitable for newborns?
They can be used as soft clothing accessories, but fit and construction are important. Always check the actual baby’s foot and inspect the booties for loose yarn or detachable components before use.
Conclusion
Classic crochet baby booties are a small project with plenty of opportunity for customization. The shaped sole gives the bootie its structure, the decrease section creates the rounded toe, and the back-loop ribbing provides the signature folded cuff.
For the best fit, measure the baby’s foot whenever possible and adjust your hook size according to the finished sole measurement rather than relying solely on an age label.
With a soft washable yarn and a simple color combination, these folded-cuff crochet baby booties make a timeless handmade gift for a new arrival.