Crochet Pumpkin Headband | Free Fall Crochet Pattern
Crochet Pumpkin Headband | Free Crochet Pattern
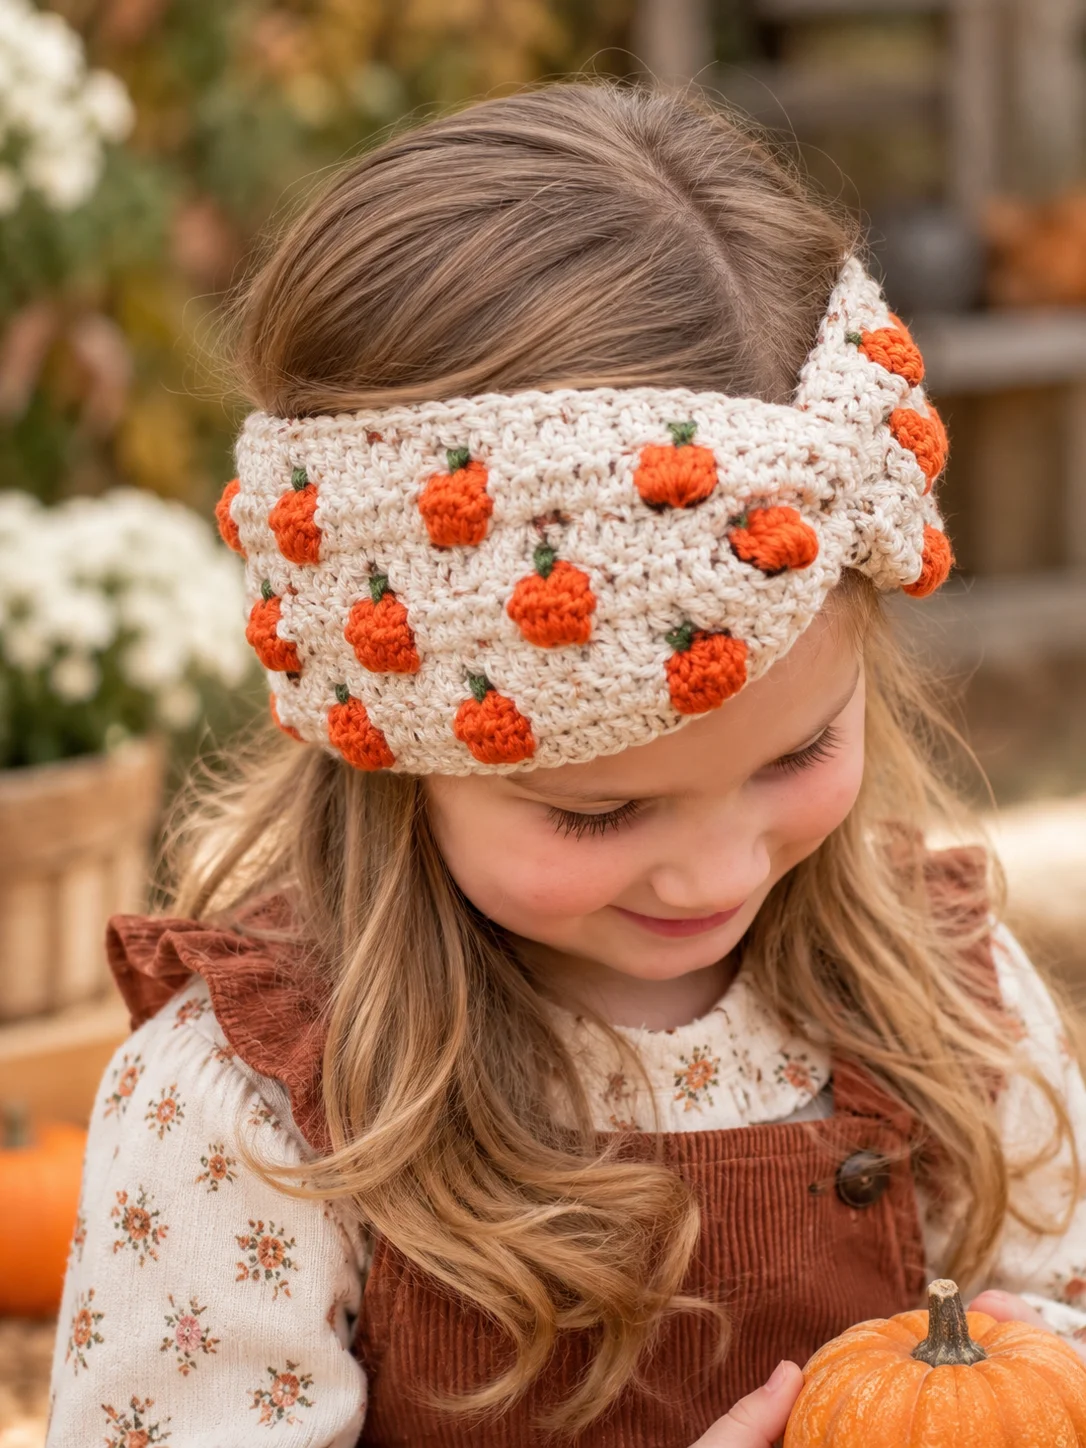
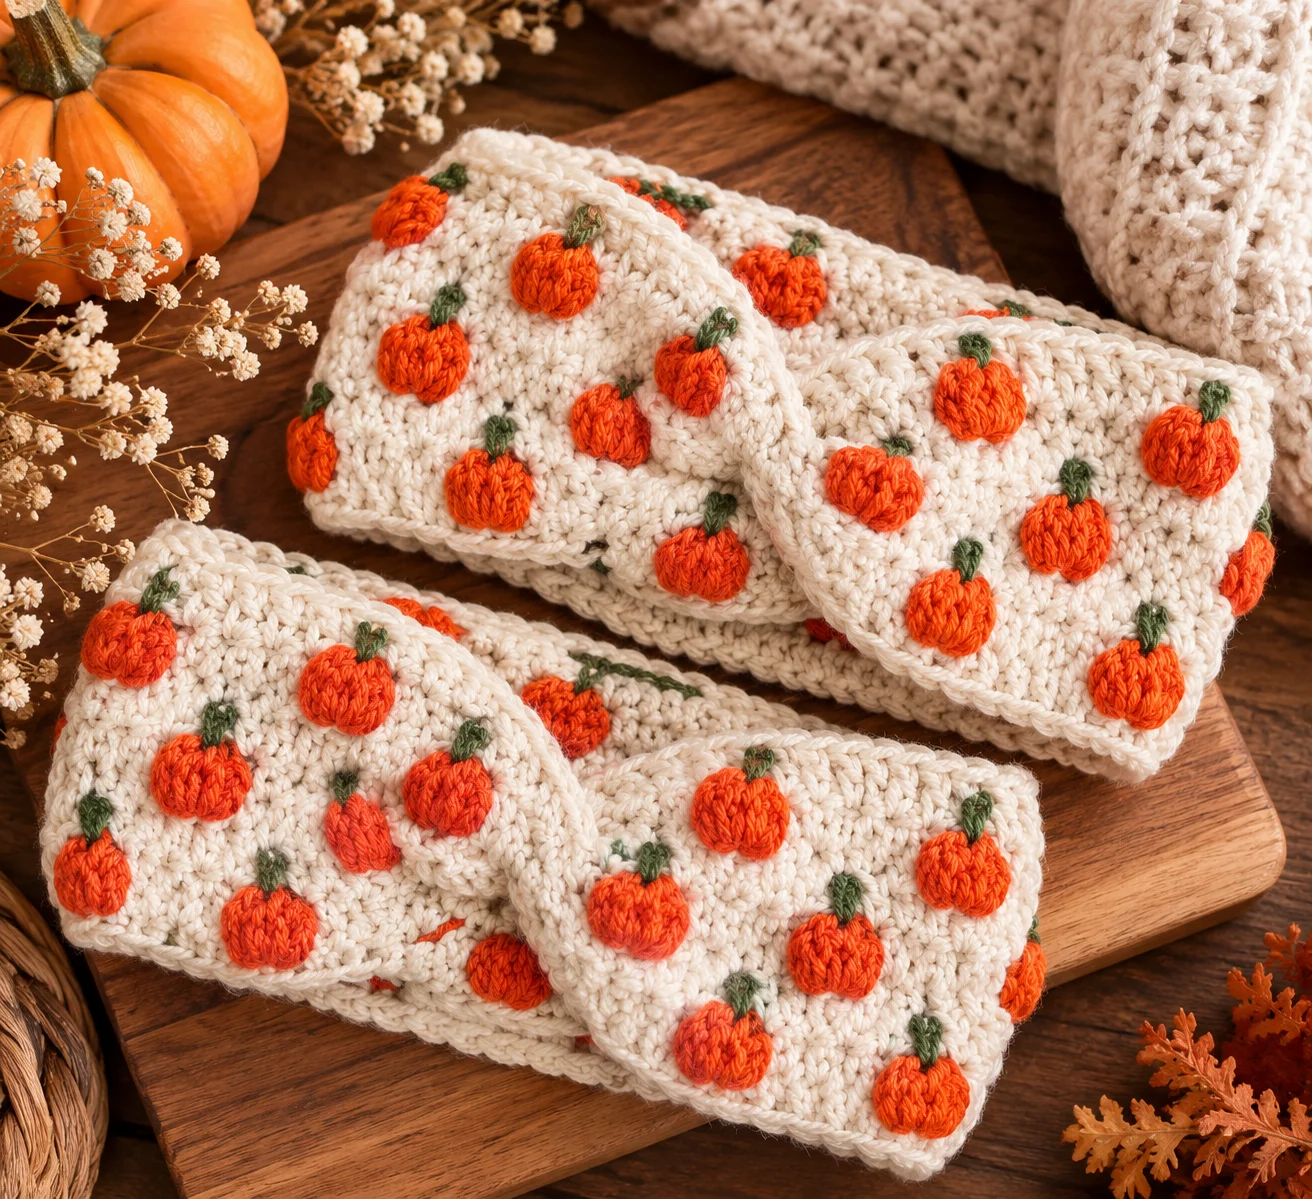
Bring a little autumn charm to your wardrobe with this crochet pumpkin headband! This cozy fall accessory combines a simple crochet headband with a cute pumpkin-inspired design, making it perfect for pumpkin season, Halloween, fall photos, harvest gatherings, and everyday autumn outfits.
The headband is quick to crochet and uses basic stitches, so it is a fun project for beginners who want to make something seasonal without committing to a large project.
You can make the pumpkin in classic orange, use a neutral shade for a more modern look, or create several headbands in different colors for gifts.
Crochet Pumpkin Headband at a Glance
- Skill level: Easy
- Project type: Crochet headband
- Yarn: Worsted-weight (#4)
- Hook: 5.5 mm (I-9)
- Main stitches: Single crochet and half double crochet
- Size: Adult
- Construction: Headband worked flat
- Season: Fall and Halloween
- Terminology: US crochet terms
Materials
For this pumpkin headband, you will need:
- Worsted-weight (#4) yarn in orange
- Small amount of green yarn
- 5.5 mm crochet hook
- Yarn needle
- Scissors
- Stitch marker, optional
- Measuring tape
You can substitute another yarn weight, but remember that changing the yarn and hook size will change the finished measurements.
Crochet Abbreviations
- ch – chain
- sc – single crochet
- hdc – half double crochet
- sl st – slip stitch
- st – stitch
- sts – stitches
- BLO – back loop only
Finished Size
The sample size is designed for an average adult head.
The finished headband should measure approximately:
- Circumference: 20–22 inches
- Width: approximately 3 inches
The crochet fabric has natural stretch, so the headband should fit comfortably without being overly loose.
For the best fit, measure around the intended wearer’s head before beginning.
Gauge
Approximately:
14 hdc × 10 rows = 4 inches
Gauge is not critical for a simple headband, but checking it can help you achieve a more predictable finished size.
If your stitches are tighter than the gauge, try a larger hook. If your stitches are looser, try a smaller hook.
Crochet Pumpkin Headband Pattern
The pumpkin headband consists of two simple parts:
- The crocheted headband
- A small pumpkin decoration attached to the front
The headband is worked flat and joined at the ends.
Step 1: Crochet the Headband
With orange yarn, chain 11.
Row 1
Hdc in the second chain from the hook and in each chain across. (10 sts)
Row 2
Ch 1 and turn.
Hdc in the back loop only across. (10 sts)
Rows 3–50
Repeat Row 2 until the band reaches approximately 20–22 inches when gently stretched.
Because everyone’s tension is different, measure the headband rather than relying only on the number of rows.
Step 2: Join the Headband
Fold the finished strip so the two short ends meet.
Slip stitch the ends together through both layers.
Fasten off and weave in the yarn tail securely.
Turn the seam toward the inside of the headband.
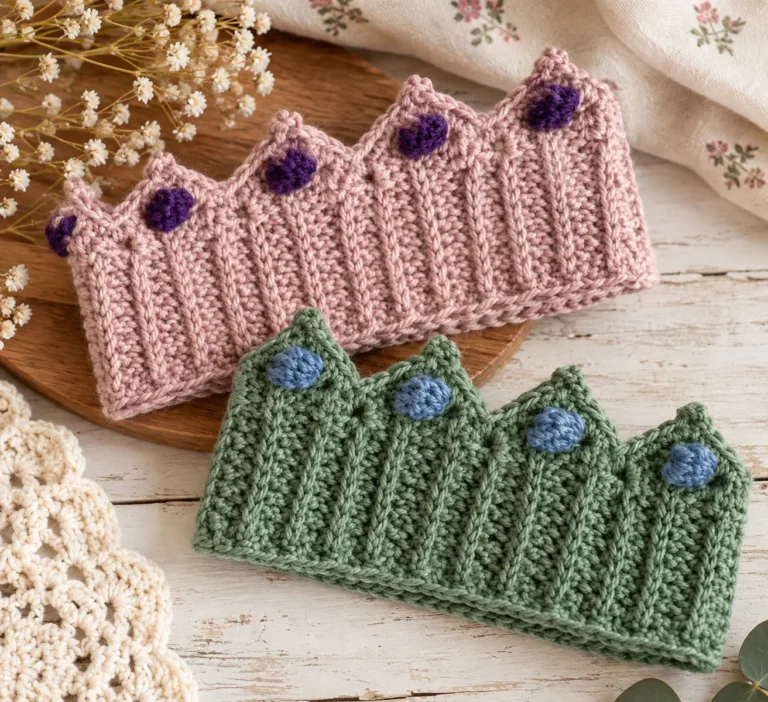
You now have the basic crochet ear warmer.
Crochet Pumpkin Decoration
Now it’s time to add the pumpkin!
The pumpkin is worked separately and attached to the front of the headband.
With orange yarn, make a magic ring.
Round 1
Work 6 sc into the magic ring.
Pull the ring closed. (6 sts)
Round 2
Work 2 sc in each stitch around. (12 sts)
Round 3
Sc in the next stitch, 2 sc in the next stitch.
Repeat around. (18 sts)
Round 4
Sc in the next 2 stitches, 2 sc in the next stitch.
Repeat around. (24 sts)
Round 5
Sc in each stitch around. (24 sts)
Round 6
Sc in each stitch around. (24 sts)
Round 7
Sc in the next 2 stitches, sc2tog.
Repeat around. (18 sts)
Round 8
Sc in the next stitch, sc2tog.
Repeat around. (12 sts)
Add a small amount of stuffing if you want the pumpkin to have a slightly raised, dimensional appearance.
Round 9
Sc2tog around. (6 sts)
Fasten off, leaving a yarn tail for sewing.
Pull the opening closed and secure the yarn.
Give the Pumpkin Some Shape
To make the pumpkin look more recognizable, use orange yarn and a yarn needle to create a few vertical sections.
Insert the needle from the bottom of the pumpkin, bring it over the outside, and return through the bottom.
Repeat around the pumpkin to create gentle grooves.
Do not pull the yarn excessively tight. The goal is to create subtle pumpkin ridges without flattening the decoration.
Crochet Pumpkin Stem
Switch to green yarn.
Attach the yarn near the top of the pumpkin.
Chain 3.
Slip stitch back down the chain.
Fasten off and weave in the end.
For a slightly more detailed pumpkin, you can also crochet a tiny green leaf and sew it beside the stem.
Attach the Pumpkin
Position the pumpkin in the center front of the headband.
Using the remaining orange yarn tail and a yarn needle, sew the pumpkin securely to the headband.
Stitch through several points around the pumpkin rather than attaching it at only one spot.
This helps prevent the decoration from swinging or rotating when the headband is worn.
Once secure, weave in all remaining ends.
How to Make a Crochet Pumpkin Leaf
For an optional leaf, use green yarn.
Chain 5.
Starting in the second chain from the hook:
- Sc in the next stitch
- Hdc in the next stitch
- Dc in the next stitch
- 3 dc in the final chain
Continue working along the opposite side of the foundation chain:
- Dc
- Hdc
- Sc
Slip stitch to the beginning.
Fasten off and leave a sewing tail.
Sew the leaf beside the pumpkin stem.
Customize Your Pumpkin Headband
One of the best things about this project is how easy it is to personalize.
Make a Smaller Pumpkin
For a more subtle headband, stop increasing the pumpkin earlier.
A smaller pumpkin works especially well for adults who prefer a less decorative accessory.
Make a Larger Pumpkin
Continue increasing for another round before working the straight rounds.
A larger pumpkin creates a bold statement piece that is perfect for Halloween costumes or fall photos.
Use Different Colors
Pumpkins don’t have to be orange!
Try:
- Rust
- Mustard
- Cream
- Brown
- Sage green
- Burgundy
- Dusty pink
A cream pumpkin with a green stem gives the headband a modern farmhouse-inspired appearance.
Make a Halloween Version
Use black yarn for the headband and bright orange for the pumpkin.
You could also add a tiny embroidered face to turn the pumpkin into a jack-o’-lantern.
If adding facial details, embroider them securely rather than using loose plastic pieces, especially if the headband will be worn by a child.
Tips for Making the Perfect Pumpkin Headband
Measure Before Joining
The headband should fit comfortably around the head before you sew the ends together.
Crochet stretches, so avoid making it excessively long.
Keep Your Pumpkin Firm
A small amount of stuffing gives the pumpkin a nice three-dimensional shape.
Don’t overstuff it, because too much stuffing can make the decoration bulky.
Secure the Decoration Well
Since the pumpkin sits on the front of the headband, sew it firmly in several places.
Don’t Pull the Pumpkin Ridges Too Tightly
The ridges should create gentle indentations.
Pulling too firmly can distort the pumpkin.
Weave in Ends Carefully
Seasonal accessories are handled frequently, so take a little extra time to secure and hide all yarn tails.
Common Mistakes to Avoid
Making the headband too large:
Remember that crochet fabric stretches. Measure the band around the intended head before joining.
Losing track of pumpkin stitch counts:
Count your stitches after each increase and decrease round to keep the pumpkin symmetrical.
Overstuffing the pumpkin:
A lightly stuffed pumpkin generally sits more comfortably against the headband.
Sewing the pumpkin loosely:
Use several stitches around the pumpkin to keep it firmly attached.
Skipping the gauge check:
Gauge is especially important if you’re substituting yarn weights or hooks.
Frequently Asked Questions
Is this crochet pumpkin headband beginner-friendly?
Yes. The headband uses basic half double crochet, while the pumpkin uses simple single crochet increases and decreases.
What yarn should I use?
Worsted-weight (#4) yarn works well for this project. Choose a smooth yarn so the pumpkin shape and headband texture remain visible.
Can I make this headband for a child?
Yes. Reduce the length of the headband to fit the child’s head circumference. Measure the intended wearer whenever possible rather than relying solely on age.
Can I make the pumpkin without stuffing?
Yes. The pumpkin can be made flat by closing it without adding stuffing. A stuffed pumpkin simply gives the decoration more dimension.
Can I make this as a Halloween accessory?
Absolutely! Use black, orange, purple, or green yarn for a festive Halloween version.
How do I wash the finished headband?
Follow the care instructions for your chosen yarn. Hand washing and gentle drying are often suitable for handmade crochet accessories, but always check the yarn label first.
Final Thoughts
This crochet pumpkin headband is a quick and festive way to bring a little handmade style to your fall wardrobe. The simple ribbed band is comfortable to wear, while the dimensional pumpkin adds just the right amount of autumn personality.
Make one for yourself, crochet a few as handmade gifts, or create different pumpkin colors for a fun seasonal collection. It’s a small project that can be finished quickly and enjoyed all through the fall season.